
Simple Homemade Dog Meals You Can Freeze
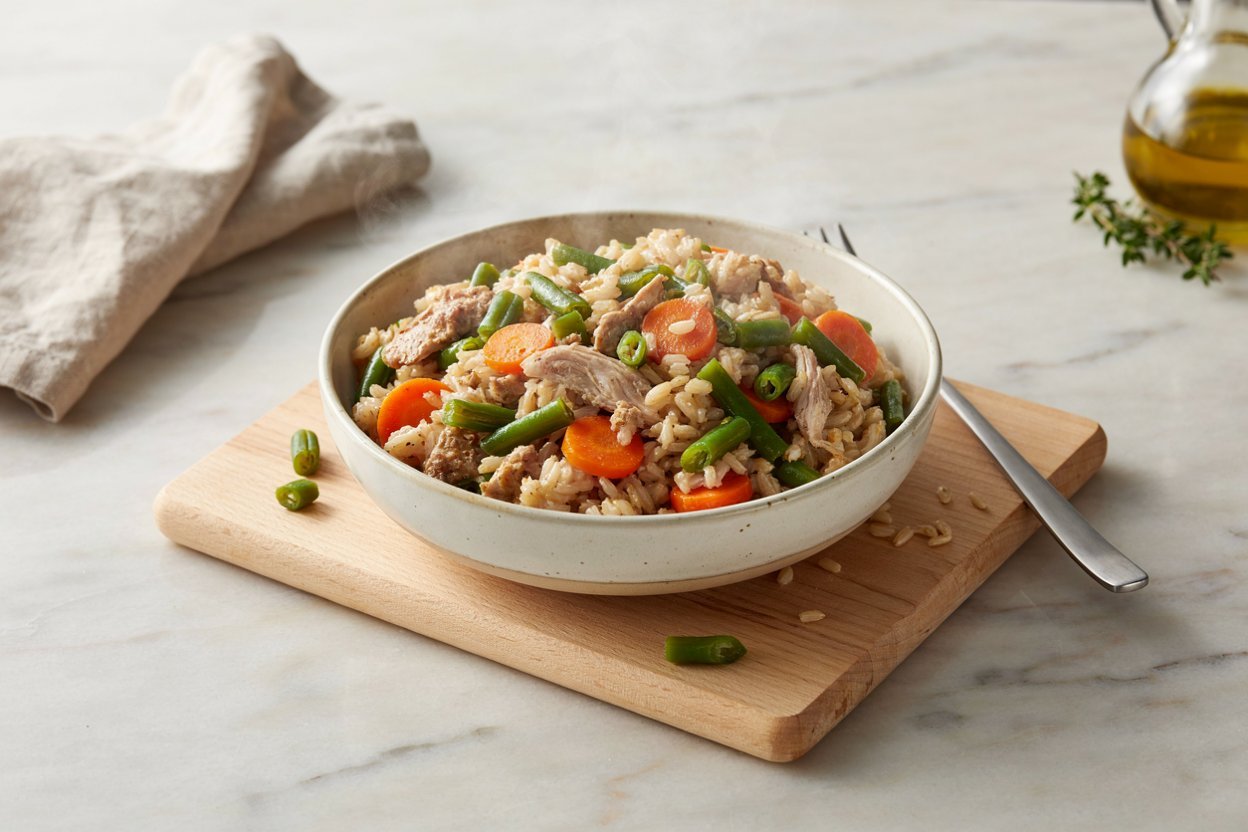
The single habit that made homemade dog food actually sustainable for me wasn’t a specific recipe. It was learning to cook in a way that assumed the freezer, not the fridge, would be doing most of the work.
A batch made on a Sunday afternoon can quietly cover two or three weeks of meals if it’s portioned and frozen properly, which turns homemade feeding from a constant, ongoing task into something you only really think about once every few weeks.
This guide walks through one simple recipe built specifically with freezing in mind, along with the techniques that actually make frozen portions come out tasting fresh rather than watery or freezer burned months later.
If you want to build out your homemade cooking rotation beyond this one recipe, a few related guides are worth having open alongside this one.
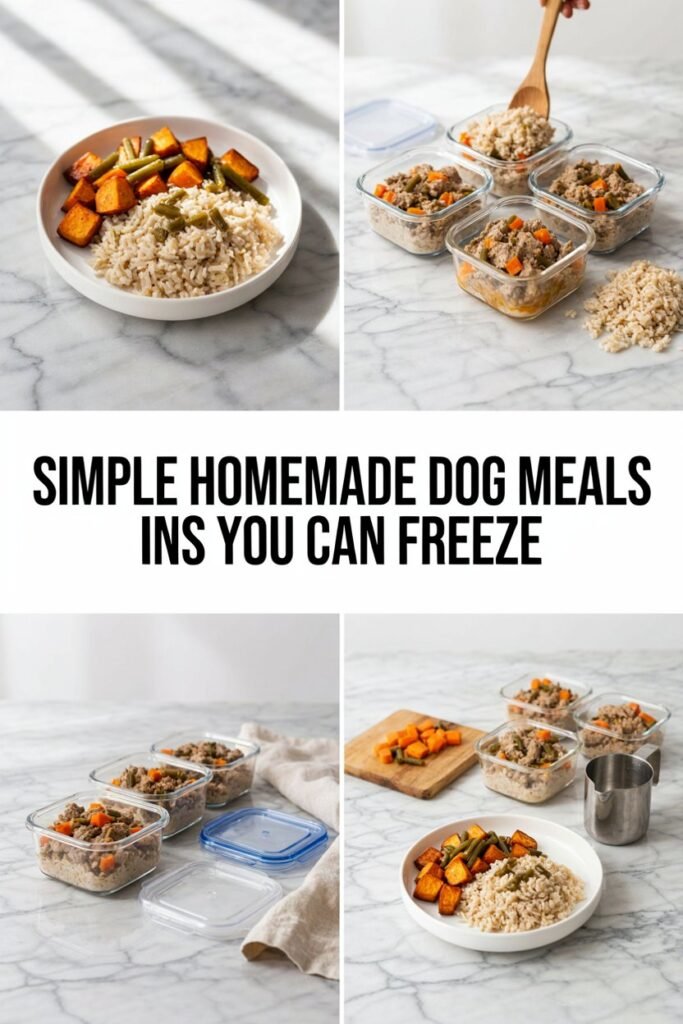
Homemade dog food with vet approved ingredients covers what a fully balanced diet needs beyond just picking good ingredients, ground turkey dog food recipe for beginners and one pot homemade dog food recipes for beginners offer other simple starting points, budget friendly homemade dog food for busy pet parents covers batch cooking strategies that pair especially well with this guide, easy crockpot dog food recipe your dog will love and instant pot turkey dog food recipe are worth a look if you want to compare cooking methods, 3 ingredient cooked dog food offers the simplest possible version of homemade feeding, healthy homemade dog meals you can make at home covers how to adjust a meal for specific health goals, and human foods dogs can safely eat is a good reference for what’s safe to share from your own kitchen more broadly.
Disclaimer
This post may contain affiliate links. As an Amazon Associate, I earn from qualifying purchases at no additional cost to you. I only recommend dog-safe ingredients and kitchen tools that I genuinely find useful for preparing homemade dog meals. Homemade diets can become nutritionally unbalanced if they are not properly formulated, especially when fed long term, so consult your veterinarian or a qualified veterinary nutritionist before making homemade meals a regular part of your dog’s diet.
Shop on Amazon With 50% Discount On Your Orders
- Digital Kitchen Scale – I use this to measure ingredients accurately and keep portions consistent when preparing homemade dog meals.
- Freezer-Safe Meal Prep Containers – I use these to divide meals into individual portions and keep larger batches organized in the freezer.
- Reusable Silicone Freezer Bags – I use these to store extra portions efficiently while saving space in the freezer.
Why Freezing Works So Well for Homemade Dog Food
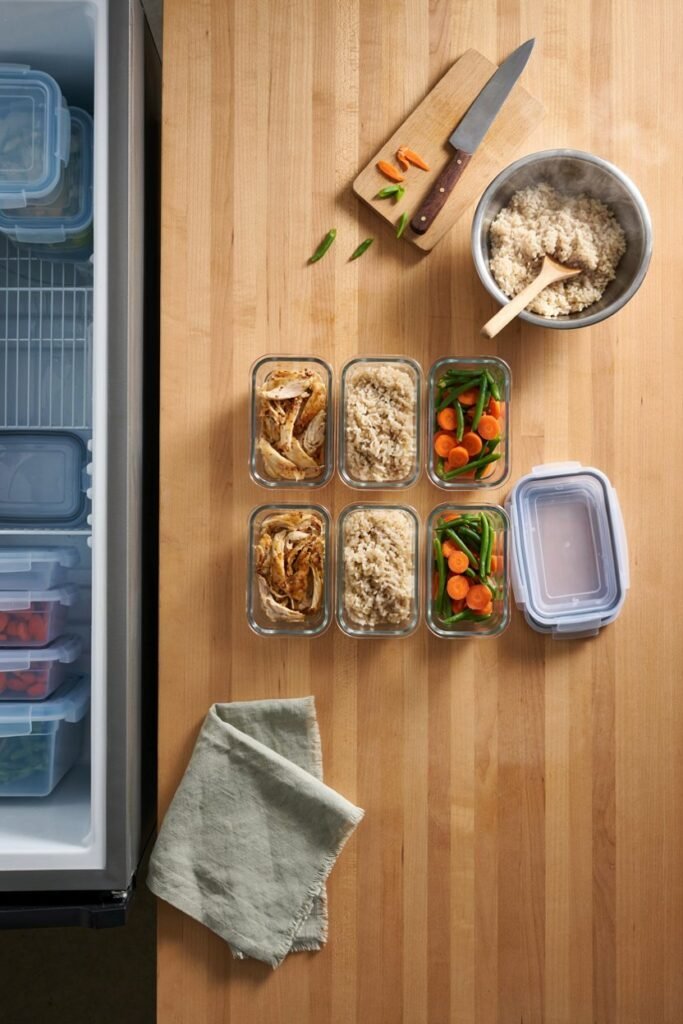
Freezing solves the single biggest practical obstacle to homemade feeding, which is that fresh cooked food only stays safe in the refrigerator for a handful of days.
Without a freezing plan, that means cooking every few days indefinitely, which is exactly the kind of ongoing commitment that causes a lot of people to give up on homemade food after a few weeks.
Portioning a larger batch and freezing most of it turns one cooking session into a genuine reserve you can draw from over time, and it also means you’re never caught without a meal on a day you simply don’t have time to cook.
Before You Start
As with any homemade recipe, it’s worth being upfront that this recipe isn’t automatically a complete, nutritionally balanced diet suitable for daily, long term feeding just because it’s made from real, whole ingredients.
Dogs need appropriate amounts of protein, fat, carbohydrates, calcium, phosphorus, essential fatty acids, vitamins, minerals, and a range of trace nutrients, all in specific proportions that a simple recipe doesn’t fully provide on its own.
This meal works well as a regular addition, an occasional full meal, or a foundation you build on with proper supplementation.
If you’re planning to replace your dog’s complete commercial diet entirely, working with a veterinarian or a board certified veterinary nutritionist is the most reliable way to make sure the final recipe is genuinely balanced for daily use.
Understanding the Ingredients
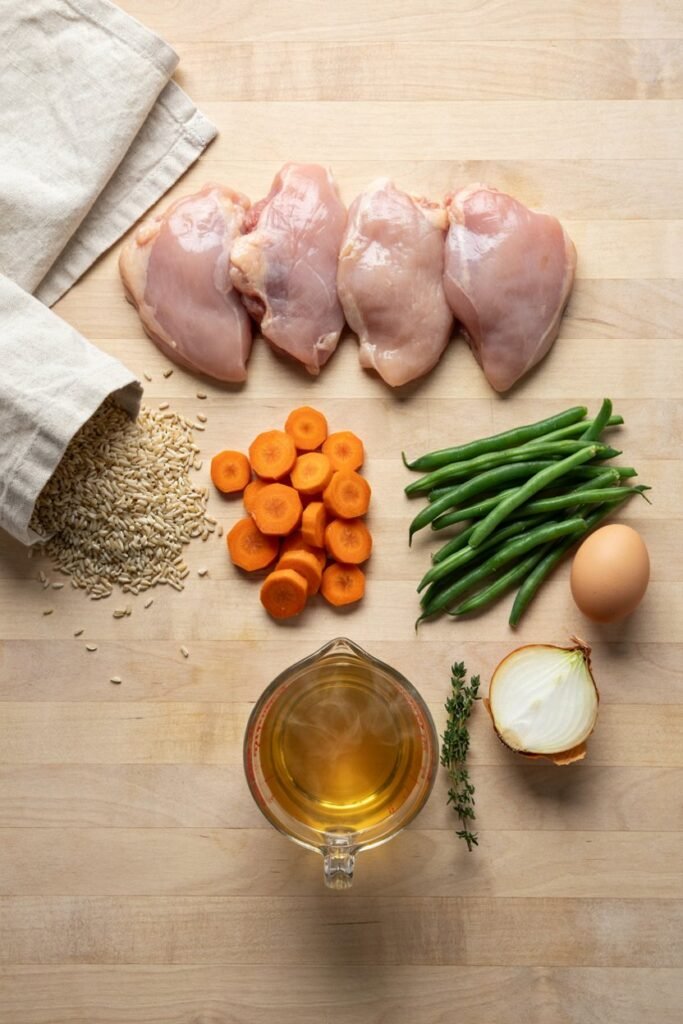
Chicken thighs or ground turkey. Both freeze and reheat well without much change in texture, making either a reliable choice for a recipe built around freezer storage.
Brown rice. Rice freezes reasonably well, though it’s worth knowing that its texture softens slightly after thawing compared to when it’s freshly cooked, which is normal and doesn’t affect safety or nutrition.
Carrots and green beans. Both hold their texture well through freezing and thawing, especially compared to more delicate vegetables like leafy greens, which can turn noticeably softer or slightly mushy after a freeze cycle.
Low sodium chicken broth. Broth adds moisture that helps prevent the mixture from drying out in the freezer, and it also helps protect the texture of the other ingredients somewhat during freezing and thawing.
Egg, added after cooking and before freezing. A single egg, scrambled separately and stirred in once the mixture has cooled, adds extra protein and generally freezes without much issue, though very egg heavy recipes can sometimes turn slightly rubbery after thawing.
Fish oil, added at serving time rather than before freezing. Fish oil is more prone to degrading with extended freezer storage than the other ingredients in this recipe, so it’s better stirred in fresh right before serving a thawed portion rather than mixed in before the whole batch goes into the freezer.
Ingredients I Avoid
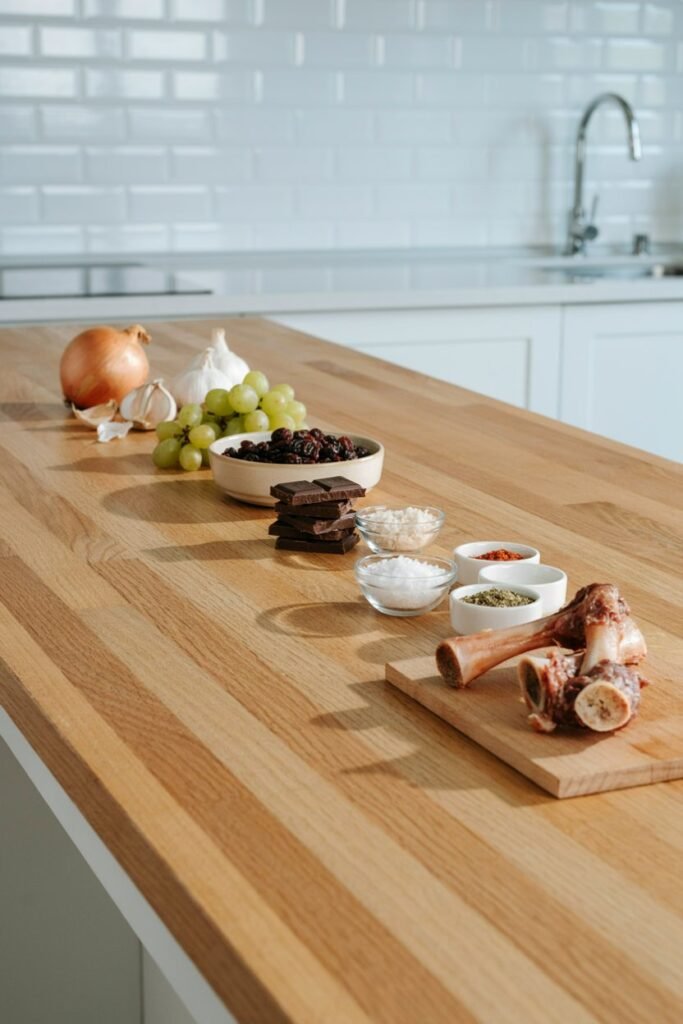
Onion, garlic, chives, excessive salt, seasoning blends, rich sauces, xylitol, grapes, raisins, chocolate, and cooked bones have no place in this recipe.
It’s worth checking the broth label specifically before using it, since a surprising number of otherwise plain sounding broths include onion or garlic for flavor, even inexpensive store brands.
Simple Homemade Dog Meal for Freezing
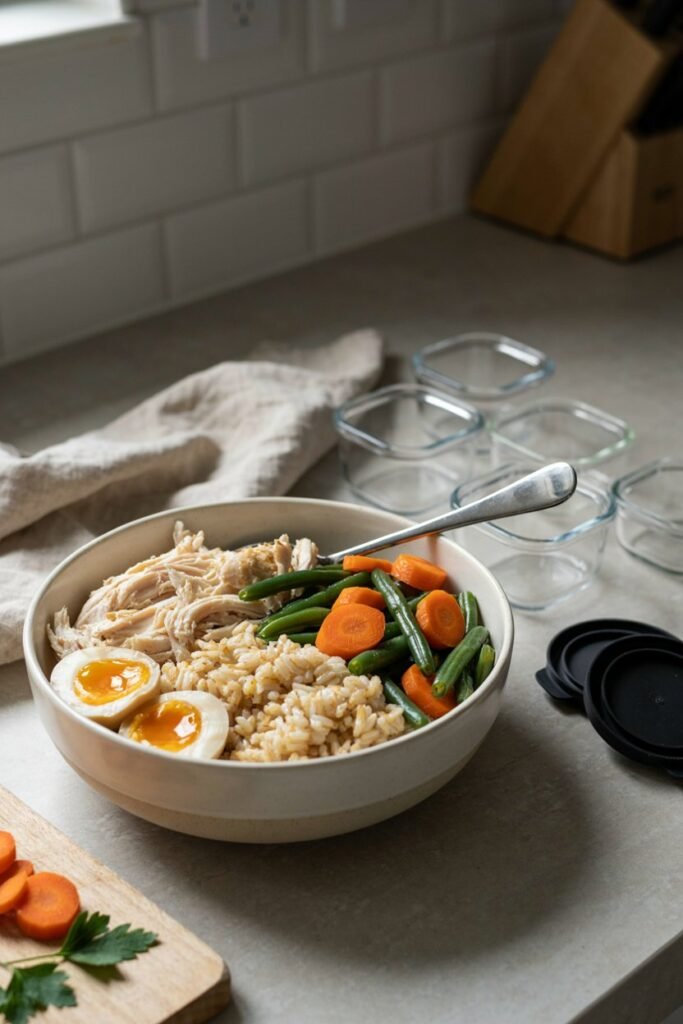
Yield: About 10 to 12 servings, depending on your dog’s size Prep Time: 10 minutes Cook Time: 25 to 30 minutes Total Time: About 40 minutes Storage: Refrigerate up to 4 days, freeze up to 3 months
Ingredients
- 2.5 pounds chicken thighs or ground turkey. A larger quantity than a single week’s worth of meals, since this recipe is built specifically to produce enough for meaningful freezer storage.
- 2 cups brown rice, uncooked. Rice provides a filling, freezer friendly carbohydrate base that absorbs flavor from the broth as it cooks.
- 1.5 cups carrots, chopped. Carrots hold their texture well through freezing and add fiber and natural sweetness.
- 1.5 cups green beans, chopped. Green beans also freeze and thaw well, adding volume and fiber without many extra calories.
- 4 cups low sodium chicken broth, onion and garlic free. Broth keeps the mixture moist both during cooking and through the freezing and thawing process.
- 1 egg, scrambled separately, added after cooking. Stirred in once the mixture has cooled, the egg boosts protein content.
How to Make It
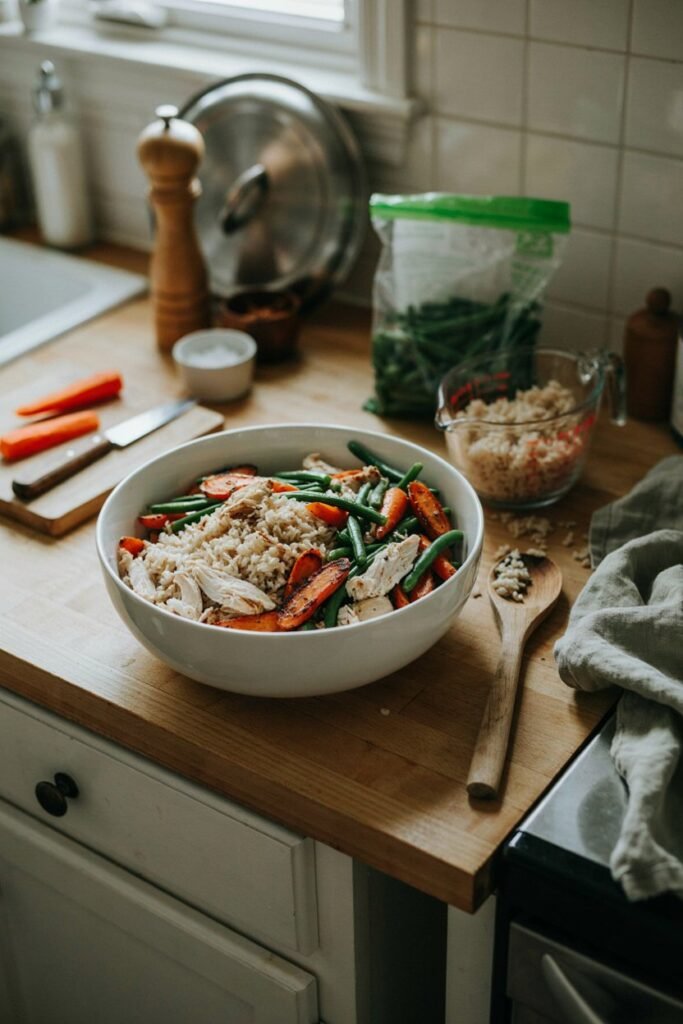
- Cook the chicken thighs or ground turkey thoroughly in a large pot, breaking it apart or shredding once cooked.
- Cook the rice separately according to package instructions, using plain water.
- Steam or boil the carrots and green beans until tender.
- Combine the protein, rice, and vegetables in a large bowl once everything has cooled slightly, stirring in the broth.
- Let the full mixture cool to room temperature.
- Scramble the egg separately, then stir it into the cooled mixture.
- Divide into individual, freezer safe portions immediately, rather than storing one large container.
How to Freeze This Meal the Right Way
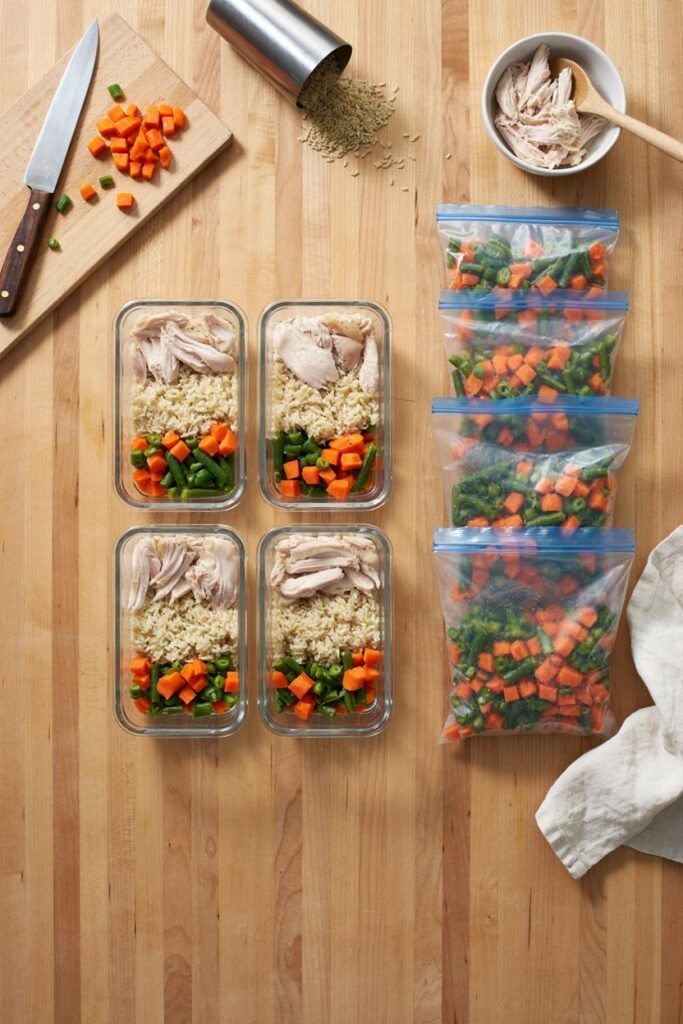
Portion before freezing, not after. Freezing the entire batch in one large container means you’re forced to thaw the whole thing every time you need a single meal. Dividing it into individual servings first means you’re only ever thawing exactly what you need.
Use freezer safe containers or bags specifically, not just anything with a lid. Regular storage containers can allow more air exposure than freezer rated ones, which speeds up freezer burn. Freezer bags with the air pressed out, or containers labeled specifically for freezer use, hold up considerably better over several months.
Press out excess air if using bags. Air trapped inside a bag is the biggest driver of freezer burn, so flattening the bag and pressing out as much air as possible before sealing makes a real difference in how the food holds up over time.
Leave a small amount of headspace in rigid containers. Food expands slightly as it freezes, and a completely full container can crack or pop its lid if there’s no room for that expansion.
Label everything with the recipe and date. It’s easy to lose track of what’s what and how long it’s been frozen once a few different batches accumulate, and a simple label prevents confusion months later.
Freeze in a single layer first if using small individual portions. Laying smaller portions flat on a tray until solid, then transferring them to a bag or container, keeps them from freezing into one solid mass that’s hard to separate later.
How Long Does Frozen Dog Food Actually Last?
Most homemade dog food holds its quality well for about 3 months in the freezer, though it technically remains safe to eat somewhat longer than that if kept consistently frozen.
Quality, not just safety, is really what declines over time, with texture and flavor gradually becoming less appealing the longer something sits frozen, particularly past the 3 month mark.
Labeling with the date and generally working through older portions before newer ones, a simple first in, first out approach, keeps your freezer rotation from accumulating meals that have been sitting for an unclear amount of time.
How to Thaw and Reheat Frozen Portions Safely
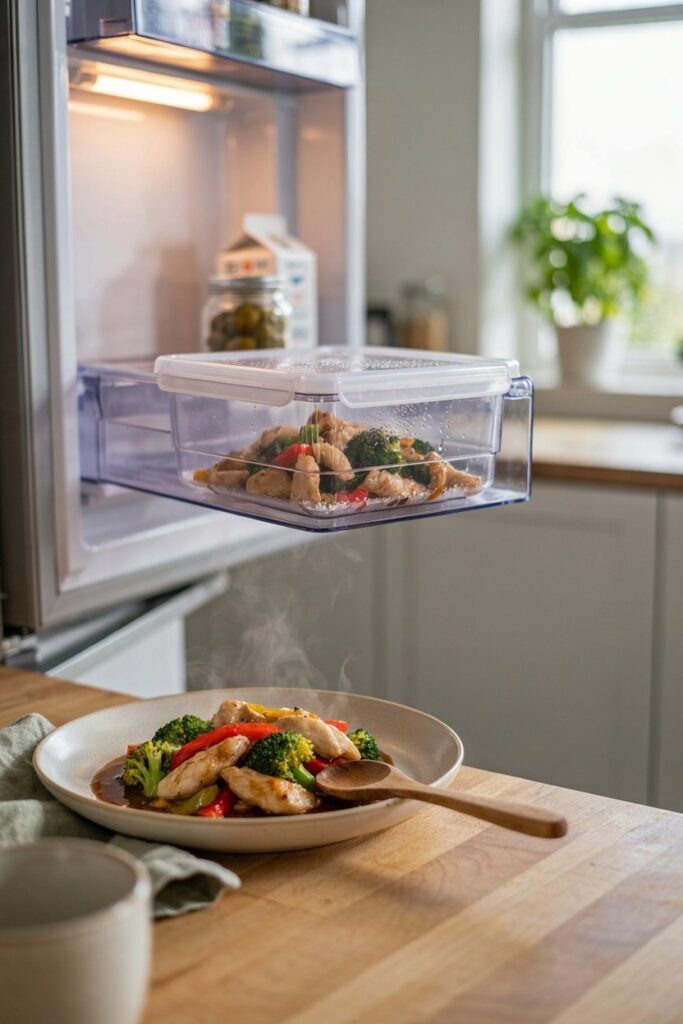
Thaw in the refrigerator, not on the counter. Moving a frozen portion to the fridge the night before you need it is the safest approach, since leaving food at room temperature for an extended period allows bacteria to grow more easily.
If you’re in a hurry, use cold water instead of hot. Submerging a sealed bag or container in cold water speeds up thawing considerably faster than leaving it at room temperature, without the food safety risk that comes with warmer water or extended room temperature exposure.
Warm gently before serving, if desired. A brief warm up, whether in a pan or briefly in the microwave, can make a thawed meal more appealing, though it’s important to stir thoroughly and check that there are no hot spots before serving.
Don’t refreeze a fully thawed portion. Once a portion has thawed completely, it’s best used within a few days rather than refrozen, since repeated freezing and thawing degrades both texture and food safety more than a single freeze cycle does.
How Much Should You Serve?
There’s no single serving size that works for every dog, and feeding amounts depend on your dog’s weight, age, activity level, body condition, and the rest of their diet.
As a general starting point, most adult dogs eat somewhere between 2 and 3 percent of their body weight in food per day, split across two meals, though this shifts for puppies, seniors, or dogs with specific health conditions.
Working with your veterinarian to calculate a more precise calorie target is the most reliable way to get portions right.
How to Transition Your Dog to This Recipe
Don’t replace your dog’s regular food with this recipe all at once. A gradual transition over about a week gives their digestive system time to adjust.
Start with a small amount mixed into their regular food, gradually increasing the proportion over several days while watching for loose stool, vomiting, excessive gas, or reduced appetite.
If symptoms are significant or persistent, slow the process down or contact your veterinarian rather than pushing through.
Good Ingredients to Look For When Cooking for the Freezer
Named animal proteins that hold up well frozen. Chicken and turkey both freeze and reheat with minimal texture change, which matters more here than with a meal you’re eating fresh the same day.
Firmer vegetables over delicate ones. Carrots, green beans, and peas all hold their structure through freezing and thawing better than leafy greens, which tend to turn noticeably softer.
A reasonable amount of broth or liquid. Enough moisture in the mixture helps protect texture during freezing, though too much can lead to a watery result once thawed, so a moderate amount works best.
Plain, onion and garlic free broth specifically. A good broth adds real flavor and moisture without introducing anything unsafe, as long as the label is checked carefully every time.
Ingredients You Should Never Add
- Onion, garlic, and chives damage red blood cells and can cause anemia, even in small amounts.
- Excess salt and seasoning blends offer no benefit to a dog and can be genuinely harmful in larger quantities.
- Xylitol containing products cause a dangerous, rapid drop in blood sugar.
- Grapes and raisins can cause serious kidney problems, with no reliably safe amount.
- Chocolate is toxic even in modest amounts.
- Cooked bones can splinter and cause internal injury.
Common Mistakes to Avoid
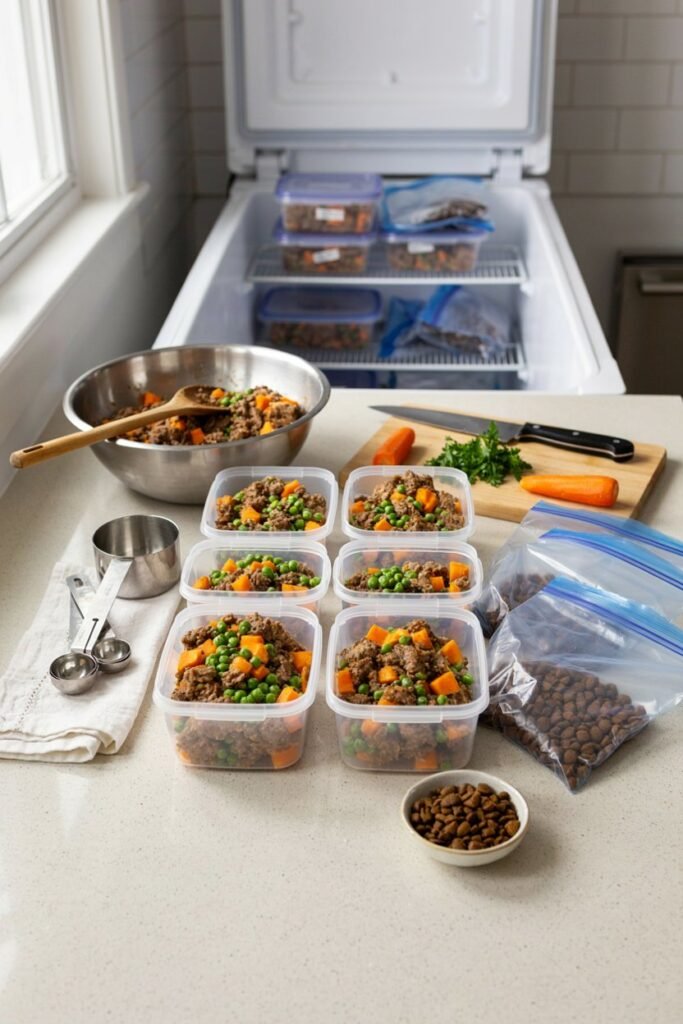
Freezing one large container instead of individual portions. This is the single most common mistake with freezer meal prep, and it undermines the entire convenience of having a freezer stocked with ready meals.
Using containers not actually rated for freezer use. Standard storage containers can allow more air exposure than freezer specific ones, leading to faster freezer burn.
Adding fish oil before freezing. It holds up better added fresh at serving time rather than frozen for an extended period alongside the rest of the meal.
Thawing at room temperature. This allows bacteria to grow more easily than thawing in the refrigerator or using the cold water method.
Losing track of how long something has been frozen. Labeling every container or bag with the date prevents this, and it’s a habit worth building from the very first batch.
Refreezing a fully thawed portion. Once thawed, use it within a few days rather than putting it back in the freezer.
Frequently Asked Questions
Can I feed this recipe every day? As an occasional meal or topper, yes, without much concern. As a sole, long term diet, it should be reviewed and properly formulated with a veterinarian’s input first.
How long can I safely freeze homemade dog food? Generally up to 3 months for the best quality, though it remains technically safe somewhat longer if kept consistently frozen, with gradually declining texture and flavor over time.
Is it safe to thaw dog food on the counter? It’s better to thaw in the refrigerator or using a sealed bag submerged in cold water, since room temperature thawing allows bacteria to grow more easily over an extended period.
Can I refreeze thawed dog food? It’s best not to. Once a portion has fully thawed, use it within a few days rather than refreezing it, since repeated freeze and thaw cycles degrade both quality and safety more than a single cycle.
Does freezing destroy nutrients in homemade dog food? Freezing itself has a relatively minor impact on most nutrients compared to the cooking process itself, though some vitamin content can decline gradually the longer something sits frozen, which is part of why using portions within a few months matters.
What’s the best size for individual freezer portions? Whatever matches a single meal for your specific dog, whether that’s a small container for a smaller dog or a larger one for a bigger breed, since the whole point is thawing exactly what you need without excess.
Can I freeze this recipe in a silicone ice cube tray for a small dog? Yes, that’s a genuinely useful approach for very small dogs, since it portions the food into bite sized amounts that thaw quickly and are easy to combine to reach the right total serving size.
Do I need a calcium supplement if I’m freezing this recipe? If you’re using it as an occasional meal or topper, generally not. If you’re planning to feed it regularly as your dog’s primary diet, a vet recommended calcium supplement is usually necessary, since muscle meat alone doesn’t provide enough on its own, regardless of whether the food is fresh or frozen.
Can puppies eat frozen homemade meals? Puppies have different nutritional requirements because they’re actively growing, so this recipe shouldn’t become a puppy’s regular diet without a veterinarian reviewing it first.
How do I know if frozen dog food has gone bad? Look for signs like an off smell once thawed, an unusual color change, or ice crystals suggesting the food thawed and refroze at some point, all of which are reasons to discard a portion rather than serve it.
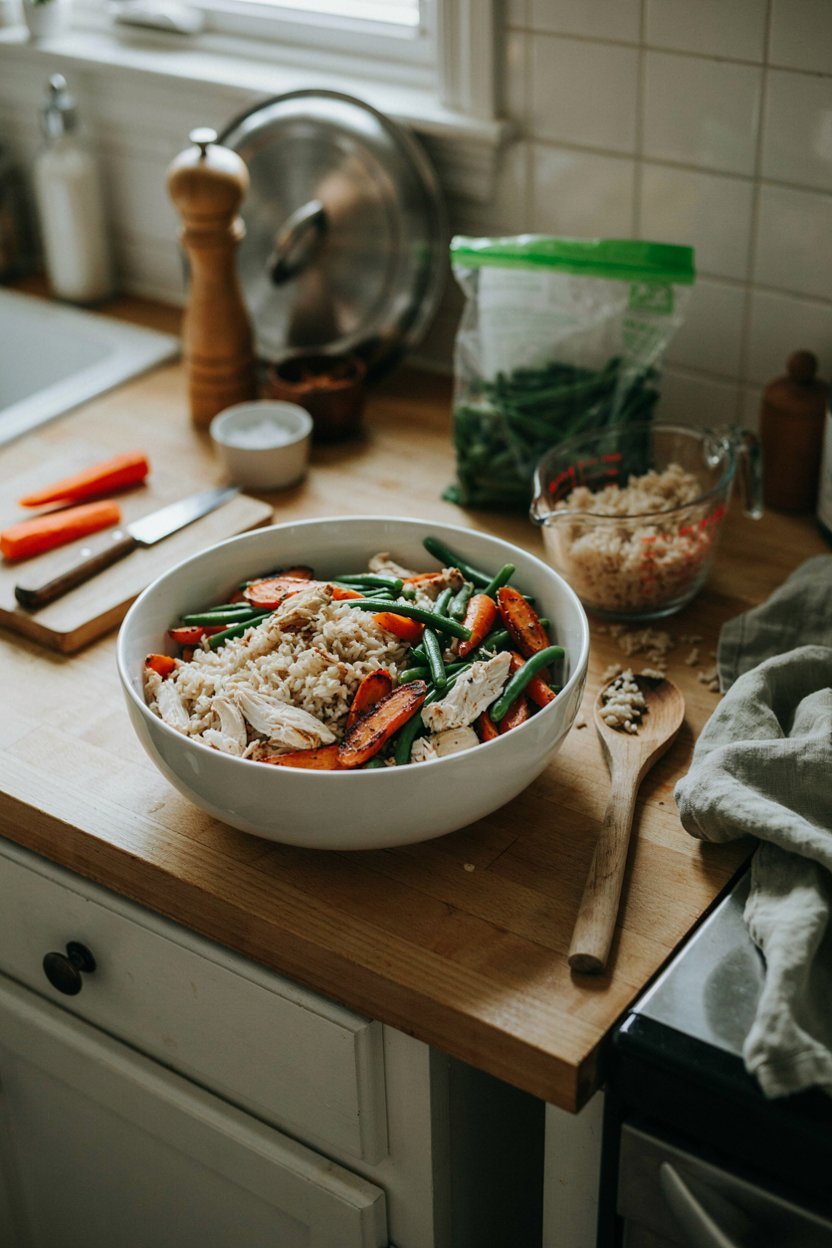
Simple Homemade Dog Meals You Can Freeze
Ingredients
Equipment
Method
- Cook the chicken thoroughly without adding salt, onion, garlic, oil, or seasonings.
- Allow the chicken to cool slightly, then remove any bones, skin, and excess fat before shredding it into small pieces.
- Prepare the brown rice according to the package directions until tender.
- Cook the carrots and green beans until soft.
- Add the cooked chicken, rice, carrots, green beans, and pumpkin puree to a large mixing bowl.
- Add the water and gently mix until the ingredients are evenly combined.
- Allow the mixture to cool completely before portioning.
- Divide the food into individual freezer safe containers or portions.
- Seal the containers and freeze until needed.
- Thaw a portion in the refrigerator before serving and make sure the food is at a suitable temperature for your dog.
- Portioning the food before freezing makes homemade feeding much easier because you can thaw only what you need. Use freezer safe containers or bags and label each portion with the date.
- Avoid leaving homemade dog food at room temperature for extended periods. Do not add onion, garlic, excessive salt, seasoning blends, or cooked bones.
- This recipe should not automatically be considered a complete and balanced long term diet. If homemade food will make up a significant part of your dog’s regular diet, have the recipe properly formulated for your dog’s individual nutritional needs.
Final Thoughts
Building a freezer stocked with ready to go homemade meals is really what makes this whole approach sustainable long term, far more than any single recipe does on its own.
One larger cooking session, properly portioned and labeled, can genuinely carry you through weeks of feeding without needing to think much about it in between.
Start with this recipe, get comfortable with the portioning and labeling habits that make freezing actually work well, and you’ll find homemade feeding becomes a lot less demanding than it might have seemed at the start.

3 Comments