
Dog Icing Recipe That Hardens (Perfect for Treats & Pupcakes!)
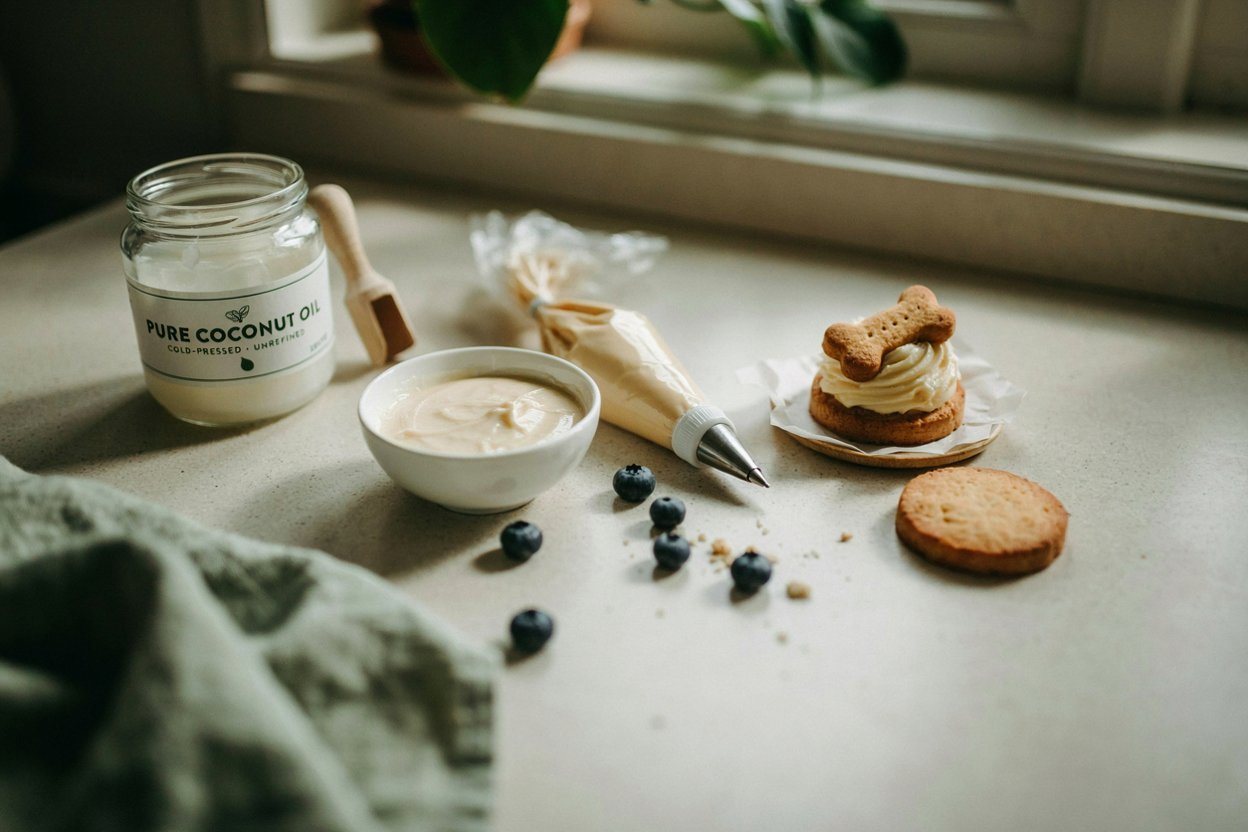
Decorating a treat for your dog’s birthday or a special occasion is a lot more satisfying when the icing actually behaves like icing, setting into a firm, glossy layer rather than staying a soft, messy smear that never quite holds its shape.
This guide walks through one simple, dog safe icing recipe that genuinely hardens once chilled, along with why it sets the way it does, how to pipe or spread it, and a few natural ways to add color without reaching for anything artificial.
If you want to build out your treat and baking rotation beyond this one recipe, a few related guides are worth having open alongside this one.
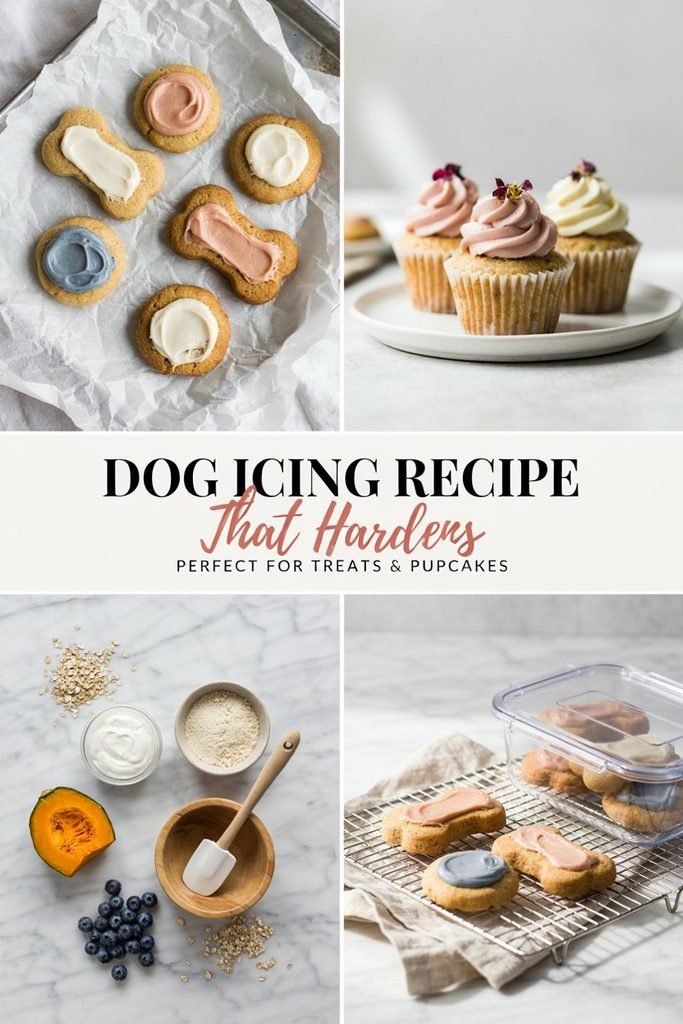
Best DIY dog biscuits that last for weeks and easy delicious homemade dog waffle recipe give you a base to decorate with this icing, homemade pumpkin and oatmeal dog snack sticks and easy homemade pumpkin carrot chews for dogs offer other baked treats you could top with this icing, sweet potato and blueberry chews for dogs and 3 ingredient peanut butter dog gummies round out your treat options, simple carrot based dog treat recipes for beginners is a great everyday companion, and human foods dogs can safely eat is a good reference for the bigger picture of safe food sharing.
Disclaimer
This post may contain affiliate links. As an Amazon Associate, I earn from qualifying purchases at no additional cost to you. I only recommend dog-safe ingredients and kitchen tools that I genuinely find useful for decorating homemade dog treats. Always use dog-safe ingredients, avoid xylitol, chocolate, and other unsafe ingredients, and check every ingredient label before using it for your dog. Consult your veterinarian before introducing new treats or ingredients.
Shop on Amazon With 50% Discount On Your Orders
- Silicone Piping Bags – I use reusable piping bags to apply dog-safe icing neatly to treats, cookies, and pupcakes.
- Dog Treat Decorating Tips – I use small decorating tips to create simple designs and controlled icing details without making a mess.
- Silicone Spatula Set – I use silicone spatulas to mix the icing smoothly and transfer it into the piping bag without wasting any.
Why This Icing Actually Hardens
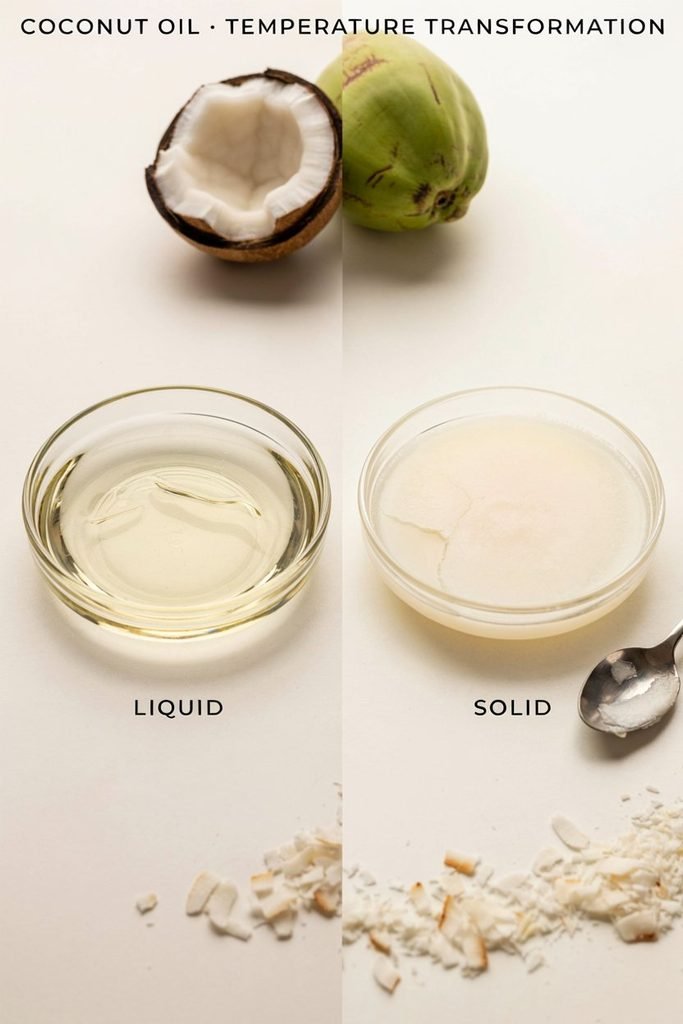
The secret here is coconut oil, which is liquid at room temperature but solidifies once chilled, the same way it goes from clear liquid to solid white in your pantry depending on the temperature.
Mixed into yogurt and then refrigerated or frozen, that same solidifying property sets the whole mixture into a firm, glossy layer rather than leaving it soft and spreadable indefinitely.
This is really the entire mechanism behind this recipe, no special baking or complicated technique needed, just the natural behavior of coconut oil doing the work once the mixture goes into the fridge or freezer.
Before You Start
A few things are worth knowing before you start decorating. Coconut oil is calorie dense and high in saturated fat, so while it works wonderfully for this recipe’s texture, it should be used in moderation rather than piled on thickly, especially for a smaller dog.
Yogurt is generally well tolerated by most dogs in small amounts, but not every dog handles dairy equally well, so it’s worth introducing this icing in a small amount the first time rather than covering an entire treat right away.
And like any topping, this icing should be treated as an occasional, special occasion addition rather than a regular part of your dog’s daily routine.
Understanding the Ingredients
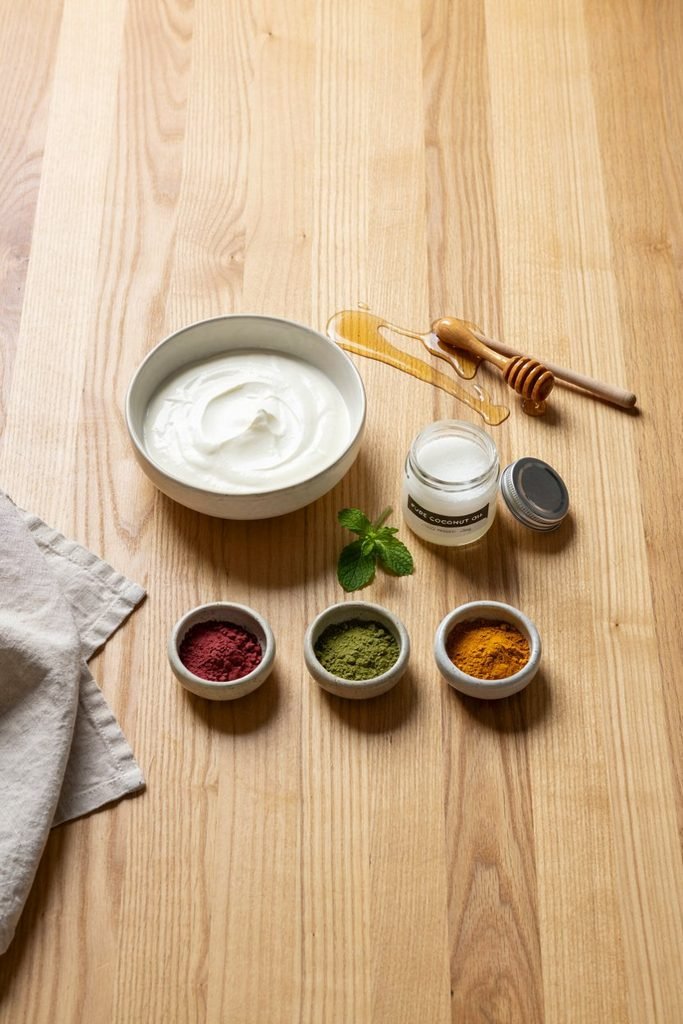
Plain, unsweetened Greek yogurt. The base of the icing, contributing protein, a smooth texture, and a mild tanginess that balances out the richness of the coconut oil.
Greek yogurt specifically works better than regular yogurt here, since its thicker consistency holds up better once mixed with the oil and helps the icing set into a more stable shape.
Coconut oil, melted. The ingredient responsible for the hardening effect. Melting it fully before mixing ensures it combines smoothly into the yogurt rather than clumping.
Honey, in a very small amount, optional. A small touch of honey adds a bit of natural sweetness, though it should be used sparingly given that dogs don’t need added sugar, even a natural one, in any meaningful quantity.
Natural coloring, optional. A pinch of beet powder for pink, a small amount of spinach powder for green, or a touch of turmeric for yellow can add color without needing anything artificial, though each should be used in a very small amount, both for color intensity and because turmeric in particular has a strong flavor that can overpower the icing if overused.
Ingredients I Avoid
Artificial food coloring, powdered sugar, chocolate or cocoa of any kind, and flavored or sweetened yogurt all have no place in this recipe.
Chocolate deserves particular emphasis here, since it’s genuinely toxic to dogs and it can be tempting to reach for cocoa powder out of habit when making something that resembles a dessert icing.
Dog Icing That Hardens
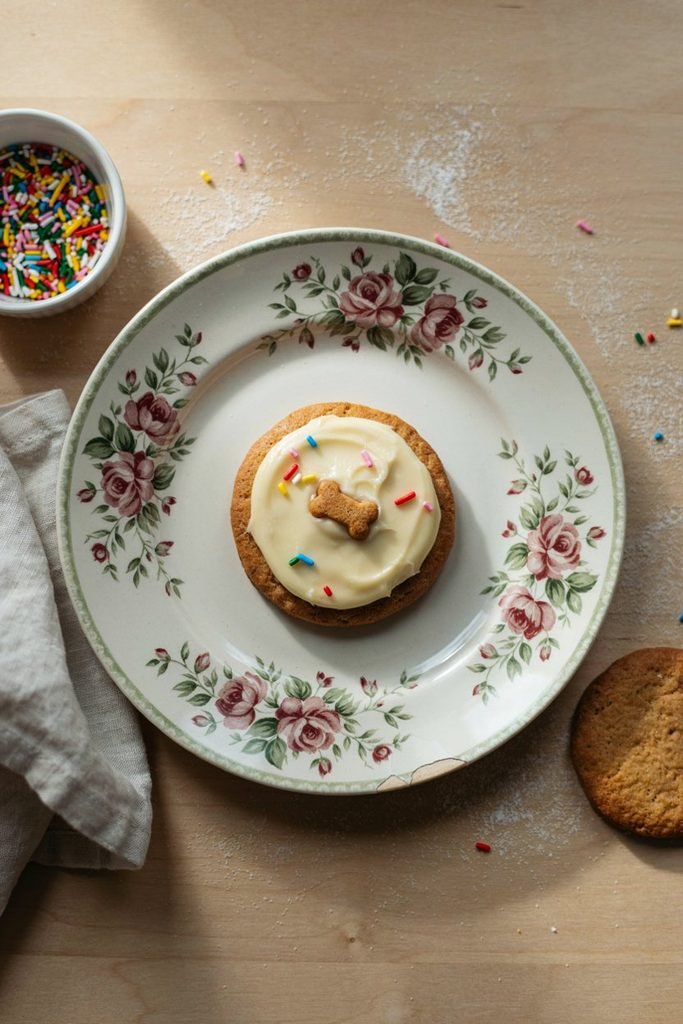
Yield: About 1 cup, enough to decorate several small treats or one pupcake Prep Time: 5 minutes Set Time: At least 1 hour in the refrigerator, or 20 to 30 minutes in the freezer Storage: Refrigerate up to a week, freeze up to 2 months
Ingredients
- 1/2 cup plain, unsweetened Greek yogurt. The base and body of the icing.
- 2 tablespoons coconut oil, melted. This is what allows the icing to harden once chilled.
- 1/2 teaspoon honey, optional. Adds a touch of natural sweetness in a small amount.
- A pinch of natural coloring, optional. Beet powder, spinach powder, or turmeric, used sparingly.
How to Make It
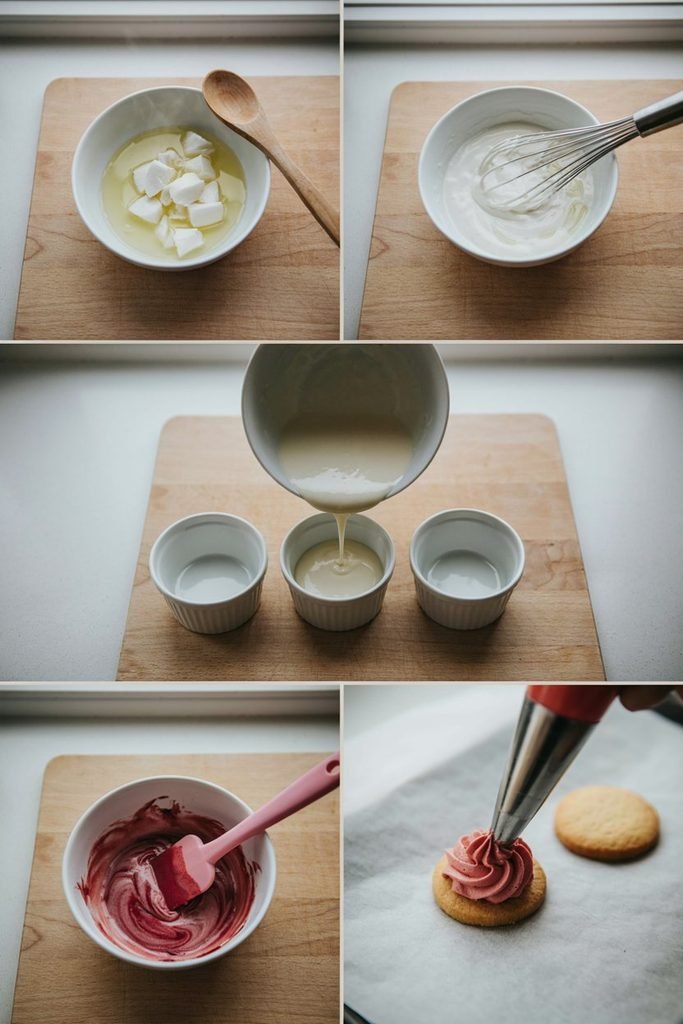
- Melt the coconut oil gently, either in a microwave in short bursts or over low heat on the stove, until fully liquid.
- In a mixing bowl, combine the yogurt and melted coconut oil, whisking until smooth and fully incorporated.
- Stir in the honey, if using.
- Divide the mixture into separate small bowls if you want multiple colors, then stir in a small pinch of your chosen natural coloring into each one, mixing until evenly distributed.
- Transfer the icing to a piping bag, a small resealable bag with the corner snipped off, or simply use a small spoon or offset spatula for spreading rather than piping.
- Pipe or spread the icing onto fully cooled treats or a pupcake.
- Refrigerate for at least an hour, or freeze for 20 to 30 minutes, until the icing has fully hardened.
How to Pipe or Decorate With This Icing
Because this icing starts soft and only hardens once chilled, it behaves a bit differently from a traditional stiff frosting.
Work relatively quickly once it’s mixed, since it will start to soften further at room temperature the longer it sits out. If piping small details, chilling the icing itself for 10 to 15 minutes before piping can make it slightly easier to control, giving it a bit more body without fully hardening yet.
Simple designs, dots, swirls, or a solid coating over the top of a treat, tend to work more reliably than intricate detail, given how the icing behaves before it sets.
How to Add Color Naturally
For pink. A small pinch of beet powder, added gradually, produces a soft pink that intensifies the more you add.
For green. A small pinch of spinach powder creates a muted, natural green.
For yellow. A tiny amount of turmeric produces a warm yellow, though it has a noticeably stronger flavor than the other options, so use less than you might expect.
For white. Simply skip the coloring step entirely, letting the yogurt and coconut oil’s natural pale color stand on its own.
How Much Icing Should a Dog Have?
This icing is meant as a decorative topping in a modest amount, not a significant portion of a treat.
A thin layer over a small treat or a light coating on a slice of pupcake is plenty. Given the calorie density of coconut oil specifically, it’s worth thinking of this as an occasional, special occasion touch rather than something to use generously or often.
Storage
Refrigerator. Store any unused icing in an airtight container for up to a week, and keep decorated treats refrigerated until serving.
Freezer. The icing itself can be frozen for up to 2 months, and decorated treats can also be frozen, though the icing’s texture may soften slightly once thawed compared to a freshly set batch.
Common Problems When Making This Icing
Why won’t my icing harden? This usually means it hasn’t been refrigerated or frozen long enough, or the coconut oil to yogurt ratio needs adjusting slightly. Increasing the coconut oil a bit relative to the yogurt on your next batch, and giving it the full recommended chill time, should help.
Why does my icing look grainy or separated? This can happen if the coconut oil wasn’t fully melted and smooth before mixing, or if it was added to cold yogurt straight from the fridge, causing it to firm up unevenly on contact. Letting the yogurt sit at room temperature briefly before mixing helps prevent this.
Why did my color turn out much darker than expected? Natural colorings like beet and spinach powder can be more concentrated than they appear. Start with a very small pinch and add more gradually rather than adding a full measured amount all at once.
Can I pipe intricate designs with this icing? Detailed piping is possible but trickier than with a traditional stiff frosting, since this icing starts soft. Simple shapes and a light chill before piping give you the best chance of holding a design.
Good Ingredients to Look For
Plain, unsweetened Greek yogurt. Nothing but yogurt and live cultures on the label, no added sugar or artificial sweeteners.
Pure coconut oil. Look for a plain, unrefined or refined coconut oil with nothing else added.
Natural powders for coloring. Beet powder, spinach powder, and turmeric are all reasonable, naturally derived options in place of artificial food coloring.
Nothing artificial. No food dye, powdered sugar, or cocoa belong in a topping meant for a dog.
Common Mistakes to Avoid
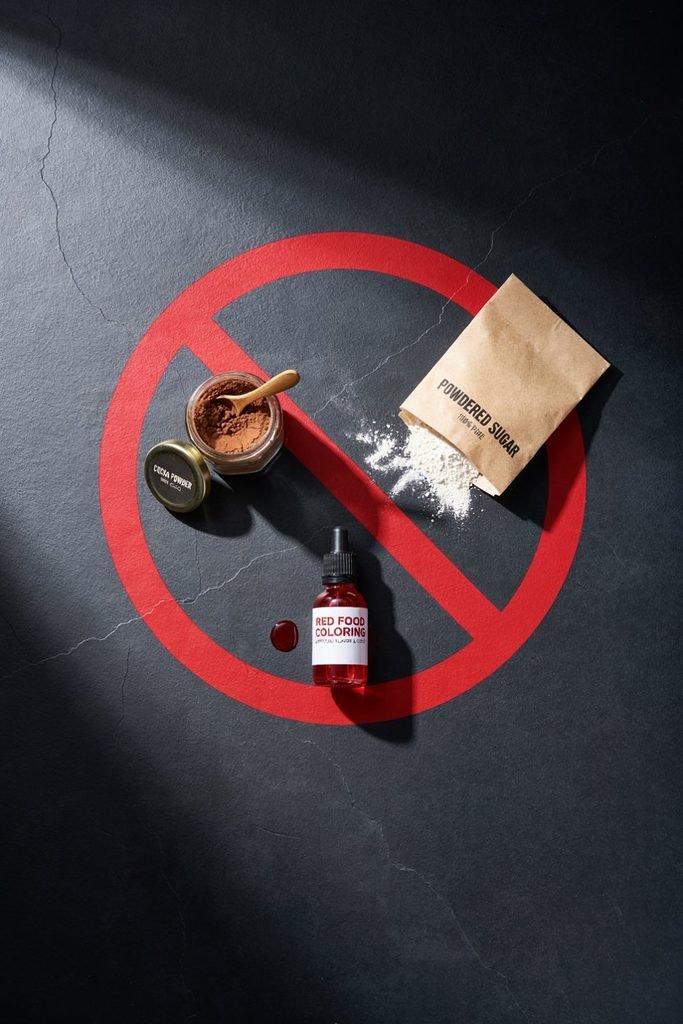
Using flavored or sweetened yogurt. This introduces added sugar that has no place in a dog’s treat, even a decorative one.
Reaching for cocoa powder out of habit. Chocolate and cocoa are genuinely toxic to dogs, and it’s worth being deliberate about avoiding them here specifically, given how naturally they might come to mind for a dessert style icing.
Using too much natural coloring. A little goes a long way with beet, spinach, or turmeric powder, and starting small prevents an overly intense color or, in turmeric’s case, an overpowering flavor.
Serving the icing before it’s fully hardened. Give it the full recommended chill time, since a partially set icing can be messier and less structurally sound than a fully hardened one.
Applying too thick a layer. Given how calorie dense coconut oil is, a thin, even layer is plenty rather than a generous, cake like coating.
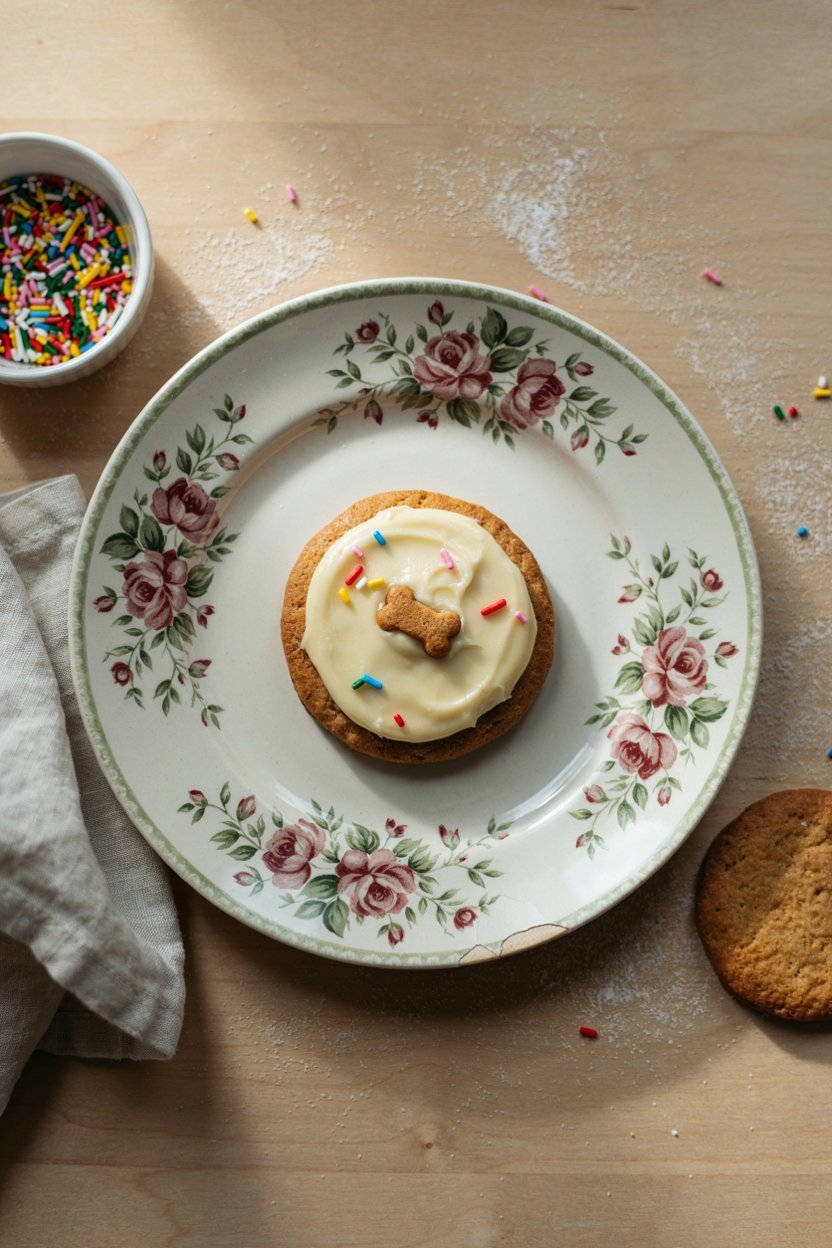
Dog Icing Recipe That Hardens
Ingredients
Equipment
Method
- Add the plain Greek yogurt to a small mixing bowl.
- Gradually add the tapioca starch while whisking continuously to prevent lumps.
- Add the pumpkin puree if using and mix until the icing is smooth and thick.
- Check the consistency. If the icing is too thin, add a little more tapioca starch. If it is too thick, add a small amount of yogurt.
- Transfer the icing to a piping bag or use a small spatula to spread it over completely cooled dog treats or pupcakes.
- Place the decorated treats on a flat surface and allow the icing to set for about 1 hour.
- For a firmer finish, refrigerate the decorated treats until the icing is fully set.
- Use plain, unsweetened Greek yogurt and check the ingredient label to make sure it contains no xylitol or other unsafe sweeteners.
- The icing will become firmer as it sets, but because it is homemade and contains yogurt, it is not intended to become as hard or shelf stable as commercial royal icing.
- Make sure baked treats and pupcakes are completely cool before decorating.
- Store decorated treats in an airtight container in the refrigerator and use them within a few days. You can also freeze decorated treats for longer storage.
- This icing is intended as an occasional treat and should be used in moderation.
Frequently Asked Questions
Is coconut oil safe for dogs? Yes, in small amounts, coconut oil is generally considered safe for dogs, though it’s calorie dense and high in saturated fat, so moderation matters.
Can I use regular yogurt instead of Greek yogurt? Regular yogurt works, though it’s thinner than Greek yogurt and may produce a slightly less stable icing once mixed with the coconut oil.
How long does it take for this icing to harden? Generally at least an hour in the refrigerator, or 20 to 30 minutes in the freezer for a faster set.
Can I use artificial food coloring instead of natural options? It’s better to avoid it. Natural options like beet powder, spinach powder, and turmeric give you color without introducing artificial dyes into your dog’s treat.
Will this icing melt if my dog’s treat sits out? Yes, since the hardening effect comes from the coconut oil being chilled, the icing will soften again at room temperature, so decorated treats are best kept refrigerated until shortly before serving.
Can puppies have this icing? In a very small amount, generally yes, though it’s worth introducing gradually given both the dairy and the coconut oil, and keeping the portion genuinely minimal.
Can I make a bigger batch for a dog birthday party? Yes, this recipe scales up easily, just keep the same yogurt to coconut oil ratio and adjust the total quantity based on how many treats you’re decorating.
Why does my icing taste different from a human icing? This recipe skips sugar almost entirely, relying on yogurt’s natural tang and a small touch of honey at most, so it’s intentionally much less sweet than a traditional dessert icing made for people.
Can I freeze a fully decorated treat? Yes, though the icing may soften slightly in texture once thawed compared to a freshly hardened batch, it should still look and taste fine.
Is this icing appropriate for a dog with dairy sensitivity? Not necessarily. If your dog doesn’t tolerate dairy well, it’s worth skipping this recipe or testing a very small amount first, since the base is entirely yogurt.
Final Thoughts
A little coconut oil mixed into plain yogurt turns out to be all it takes to get a dog safe icing that genuinely hardens the way you’d want for a special occasion treat.
Keep the layer thin, lean on natural colorings if you want to get creative, and give it the full chill time before serving, and you’ll have something that looks the part for a pupcake or a decorated biscuit without any of the ingredients you’d need to worry about.

4 Comments