Healthy Blueberry & Coconut Gummies for Dogs – 3 Easy Ingredient Recipe
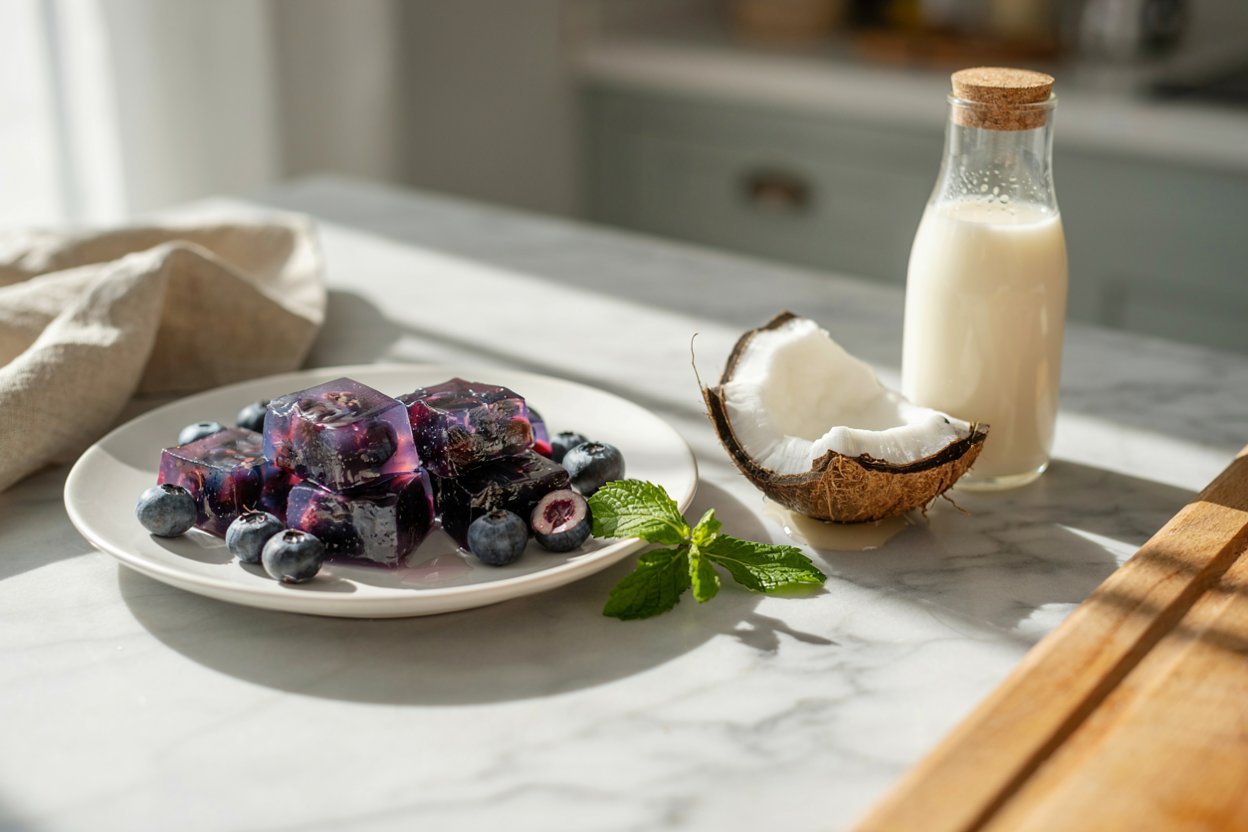
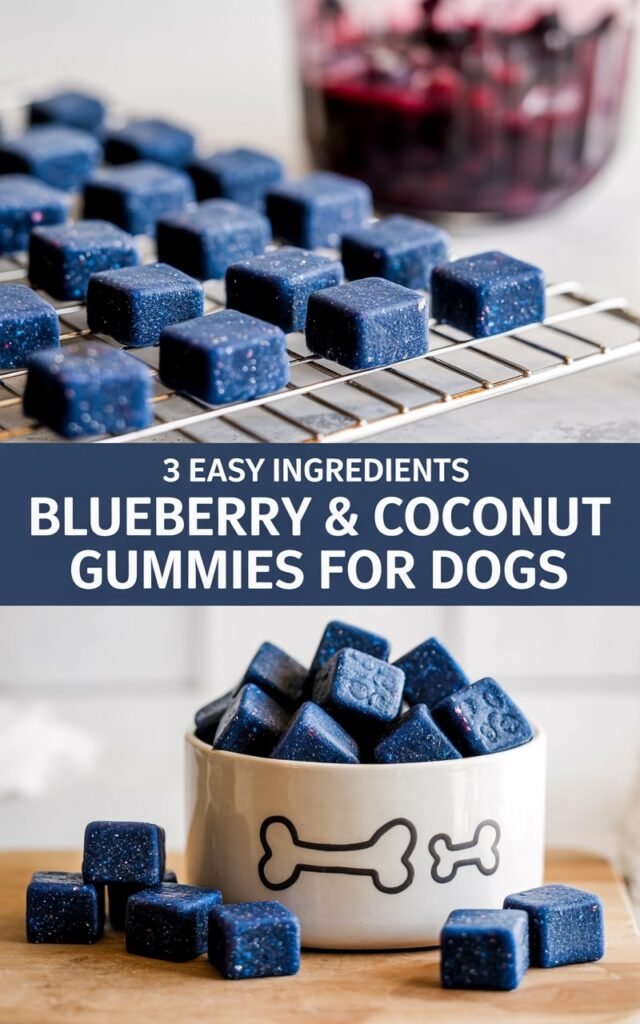
Homemade dog treats don’t have to be complicated. These healthy blueberry and coconut gummies use just three simple ingredients, take only a few minutes to prepare, and make a refreshing snack for warm days or a fun training reward.
They’re naturally colorful, easy to portion, and made with ingredients many dogs already enjoy. Before making them, it’s worth understanding why each ingredient is included, how much is safe to feed, and the best way to store them so every batch stays fresh.
If you’ve ever flipped over a bag of store-bought dog treats and struggled to pronounce half the ingredient list, you already know why so many pet owners are turning to homemade options.
Making treats at home means no mystery preservatives, no artificial dyes, and no guessing about where the ingredients came from.
It also means you can tailor treats to your own dog’s needs — whether that’s a food sensitivity, a weight management goal, or simply a preference for softer, easier-to-chew snacks for a senior dog or a puppy still working on their adult teeth.
These gummies sit at a nice intersection of “simple enough for a beginner” and “impressive enough to make for a dog-loving friend.” There’s no baking involved, no oven to preheat, and no risk of burning anything.
It’s essentially a chill-and-set recipe, which makes it approachable even if your cooking experience is limited to reheating leftovers. And because the whole batch comes together with a blender, a saucepan, and a set of molds, cleanup is minimal too.
Beyond convenience, there’s a nutritional case to be made for treats like these. Many popular commercial dog treats are calorie-dense and low in actual nutritional value — essentially junk food in a cute package. Blueberries and coconut, on the other hand, both bring something genuinely useful to the table, which we’ll walk through in detail below.
Combined with unflavored gelatin, a source of collagen that supports joint and skin health, these gummies manage to be a treat that also does a little something good for your dog’s body.
Affiliate Disclaimer: This post contains affiliate links. I may earn a small commission at no extra cost to you.
Amazon Shopping List: Blueberry & Coconut Dog Gummies Essentials
- Fresh or Frozen Blueberries
Rich in antioxidants and naturally sweet—perfect for healthy dog treats.
BUY NOW ON AMAZON - Unsweetened Coconut Milk (No Additives)
Creates a creamy base while being gentle on your dog’s stomach.
BUY NOW ON AMAZON - Unflavored Gelatin Powder
Helps gummies set properly and adds a chewy texture dogs love.
BUY NOW ON AMAZON - Silicone Gummy Molds (Dog-Friendly Shapes)
Makes portioning easy and gives gummies a fun, professional look.
BUY NOW ON AMAZON - Blender or Food Processor
Ensures a smooth mixture for evenly textured gummies.
BUY NOW ON AMAZON
Quick Recipe Card
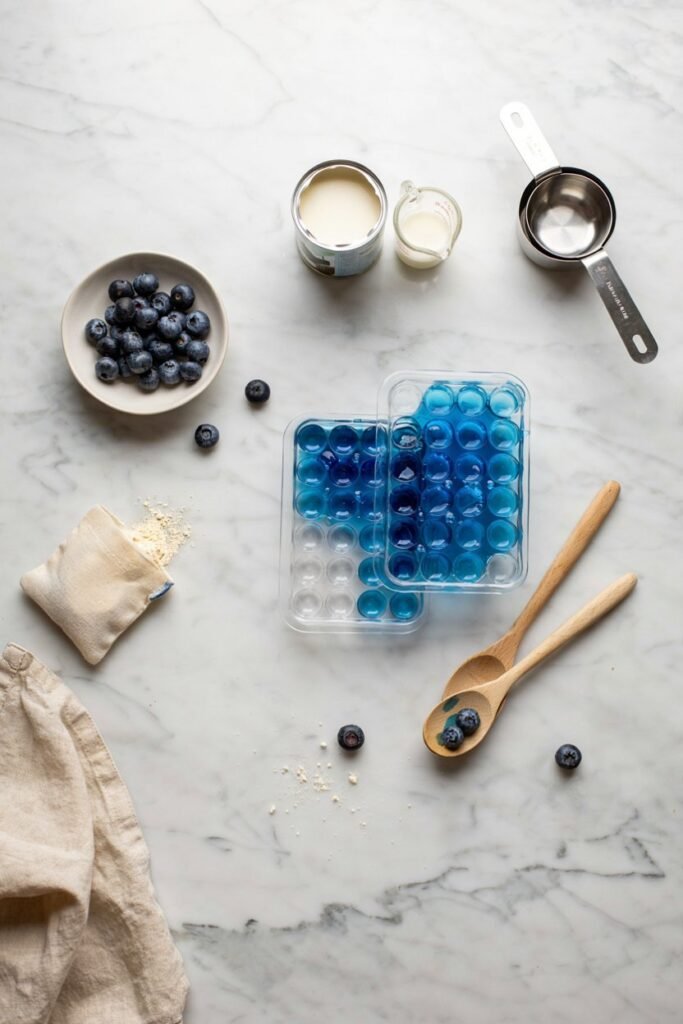
- Prep Time: 10 minutes
- Freeze/Chill Time: 2 hours
- Total Time: 2 hours 10 minutes
- Yield: About 30–40 small gummies (depending on mold size)
- Difficulty: Beginner
- Calories: Approximately 3–5 calories per small gummy (estimated)
- Storage: Refrigerator up to 1 week, freezer up to 2 months
- Suitable For: Most healthy adult dogs, in moderation
Why You’ll Love These Dog Gummies

Only Three Ingredients
Simple recipes mean fewer ingredients to buy and fewer things that might upset sensitive stomachs. You likely already have most of what you need.
Perfect for Summer
Frozen gummies can help cool dogs after walks or outdoor play, making them a favorite warm-weather treat.
Great Portion Control
Each gummy is naturally bite sized, making it easy to avoid overfeeding, especially with smaller dogs or during training sessions.
Budget Friendly
This recipe costs much less than premium natural dog treats from the pet store, and you control exactly what goes into every batch.
Are Blueberries Safe for Dogs?
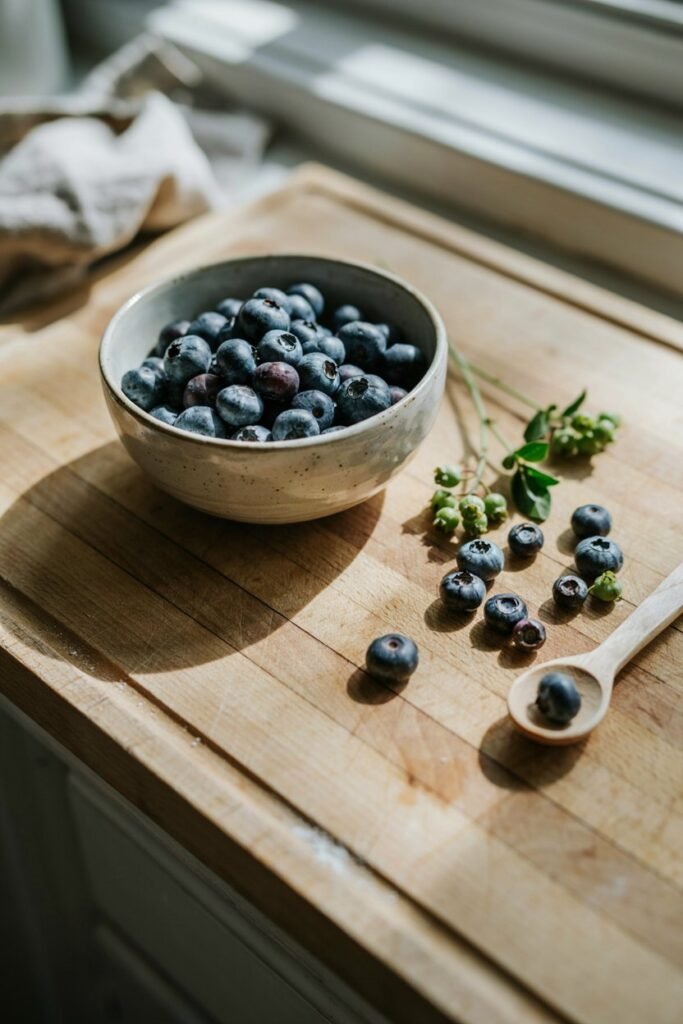
Yes, blueberries are considered a safe and healthy treat for most dogs when fed in moderation.
They’re low in calories and packed with antioxidants that may help support cell health, along with fiber that aids digestion and vitamin C for immune support.
Because they’re small and soft, blueberries are also easy for dogs of nearly any size to chew.
That said, moderation matters. Feeding too many blueberries at once, especially to small dogs, can lead to an upset stomach or loose stool. Start with a small amount if your dog hasn’t had blueberries before, and watch how they respond.
Nutritionally, blueberries are often described as a “superfood” for both humans and dogs, and while that label gets used loosely, there’s some truth to it here.
They’re rich in polyphenol antioxidants, which help combat oxidative stress in cells — something that becomes increasingly relevant as dogs age.
The fiber content can support healthy digestion, and the vitamin C, while dogs can produce their own, provides an extra boost that some owners like to see in an aging dog’s diet.
Blueberries are also low in sugar compared to many other fruits, which makes them a reasonably diabetic-friendly option when fed in small quantities — though any dog with diabetes or a metabolic condition should only be given new foods with a veterinarian’s guidance.
Because blueberries are small, soft, and don’t have a pit or tough skin, choking risk is low compared to something like grapes (which, notably, are toxic to dogs and should never be used in a recipe like this).
Is Coconut Safe for Dogs?
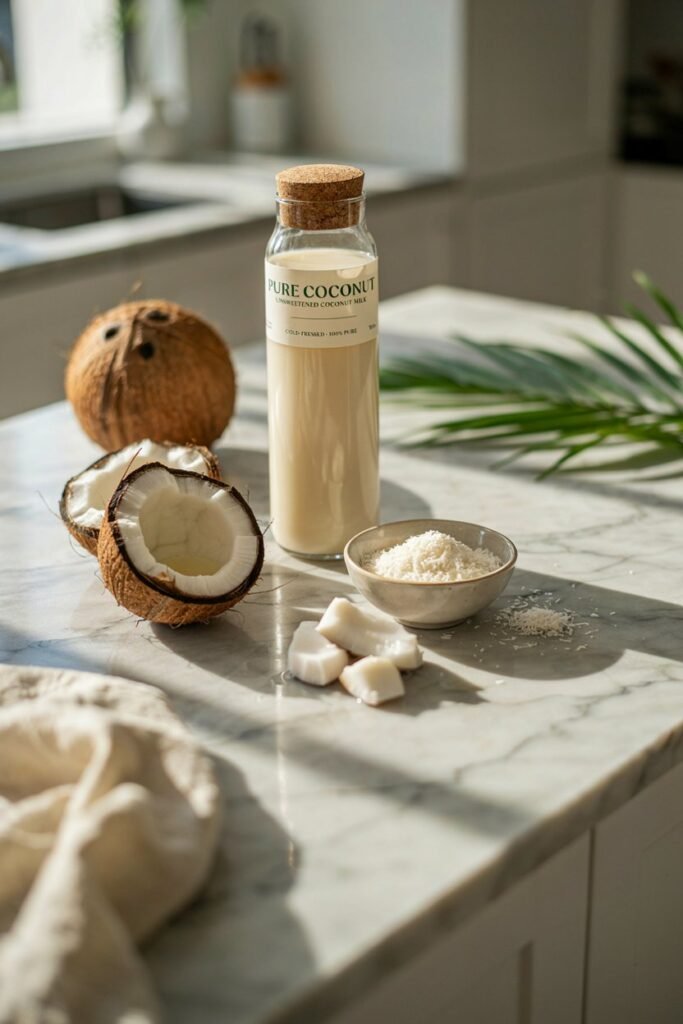
Coconut, in the form of unsweetened coconut milk or coconut meat, is generally safe for dogs in small amounts.
It contains healthy fats and manganese, and many dogs enjoy its mild, slightly sweet flavor.
As with blueberries, coconut should be given in moderation. Too much coconut, particularly the fat content, may cause digestive upset such as diarrhea.
Always choose unsweetened, plain coconut products, since sweetened versions often contain added sugar that isn’t appropriate for dogs.
Coconut also contains medium-chain triglycerides (MCTs), a type of fat that some studies suggest may be metabolized differently than other fats and could offer a modest energy boost.
This is part of why coconut oil and coconut-based products have become popular additions to homemade pet food and treat recipes in recent years, though it’s worth noting that the research on MCTs specifically in dogs is still developing, and coconut should be treated as a flavorful addition rather than a health cure-all.
One thing to watch for: some dogs are simply not fans of coconut’s flavor or texture, especially the first time they try it.
If your dog turns their nose up at the first gummy, don’t assume something is wrong with the recipe — it may just take a taste or two to win them over, or you may want to try one of the flavor variations below instead.
Why This Recipe Works
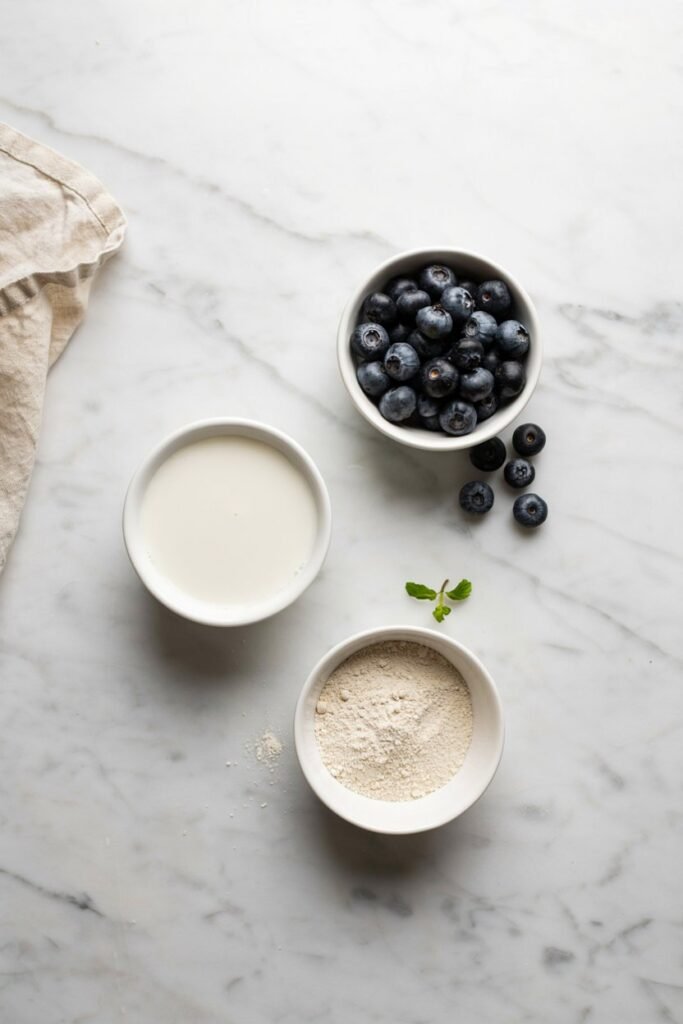
| Ingredient | Purpose |
|---|---|
| Blueberries | Flavor, antioxidants, natural color |
| Coconut Milk | Creaminess and healthy fats |
| Gelatin | Gives gummies structure and provides collagen |
Understanding what each ingredient contributes makes it easier to swap or adjust the recipe with confidence rather than just following steps blindly.
This is especially handy once you start experimenting with the variations later in this post — knowing that gelatin is doing the structural “heavy lifting” means you can swap the fruit or the liquid base without worrying about whether the gummies will actually set.
It’s also worth understanding what this recipe is not trying to be. These gummies aren’t a meal replacement or a complete source of nutrition — they’re a treat, meant to be a small, occasional addition to a diet that’s already balanced by your dog’s regular food.
Thinking of them this way helps keep portion sizes sensible and keeps the focus on fun and enrichment rather than nutrition delivery.
Ingredients
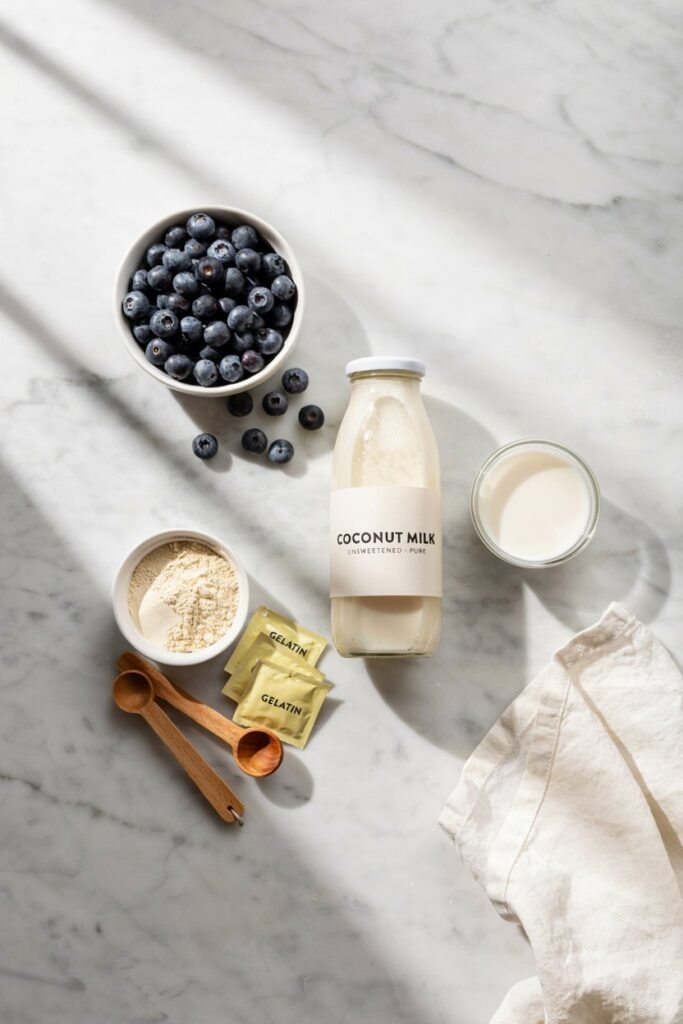
Makes about 30–40 small gummies
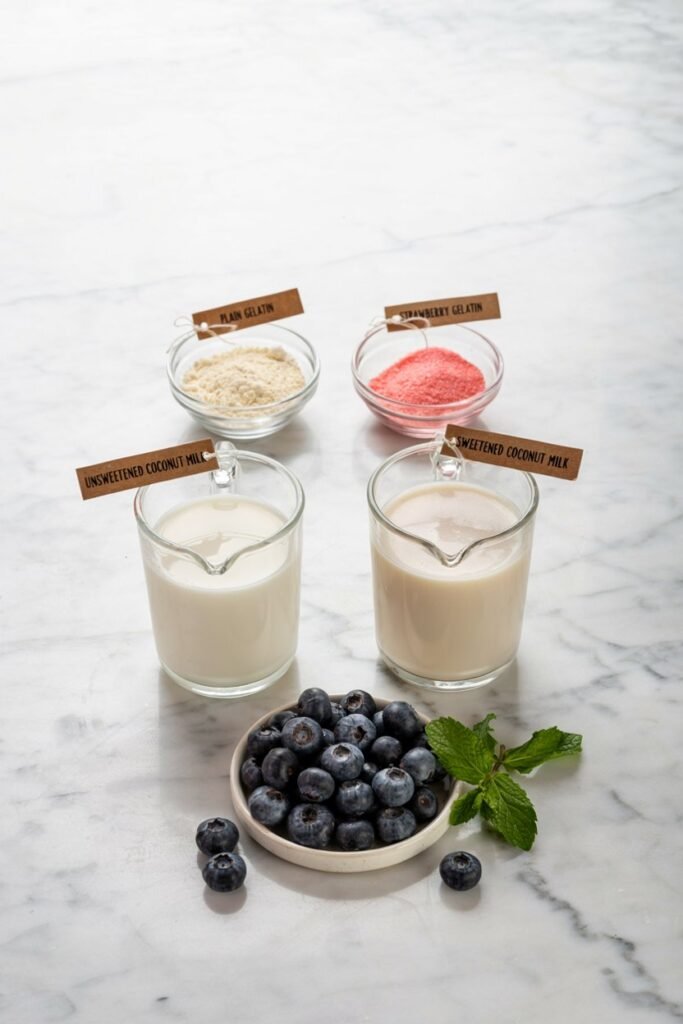
- 1 cup fresh blueberries (frozen blueberries, thawed, also work well)
- 1 cup unsweetened coconut milk (canned or carton, plain only)
- 2–3 tablespoons unflavored gelatin (unflavored, plain gelatin only — never a flavored gelatin dessert mix)
Fresh Blueberries
Fresh blueberries are chosen for their natural sweetness, bright color, and nutritional benefits. Look for plump, firm berries without soft or shriveled spots.
Organic blueberries are a good choice if you’re concerned about pesticide residue, since dogs will be eating the whole fruit, skin included.
Unsweetened Coconut Milk
Full-fat canned coconut milk gives the creamiest texture and richest flavor, though light coconut milk or unsweetened carton coconut milk will also work with a slightly less rich result.
Always double-check the label to avoid added sugar, xylitol, or other sweeteners, since xylitol is toxic to dogs.
Unflavored Gelatin
Plain, unflavored gelatin (the kind found in the baking aisle) is what gives these gummies their chewy structure and adds a boost of collagen.
Avoid flavored gelatin dessert mixes like Jell-O, which contain sugar, artificial flavoring, and sometimes xylitol.
Equipment You’ll Need
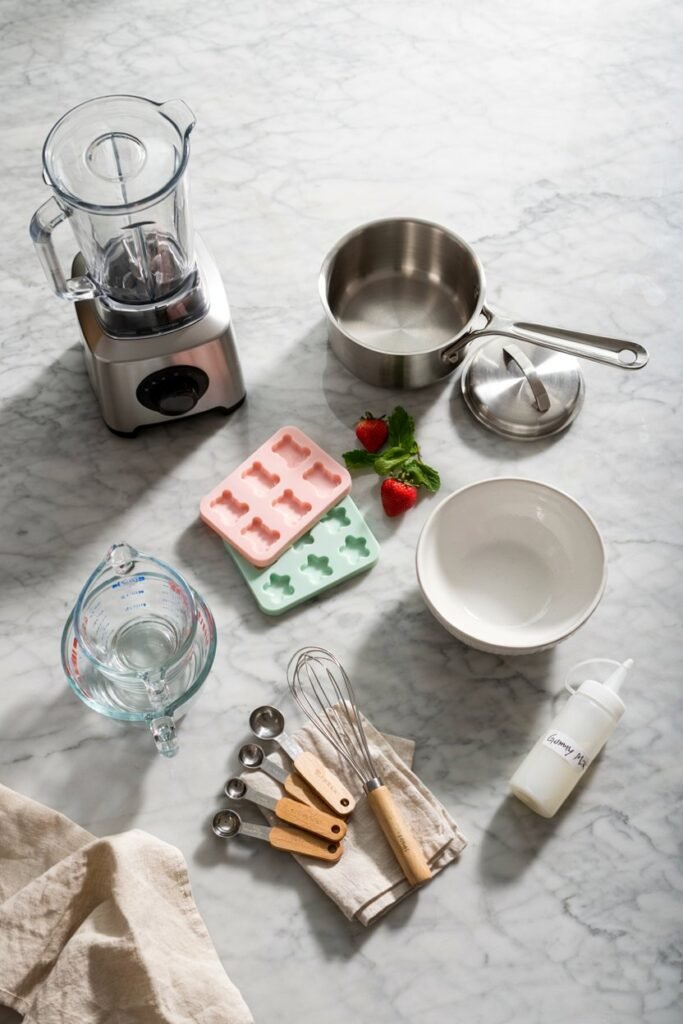
- Blender or food processor
- Small saucepan
- Measuring cups and spoons
- Silicone candy or gummy molds
- Dropper, small spoon, or pouring cup
- Refrigerator and freezer
A few notes on equipment that can make this recipe go more smoothly.
A high-powered blender or a simple immersion blender will both get the blueberries fully smooth, but if you only have a food processor on hand, that works too — you may just need to scrape down the sides once or twice to catch any stray chunks of skin.
Silicone molds are worth calling out specifically because they make such a difference in how easily the finished gummies pop out.
Standard ice cube trays can work in a pinch, but the gummies tend to stick and lose their shape when you try to remove them.
Small silicone molds designed for candy, gummy bears, or even mini paw-print and bone shapes (widely available online) are inexpensive and reusable for batch after batch.
If you’re going to make homemade dog treats regularly, a couple of silicone mold sets are a small investment that pays off quickly.
A dropper or small measuring cup with a spout isn’t strictly necessary, but it does make filling small mold cavities far less messy than trying to pour directly from the saucepan.

Step-by-Step Instructions
Step 1: Blend the Blueberries

Add the blueberries to a blender and blend until completely smooth. A fully smooth puree helps the gummies set with an even, consistent texture instead of a lumpy one.
If you’re using a smaller blender, you may need to blend in short pulses and pause to scrape down the sides so no larger chunks of skin get left behind.
The puree should look glossy and pourable, similar to a thin smoothie, with no visible seeds or skin fragments clinging to the sides of the blender.
Step 2: Warm the Coconut Milk

Pour the coconut milk into a small saucepan and warm it gently over low heat. Avoid letting it come to a full boil, since high heat can affect how well the gelatin blooms and sets.
You’re simply looking to warm the milk enough that it can fully dissolve the gelatin — a gentle simmer with small bubbles forming around the edge of the pan is exactly where you want to be.
If you’re using canned coconut milk, give it a good stir first, since the cream and liquid tend to separate inside the can.
Step 3: Bloom the Gelatin
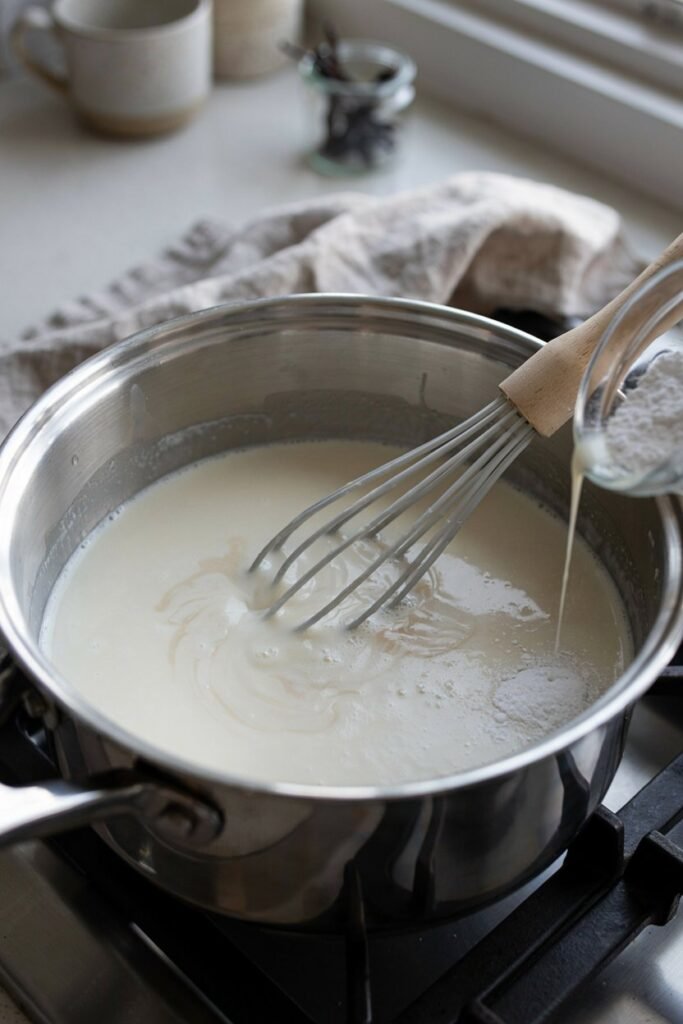
Sprinkle the unflavored gelatin over the warm coconut milk a little at a time, whisking constantly.
Blooming the gelatin this way — slowly, with steady whisking — prevents clumps and helps it dissolve completely and evenly.
If you dump all the gelatin in at once, it’s much more likely to clump together into little rubbery lumps that won’t fully dissolve, which can leave your finished gummies with an uneven, gritty texture.
Take your time here; this step usually only takes an extra minute or two but makes a noticeable difference in the final result.
Step 4: Mix Everything Together
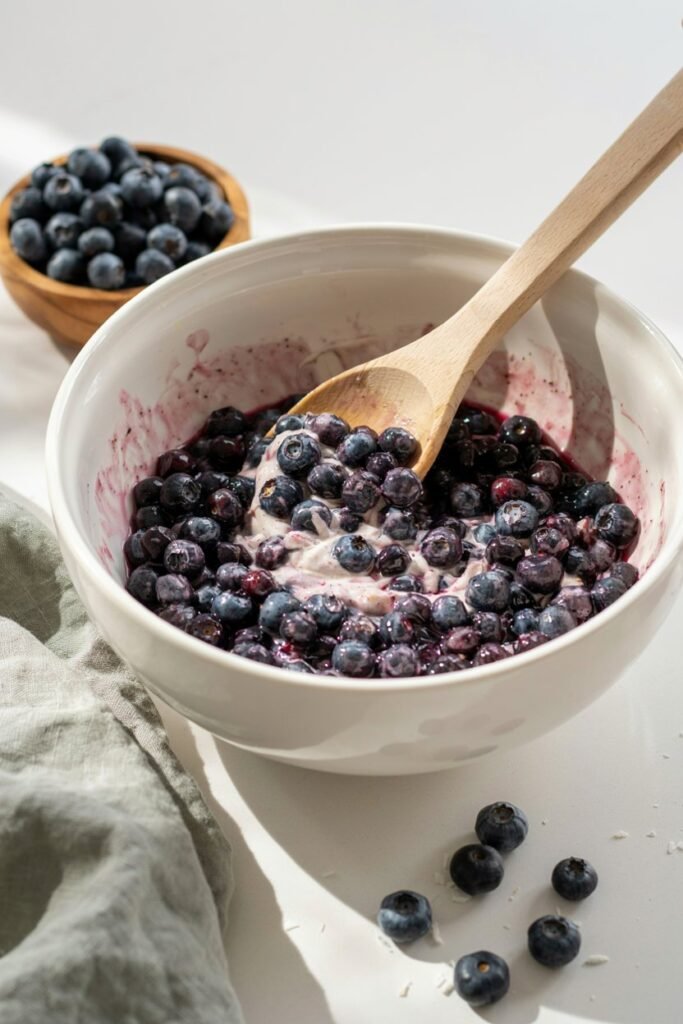
Once the gelatin is fully dissolved, whisk in the blueberry puree until the mixture is smooth and uniform in color.
At this point the mixture should be a consistent purple-blue color throughout, with no streaks of cream or gelatin visible.
This is also the stage where you’d stir in any variation add-ins, such as mashed banana or peanut butter, if you’re customizing the recipe.
Step 5: Fill the Molds
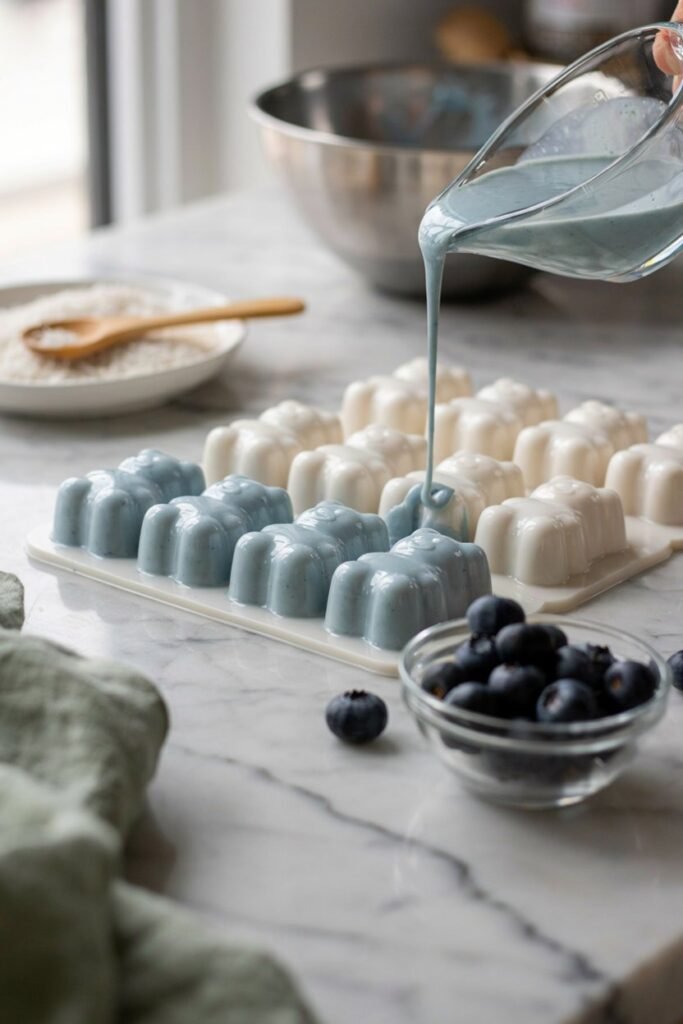
Carefully pour or spoon the mixture into silicone molds. A dropper or small pouring cup with a spout makes this step much less messy, especially if your molds have small cavities.
Try to fill each cavity to just below the rim, since the mixture can sometimes overflow slightly once it’s tapped down.
If you notice air bubbles sitting on the surface after filling, gently tap the mold on the counter a few times to help them rise and pop.
Step 6: Chill Until Set
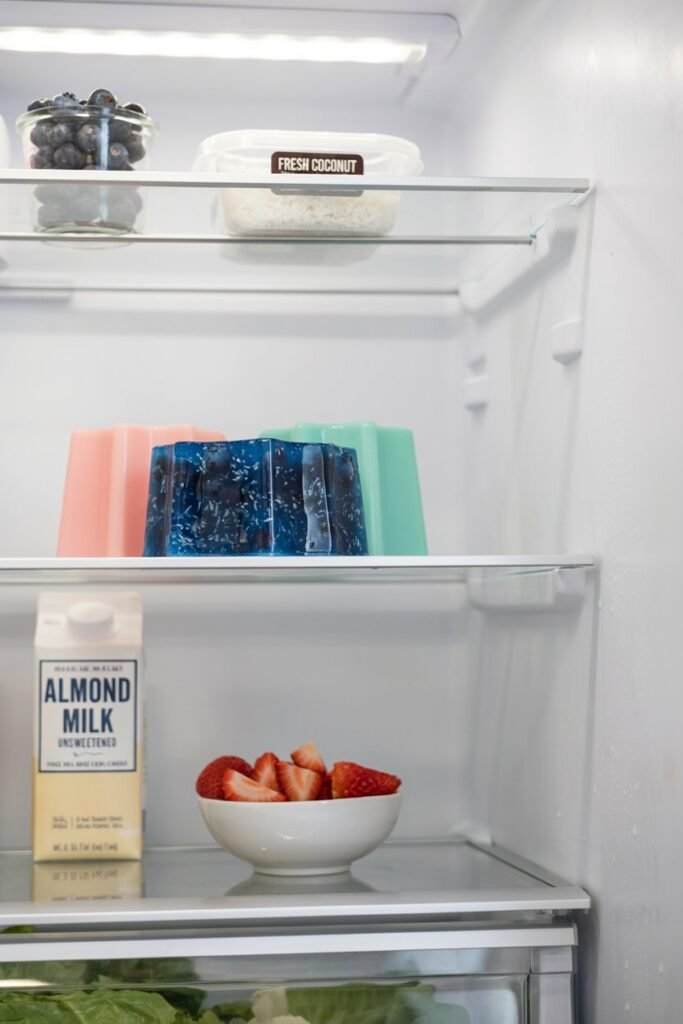
Place the filled molds in the refrigerator for about 1–2 hours, or until fully firm. For a firmer, more freezer-friendly gummy, you can transfer them to the freezer for the final 30 minutes.
Resist the urge to check on them too early — gelatin needs time to fully set, and unmolding too soon can cause the gummies to tear or lose their shape.
Step 7: Remove and Serve
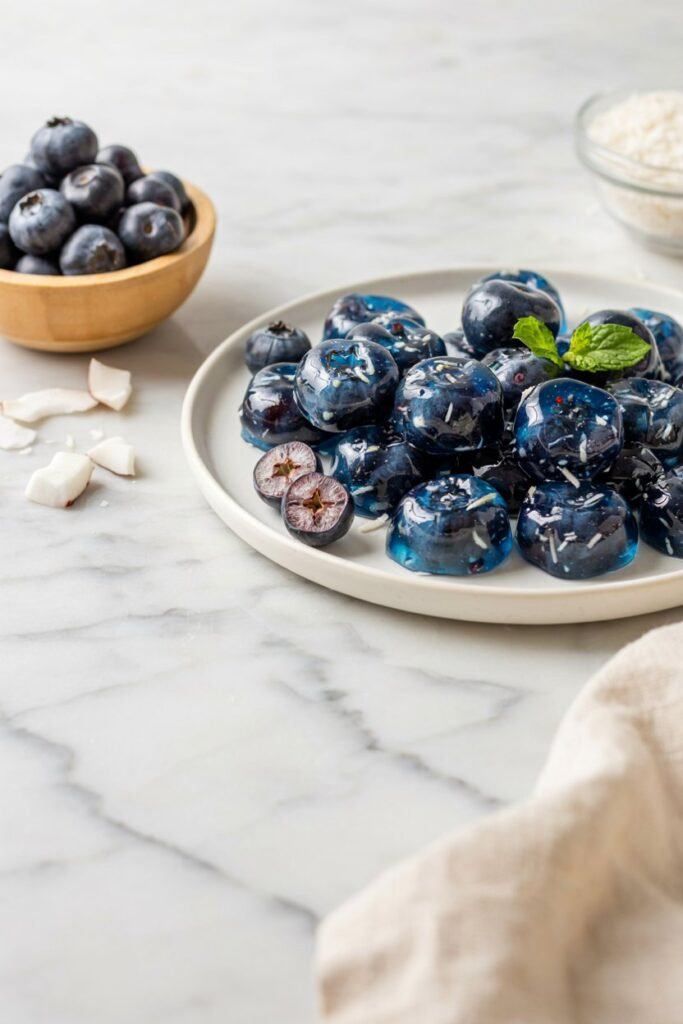
Gently pop the gummies out of the molds and serve. Silicone molds usually just need a light flex or push from the bottom to release the gummies cleanly.
Store any extras right away so they stay fresh, and consider setting aside a few in a small container in the fridge for quick grab-and-go training rewards.
Expert Tips
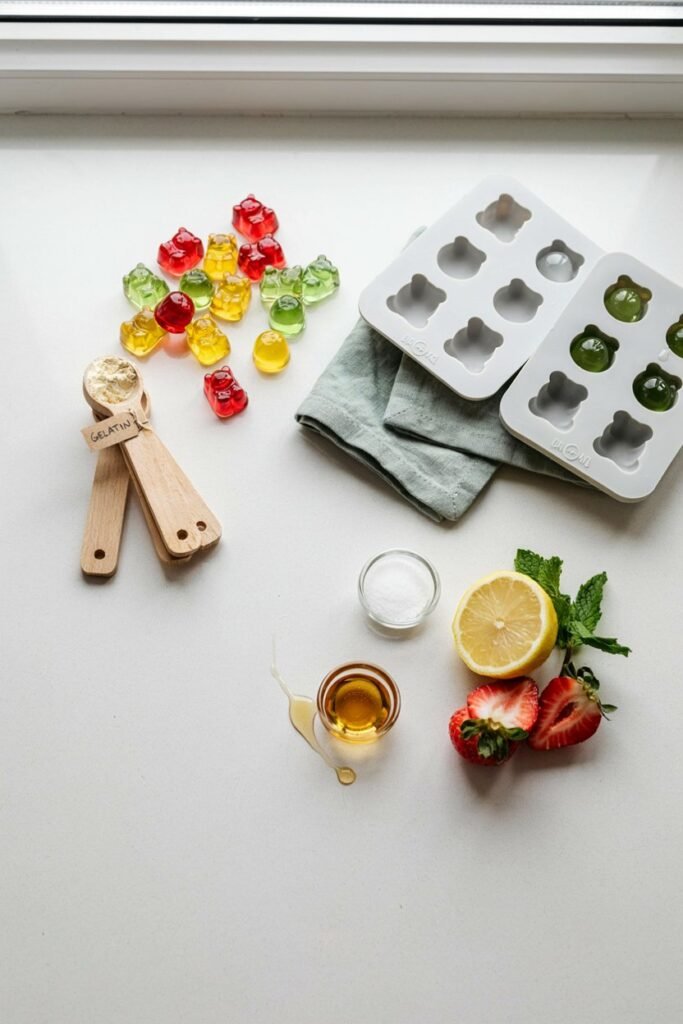
- Silicone molds release gummies much easier than plastic or metal molds.
- Small molds work best for training treats, since they keep portions bite sized.
- Blend the blueberries completely for the smoothest, most consistent texture.
- Refrigerate before freezing for a better final shape and easier unmolding.
- Never use sweetened coconut products or flavored gelatin.
Troubleshooting: Why Didn’t My Gummies Set?
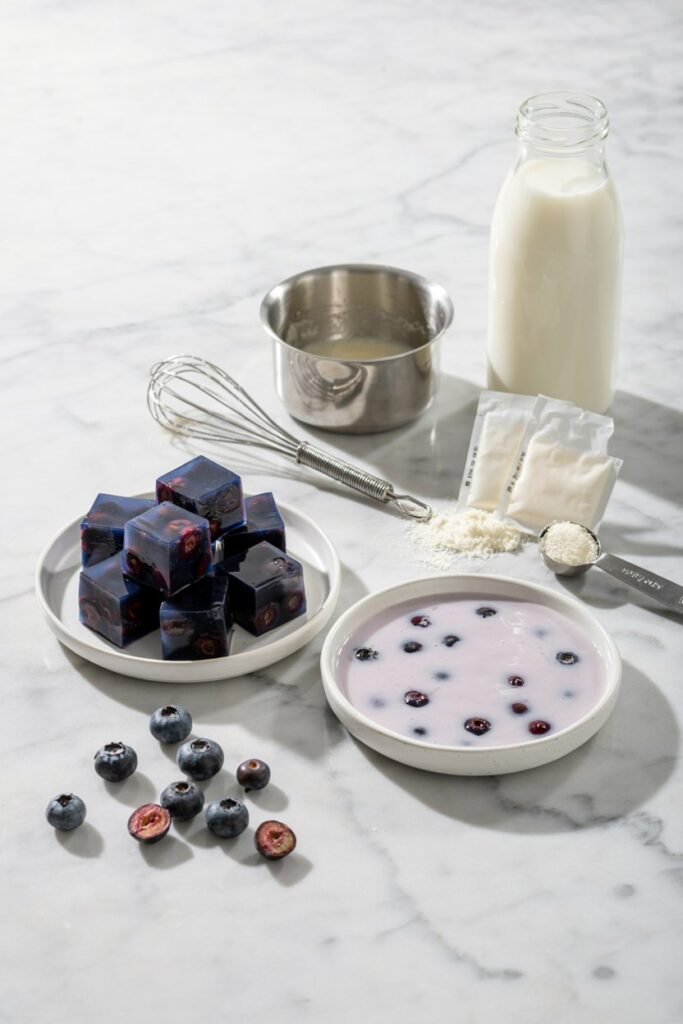
Even simple recipes can occasionally go sideways, so here’s how to diagnose the most common issues.
Gummies are too soft or won’t set at all. This is almost always a gelatin issue — either not enough was used, it wasn’t fully dissolved, or the mixture didn’t chill long enough. Try adding an extra half tablespoon of gelatin next time, and make sure you’re whisking it into warm (not boiling) liquid until it’s completely dissolved before combining with the puree.
Gummies are rubbery or too firm. This usually means too much gelatin was used relative to the liquid. Cut back slightly on the gelatin amount in your next batch.
Texture is gritty or lumpy. This points to gelatin that clumped during blooming rather than dissolving smoothly. Whisk more slowly and steadily next time, sprinkling the gelatin in gradually rather than all at once.
Gummies won’t release from the mold. Silicone molds should release easily once fully chilled. If they’re sticking, they likely need more time in the refrigerator or freezer — under-set gummies are much more prone to sticking and tearing.
Recipe Variations

Blueberry Yogurt Gummies: Replace half the coconut milk with plain, unsweetened dog-safe yogurt for extra creaminess and a probiotic boost.
Blueberry Pumpkin Gummies: Swap in plain canned pumpkin puree (not pumpkin pie filling) for some of the blueberries for a fiber-rich, fall-friendly twist.
Blueberry Banana Gummies: Blend in half a ripe banana with the blueberries for natural sweetness dogs tend to love.
Blueberry Peanut Butter Gummies: Whisk in a spoonful of plain, unsweetened, xylitol-free peanut butter for a rich, protein-boosted version.
Blueberry Watermelon Summer Gummies: Replace half the blueberries with seedless watermelon puree for an extra-hydrating, low-calorie hot-weather treat.
Can Humans Eat Them?
Technically, yes. Since there’s no added sugar, these gummies will taste fairly plain and mild to a human palate compared to a store-bought gummy candy, but they’re made from food-safe ingredients throughout.
Creative Ways to Serve These Gummies
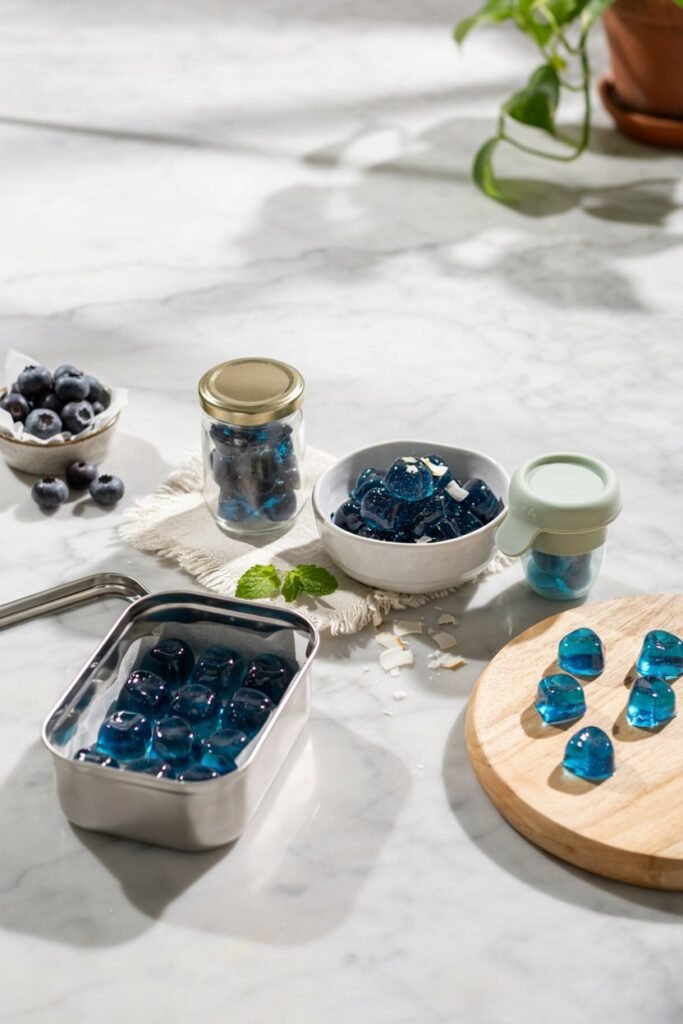
Beyond simply handing one over as a snack, these gummies work well in a few other everyday situations:
- Training rewards: Because each gummy is naturally bite sized and low calorie, they’re a great option for training sessions where you need to reward frequently without overfeeding.
- Puzzle toy filler: Frozen gummies can be tucked into treat-dispensing toys for a longer-lasting, mentally engaging activity.
- Hot day cool-down: Keep a batch in the freezer and offer one after a walk on a warm afternoon as a refreshing way to help your dog cool off.
- Medication time: Some owners use soft treats like these to help a dog take a small pill, though you’ll want to check with your vet about timing and any food interactions first.
- Special occasion treat: A batch of colorful gummies can double as a fun addition to a dog’s birthday or “gotcha day” celebration.
Storage Guide
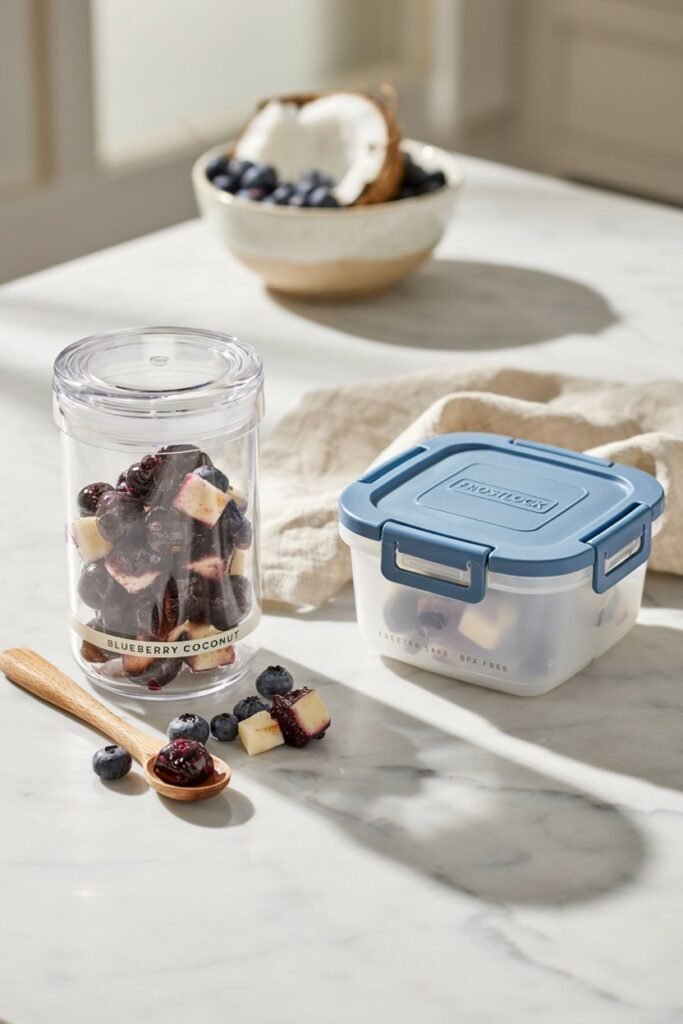
Refrigerator: Store in an airtight container for up to 1 week.
Freezer: Store in a freezer-safe container or bag for up to 2 months. This is a great option if you make a large batch.
Thawing: Move frozen gummies to the refrigerator a few hours before serving, or let them sit at room temperature for about 10–15 minutes.
Signs They’ve Spoiled: Discard any gummies with an off smell, visible mold, or a slimy texture.
Best Containers: Glass or BPA-free plastic containers with tight-fitting lids work well for both refrigeration and freezing.
How Many Gummies Can Dogs Eat?
| Dog Size | Gummies |
|---|---|
| Small (under 20 lbs) | 1–2 |
| Medium (20–50 lbs) | 2–4 |
| Large (over 50 lbs) | 4–6 |
Treats, including these gummies, should only make up a small portion of a dog’s daily calorie intake — as a general guideline, no more than about 10%. The rest should come from a balanced, complete diet.
Common Mistakes
- Using sweetened coconut milk instead of plain, unsweetened coconut milk
- Using flavored gelatin dessert mix instead of plain unflavored gelatin
- Overheating the gelatin mixture, which can weaken its setting ability
- Overfeeding treats instead of keeping portions small and occasional
- Filling molds before the mixture has cooled slightly, which can warp silicone molds
Frequently Asked Questions
Can puppies eat these? In small amounts, most puppies can enjoy these gummies, but check with your veterinarian first, especially for very young puppies or those with sensitive stomachs.
Can I use frozen blueberries? Yes. Thaw them first and drain any excess liquid before blending for the best texture.
Can I use agar instead of gelatin? Agar agar can work as a plant-based substitute, though the texture will be slightly firmer and less chewy than gelatin.
Can I substitute yogurt for coconut milk? Yes, plain unsweetened yogurt can replace some or all of the coconut milk for a tangier, protein-rich variation.
Can these be frozen? Yes, they freeze well for up to 2 months in an airtight container.
How long do they last? About 1 week in the refrigerator or 2 months in the freezer.
Can cats eat them? Cats can technically eat small amounts, but this recipe is formulated with dogs in mind, and cats have different nutritional needs.
Can I use coconut cream instead of coconut milk? Yes, though the result will be richer and denser; you may want to thin it slightly with water.
What molds work best? Small silicone candy or gummy molds work best for easy release and appropriate portion sizes.
Can I add honey? A small amount of raw honey can be added for extra sweetness, but it’s not necessary and adds extra sugar and calories.
Do I need to peel or cook the blueberries first? No. Fresh or thawed blueberries can be blended raw, skin and all. There’s no need to cook them beforehand for this recipe.
Why are my gummies a different color than expected? Coconut milk brands vary in color and fat content, which can slightly change the final shade. This is purely cosmetic and doesn’t affect safety or quality.
Can I make a larger batch? Yes, this recipe scales easily. Just keep the ratio of roughly 1 cup blueberries to 1 cup coconut milk to 2–3 tablespoons gelatin, and multiply as needed for the number of molds you have.
Is it safe to give these every day? Occasional treats are best kept to a few times a week rather than daily, so they don’t crowd out your dog’s balanced everyday diet or lead to excess calorie intake.
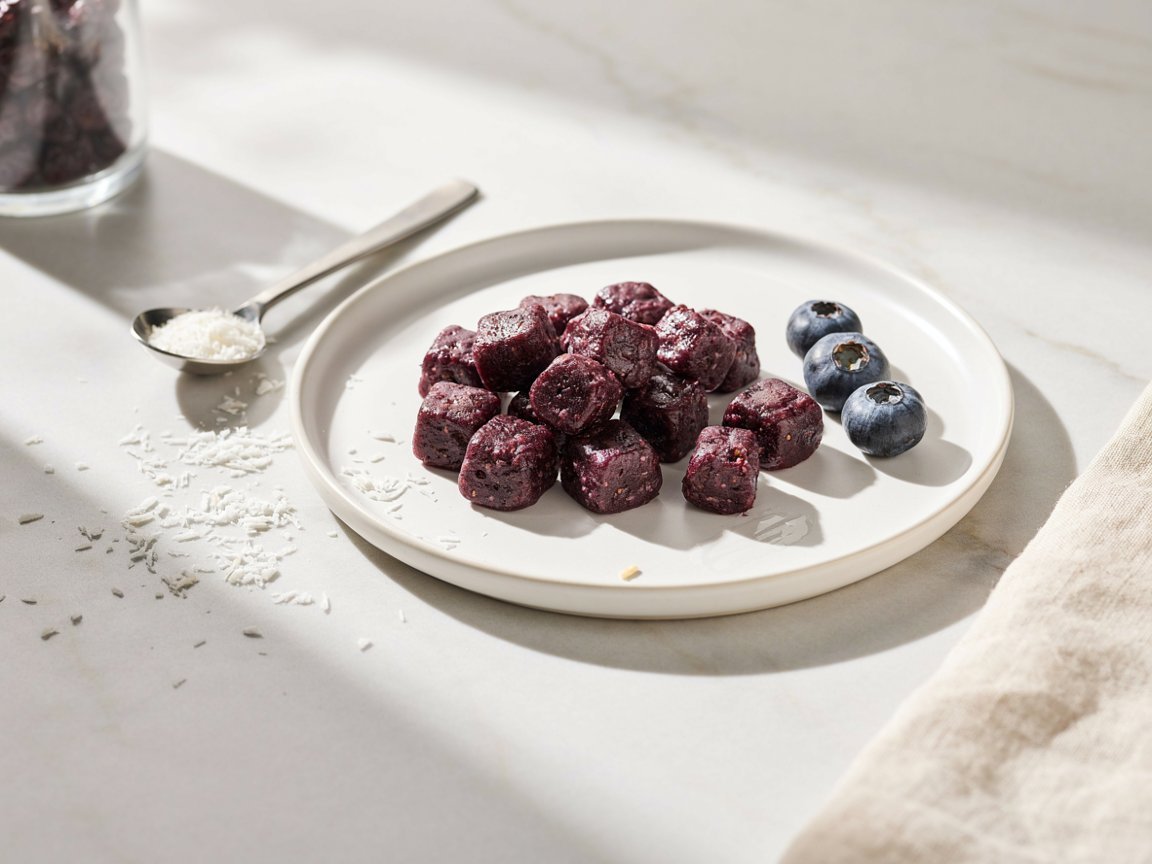

Healthy Blueberry & Coconut Gummies for Dogs
Ingredients
Equipment
Method
- Step 1:Wash the blueberries and add them to a blender with the coconut milk. Blend until smooth.Step 2:Pour the blueberry mixture into a small saucepan and warm gently over low heat. Do not boil.Step 3:Sprinkle the gelatin over the warm mixture and whisk until completely dissolved.Step 4:Pour the mixture into small silicone gummy molds.Step 5:Refrigerate for about 2 hours, or until the gummies are completely firm.Step 6:Remove the gummies from the molds and serve an appropriate amount as an occasional treat.
Recipe Notes
Store the gummies in an airtight container in the refrigerator. Because these homemade treats are not a complete and balanced dog food, use them as an occasional treat rather than a meal replacement. Avoid sweetened coconut milk or products containing added sugar or artificial sweeteners.
More Homemade Dog Treat Recipes
Looking for more ideas? Here are other reader-favorite homemade dog treat recipes worth trying:
- Apple Carrot Chew Sticks for Dogs
- Easy Frozen Coconut Dog Treats for Summer
- 3-Ingredient Peanut Butter Dog Gummies
- Homemade Beef Bone Broth Gummies for Dogs
- Simple Carrot-Based Dog Treat Recipes for Beginners
- Homemade Banana Dog Treat Recipes
- Healthy Homemade Beef and Apple Stew for Dogs
Final Thoughts
Homemade treats don’t need a long ingredient list to be nutritious and enjoyable.
These blueberry and coconut gummies are simple to prepare, easy to customize, and convenient to keep in the freezer for rewards or warm weather snacks.
By choosing quality ingredients and serving them in moderation, you can give your dog a fun homemade treat while knowing exactly what’s in every bite.
As with any new treat, introduce these gummies gradually and consult your veterinarian before adding new foods to your dog’s diet, especially if your dog has allergies or an existing medical condition.