Homemade Banana and Peanut Chew Sticks for Dogs: A Fun Treat Your Pup Will Love
Dogs love chewy treats. There is something about a soft, satisfying chew that keeps them occupied and happy in a way a quick, crunchy bite never quite matches.
The problem is that many store bought chew sticks contain preservatives, artificial flavors, or unnecessary fillers that add very little real value beyond a longer shelf life.
Making them at home solves that completely, since you control every single ingredient that goes into the mix.
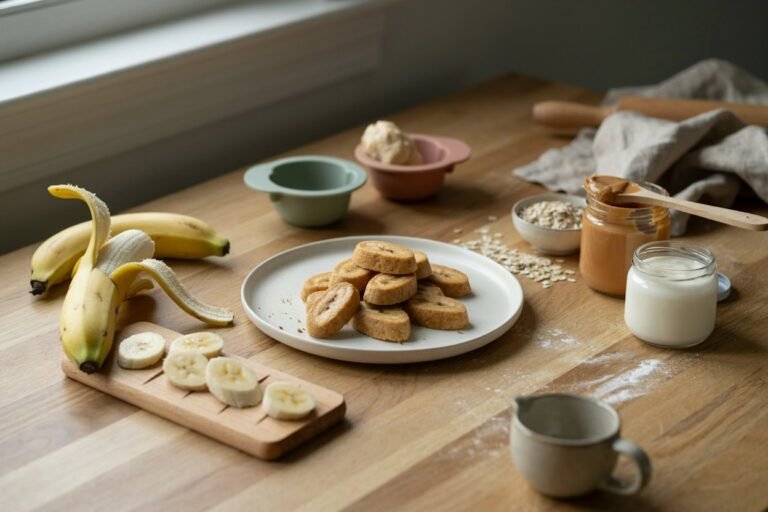
Banana and peanut butter are a natural pairing for a homemade chew stick. Banana brings natural sweetness and a soft, easy to work with texture, while peanut butter adds richness and a flavor most dogs go absolutely wild for.
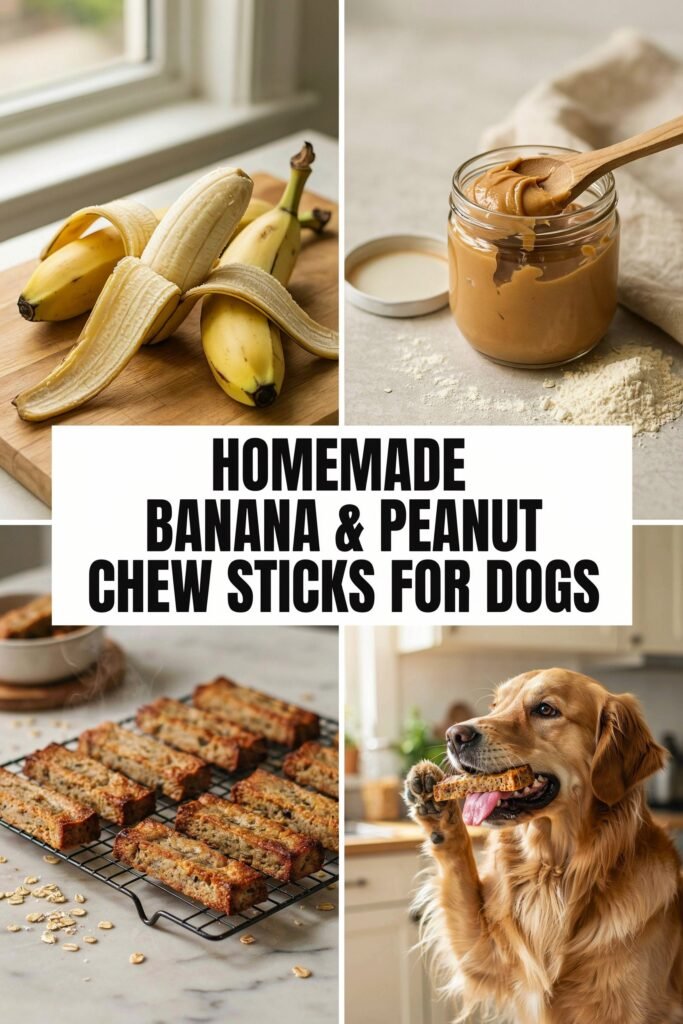
This recipe is ideal for owners who want a simple, wholesome treat for training, everyday rewards, or just spoiling their dog a little, and it fits right alongside my banana and honey dog biscuits and four ingredient bacon cheese dog treats in a well rounded homemade treat rotation.
In this guide, you will learn exactly how to make these chew sticks from start to finish, why each ingredient earns its place, how to store them properly, common mistakes to avoid, and answers to the questions most dog owners have before baking their first batch.
These chewy banana and peanut sticks are easy to make, freezer friendly, and become an exciting reward your dog will look forward to every day.
Affiliate Disclaimer: Some links in this post are affiliate links. I may earn a small commission at no extra cost to you.
AMAZON SHOPPING LIST (HOMEMADE DOG CHEW TREAT ESSENTIALS)
- Natural Peanut Butter for Dogs (No Xylitol)
Adds flavor and healthy fats dogs love
BUY NOW ON AMAZON - Mixing Bowl Set
Makes it easy to combine bananas, peanut butter, and other ingredients
BUY NOW ON AMAZON - Silicone Baking Mat
Prevents chew sticks from sticking while baking
BUY NOW ON AMAZON - Non-Stick Baking Sheet
Ensures even baking for crispy chew sticks
BUY NOW ON AMAZON - Airtight Treat Storage Container
Keeps homemade dog chews fresh and ready for snack time
BUY NOW ON AMAZON
Why You’ll Love This Recipe
There are plenty of reasons these homemade apple and carrot chew sticks have become a favorite.
They’re simple to make, made with wholesome ingredients, and give you complete control over what your dog is eating.
- Made with simple everyday ingredients that you probably already have in your kitchen.
- Budget friendly and much more affordable than many premium dog chews from the pet store.
- Perfect for beginners thanks to a forgiving dough that’s easy to mix, roll, and shape.
- Great for training because the chew sticks can easily be snapped into smaller reward sized pieces.
- No artificial preservatives, colors, or unnecessary fillers, just wholesome ingredients you can feel good about serving.
- Freezer friendly, making it easy to prepare a larger batch and have healthy treats ready for weeks.
- Naturally chewy texture that many dogs find more satisfying and longer lasting than traditional crunchy biscuits.
Are Banana and Peanut Butter Safe for Dogs?
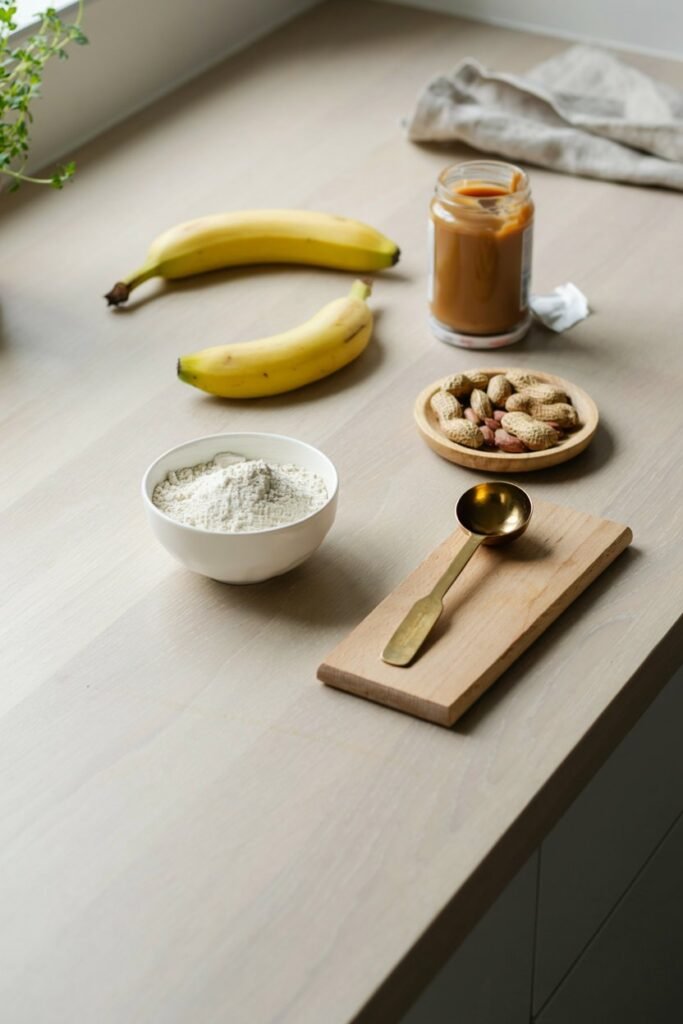
Both ingredients are generally considered safe for dogs when chosen and prepared correctly, and understanding why helps explain what makes this recipe work.
Bananas offer a genuinely useful nutritional boost. They are rich in potassium, which supports healthy muscle and nerve function, and they contain a good amount of dietary fiber that supports digestion.
Bananas also provide vitamin B6 and vitamin C, both of which contribute to overall wellness, and their soft texture makes them easy for most dogs to digest without any issue.
Peanut butter contributes protein and healthy fats, along with a rich flavor that makes it one of the most popular treat ingredients among dog owners.
The most important thing to check before buying peanut butter for this recipe, or for any dog treat, is the ingredient label.
Peanut butter should always be plain and free of added sugar, and most importantly, it must never contain xylitol, a sugar substitute that is highly toxic to dogs even in very small amounts.
Reading the label carefully every single time, even for a brand you have used before, is a habit worth keeping, since manufacturers do occasionally change their recipes.
Ingredients
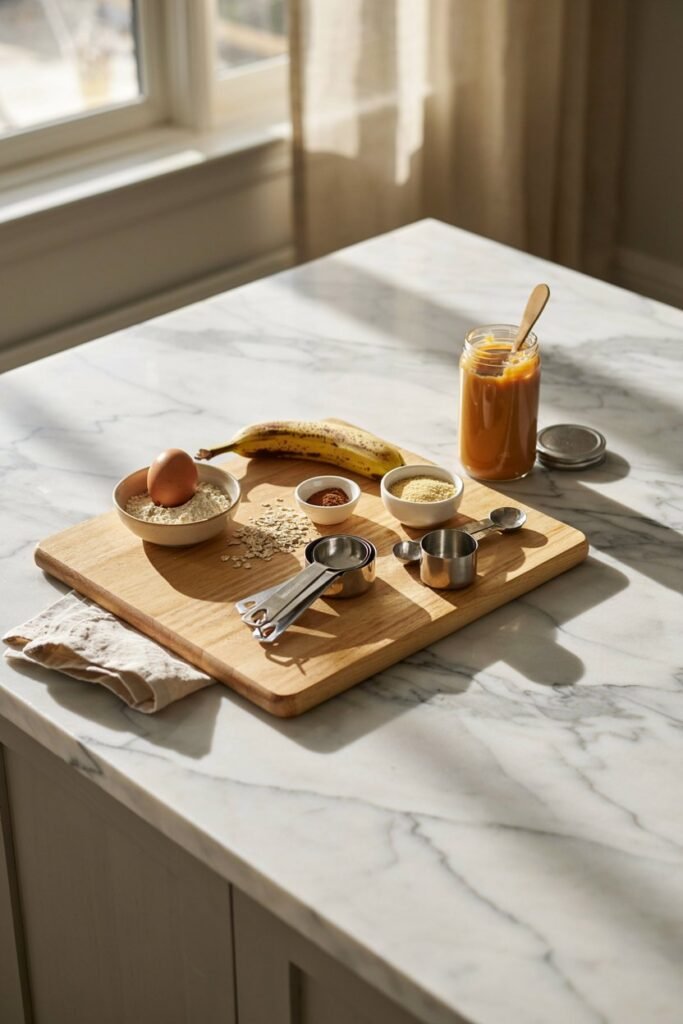
Ripe Banana
One ripe banana works best for this recipe. A riper banana, with more brown spotting on the peel, mashes far more smoothly than a firm, green one, and it also brings more natural sweetness to the dough.
This means less added sugar is needed elsewhere in the recipe, and the finished chew sticks end up with a softer, more pleasant texture.
Oat Flour
One and a half cups of oat flour form the structure of the dough.
Oat flour is gentle on digestion and naturally gluten free, which makes this recipe a good option for dogs with mild wheat sensitivities.
If you don’t have oat flour on hand, rolled oats can be blended into a fine flour using a food processor or blender.
Natural Peanut Butter
Half a cup of natural, xylitol free peanut butter adds richness, protein, and that unmistakable flavor dogs love.
Look for a peanut butter with a short ingredient list, ideally just peanuts and maybe a small amount of salt, and always double check that xylitol is not listed anywhere on the label.
Egg
One large egg acts as a natural binder, helping hold the dough together while adding an extra boost of protein.
Cinnamon, Optional
A very small pinch of cinnamon, no more than about a quarter teaspoon, can be added for extra warmth and flavor.
Only a small amount is needed, since large quantities can be irritating to some dogs.
Flaxseed, Optional
A tablespoon of ground flaxseed can be stirred into the dough for a subtle nutritional boost, including a small amount of additional fiber and healthy fats.
Kitchen Tools You’ll Need
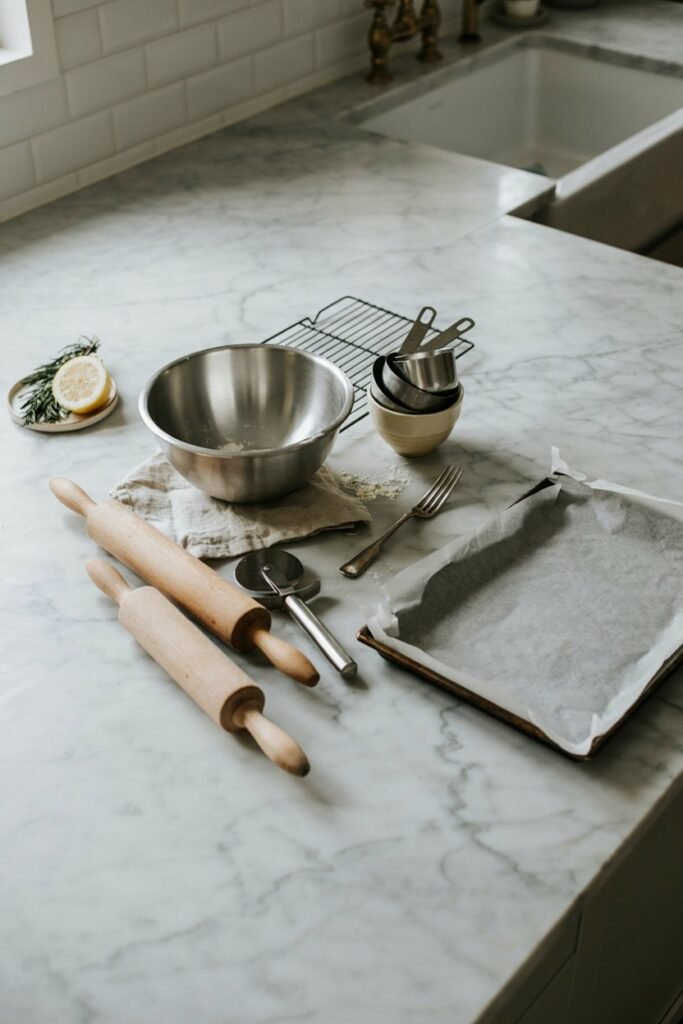
You do not need any special equipment to make these homemade chew sticks. A few basic kitchen tools are all it takes.
- Mixing bowl – For combining all of the ingredients.
- Fork – Perfect for mashing the banana and mixing the dough.
- Baking tray – To bake the chew sticks evenly.
- Rolling pin – Helps roll the dough to an even thickness.
- Knife or pizza cutter – Makes it easy to cut the dough into long, even stick shapes.
- Cooling rack – Allows the chew sticks to cool completely and helps prevent excess moisture from collecting underneath.
- Measuring cups – Keep the ingredient amounts accurate for consistent results every time.
Step by Step Instructions
This recipe comes together in just a few simple steps.
Take your time with each one, since a properly mixed dough and evenly shaped chew sticks will give you the best texture once baked.
Step 1: Mash the Banana

Peel the ripe banana and place it in a large mixing bowl. Using a fork, mash it until it is mostly smooth.
A few small lumps are perfectly fine, but the smoother the banana becomes, the easier it will combine with the other ingredients.
A ripe banana not only adds natural sweetness but also provides moisture that helps hold the dough together without needing extra liquid.
Step 2: Mix the Wet Ingredients
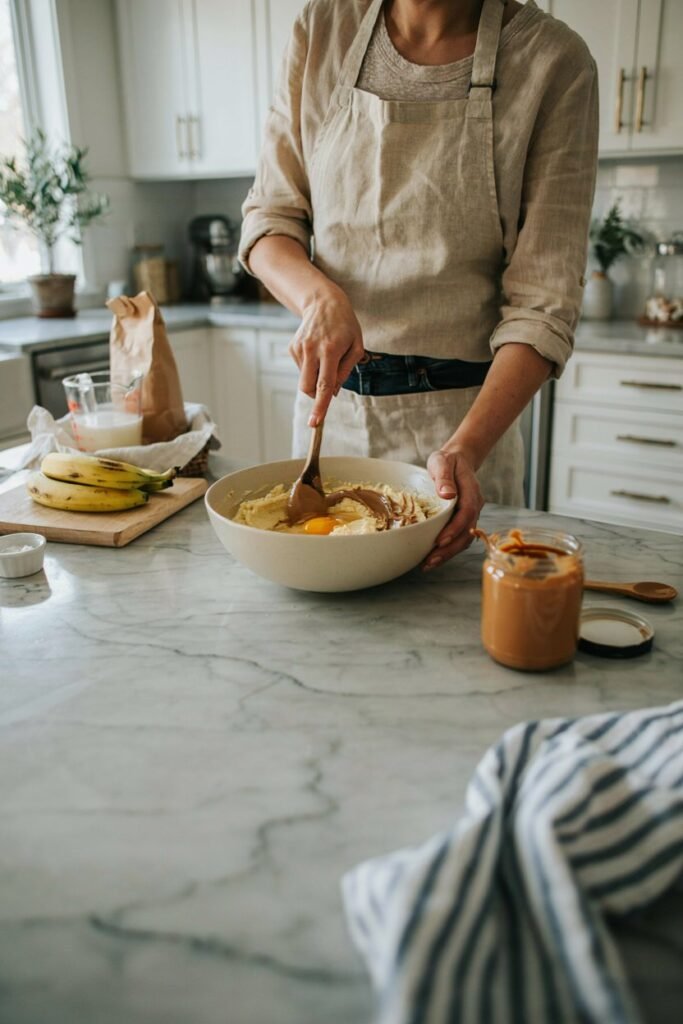
Add the peanut butter and egg to the mashed banana. Stir everything together until the mixture is smooth and fully combined with no visible streaks of egg.
If you’re using natural peanut butter, give it a good stir beforehand since the oils often separate in the jar.
Step 3: Add the Dry Ingredients

Gradually mix in the oat flour a little at a time. If you’re using cinnamon or ground flaxseed, add them with the flour.
Continue mixing until a soft dough forms. It should feel slightly sticky but still be easy to handle.
If it sticks heavily to your hands, sprinkle in a little more oat flour, one tablespoon at a time, until it reaches the right consistency.
Avoid adding too much flour at once, as this can make the finished chew sticks dry instead of pleasantly chewy.
Step 4: Roll Out the Dough
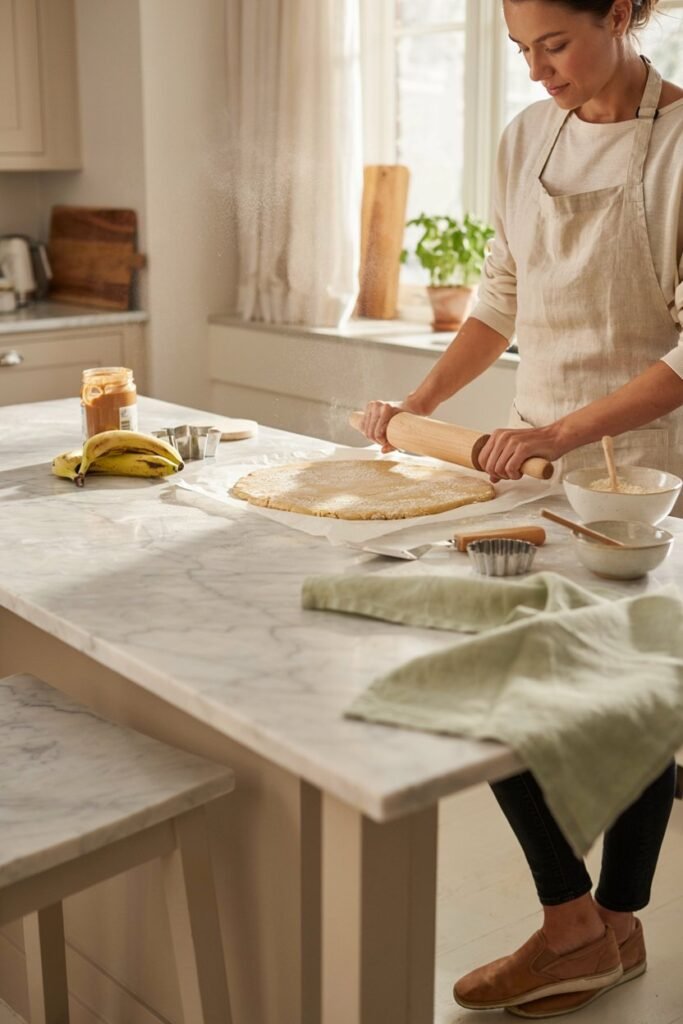
Transfer the dough to a lightly floured surface or a sheet of parchment paper.
Using a rolling pin, roll it to about ½ inch thick. Keeping the dough at an even thickness helps every chew stick bake at the same rate while creating a satisfying chewy texture.
If the dough starts sticking to the rolling pin, lightly dust the surface with a little more oat flour.
Step 5: Cut Into Chew Sticks
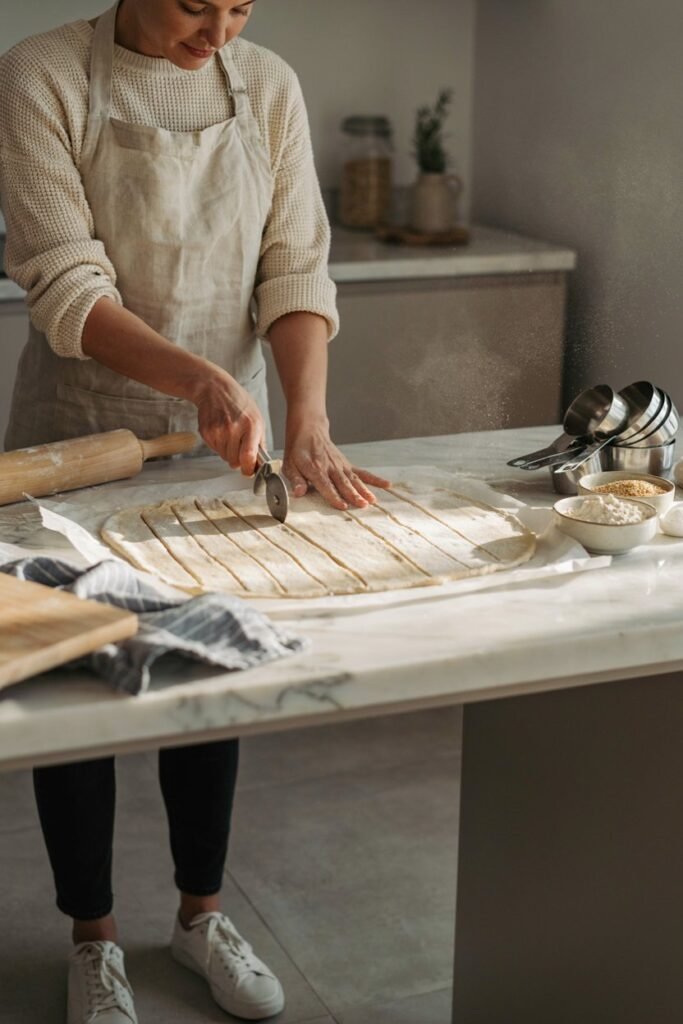
Using a knife or pizza cutter, cut the dough into long strips.
For medium and large dogs, aim for sticks about 3 to 4 inches long and ½ inch wide. For smaller breeds, simply make shorter, narrower sticks that are easier to chew.
Try to keep each piece roughly the same size so they finish baking together.
Step 6: Bake
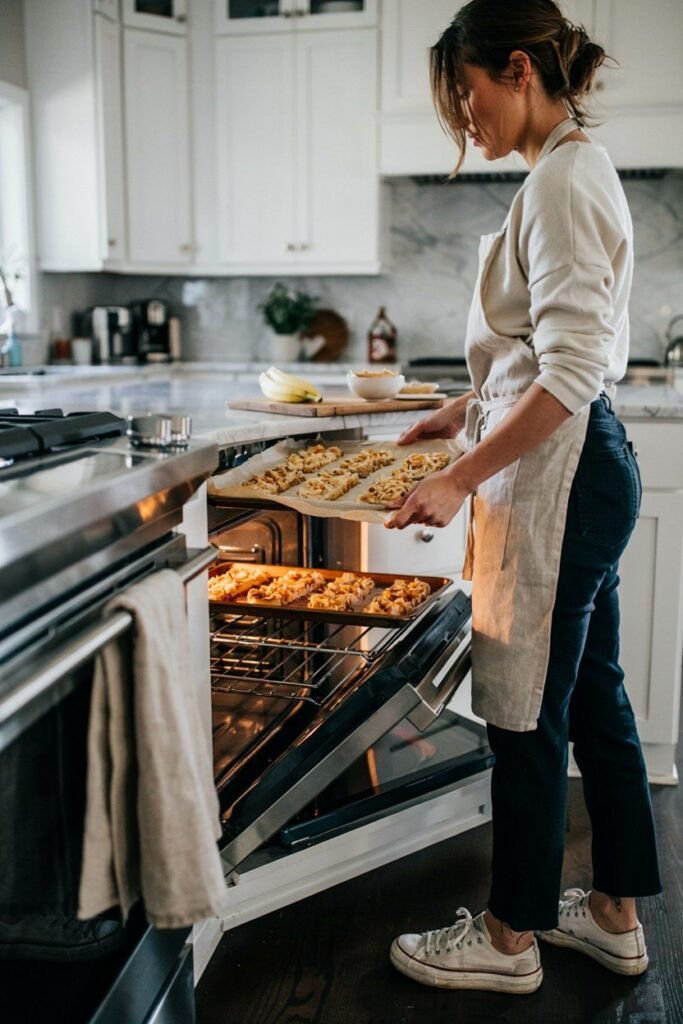
Arrange the chew sticks on a parchment lined baking tray, leaving a little space between each one.
Bake in a preheated 350°F (175°C) oven for 20 to 25 minutes, or until the edges are lightly golden and the sticks feel firm when gently pressed.
If you prefer a slightly firmer chew, leave them in the oven for an additional 3 to 5 minutes while watching carefully to prevent overbaking.
Step 7: Cool Completely

Transfer the baked chew sticks to a cooling rack and allow them to cool completely before serving.
This step is just as important as baking. As the treats cool, they continue to firm up while excess moisture escapes.
Storing them before they have cooled completely can trap moisture inside the container, making the chew sticks soft and shortening their shelf life.
Pro Tips for Perfect Chew Sticks
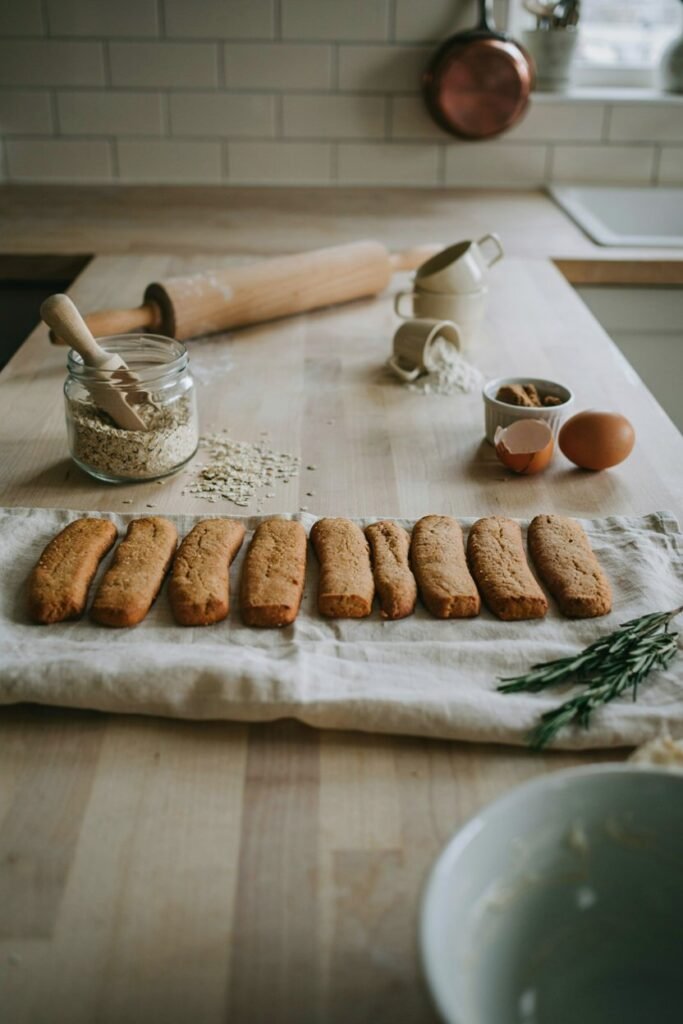
Use ripe, well spotted bananas for the best natural sweetness and easiest mashing.
If the dough feels too sticky to roll, chill it in the refrigerator for about 15 minutes before continuing.
Roll the dough evenly across the entire batch so every stick bakes at a consistent rate.
Avoid overbaking, since chew sticks left in too long can turn unpleasantly hard rather than pleasantly chewy.
Let the sticks cool completely before storing to help them keep their texture longer and stay fresh.
Common Mistakes to Avoid
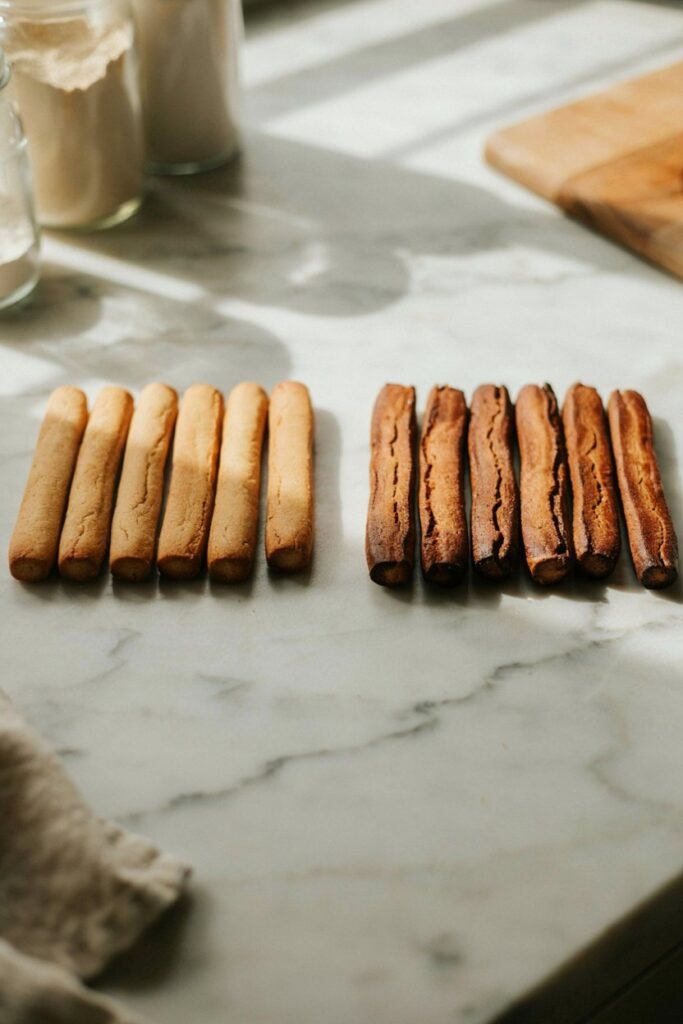
A few small mistakes can affect the texture, flavor, and safety of your homemade chew sticks.
Keeping these in mind will help you get great results every time.
- Using peanut butter that contains xylitol – Always read the label carefully. Xylitol is highly toxic to dogs and should never be used in homemade treats.
- Choosing an overly ripe banana – Bananas that are too soft can add excess moisture, making the dough sticky and harder to shape.
- Making the chew sticks too thick – Thick sticks may brown on the outside while remaining undercooked in the center.
- Skipping the cooling step – Let the chew sticks cool completely before storing them so they firm up properly and excess moisture can escape.
- Adding too much flour – Extra flour can make the chew sticks dry, dense, and crumbly instead of soft and pleasantly chewy.
Recipe Variations
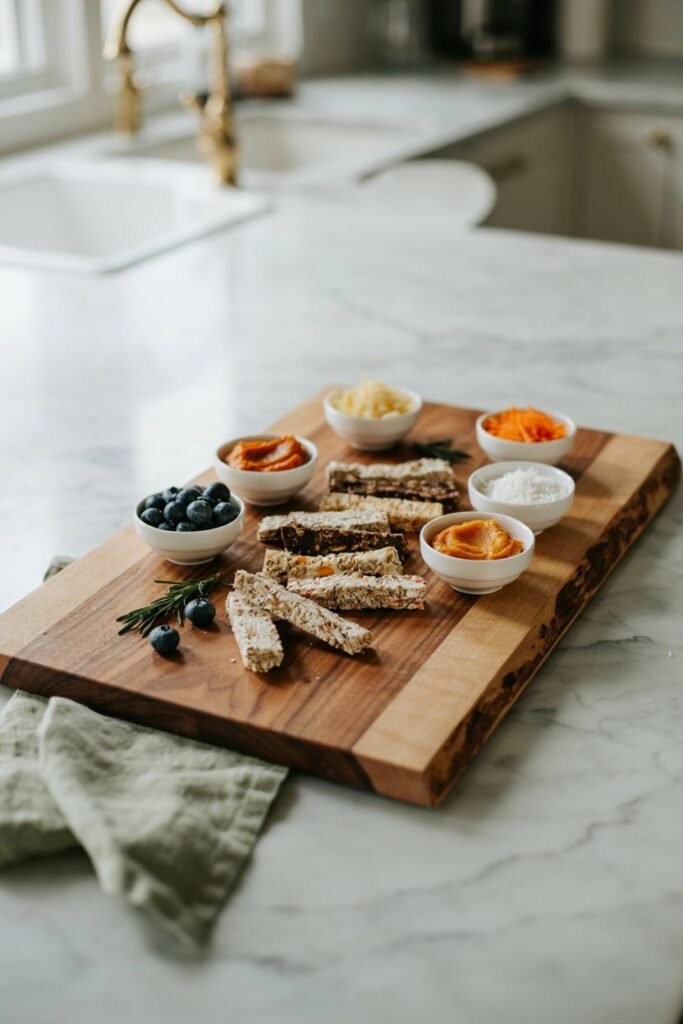
Once you’re comfortable with the base recipe, there are plenty of ways to switch things up.
A pumpkin banana version blends in a spoonful of plain pumpkin puree for extra fiber and a softer texture.
A blueberry banana version folds in a small handful of mashed blueberries for natural antioxidants, similar to the flavor profile in my blueberry and coconut dog gummies.
An apple banana version adds finely grated apple for extra natural sweetness and moisture.
A carrot banana version stirs in finely grated carrot for a bit of crunch and added beta carotene.
A coconut banana version mixes in a small amount of unsweetened shredded coconut for a slightly tropical twist.
A sweet potato banana version uses a few tablespoons of mashed, cooked sweet potato in place of part of the banana for a heartier, more filling chew stick.
Storage Tips
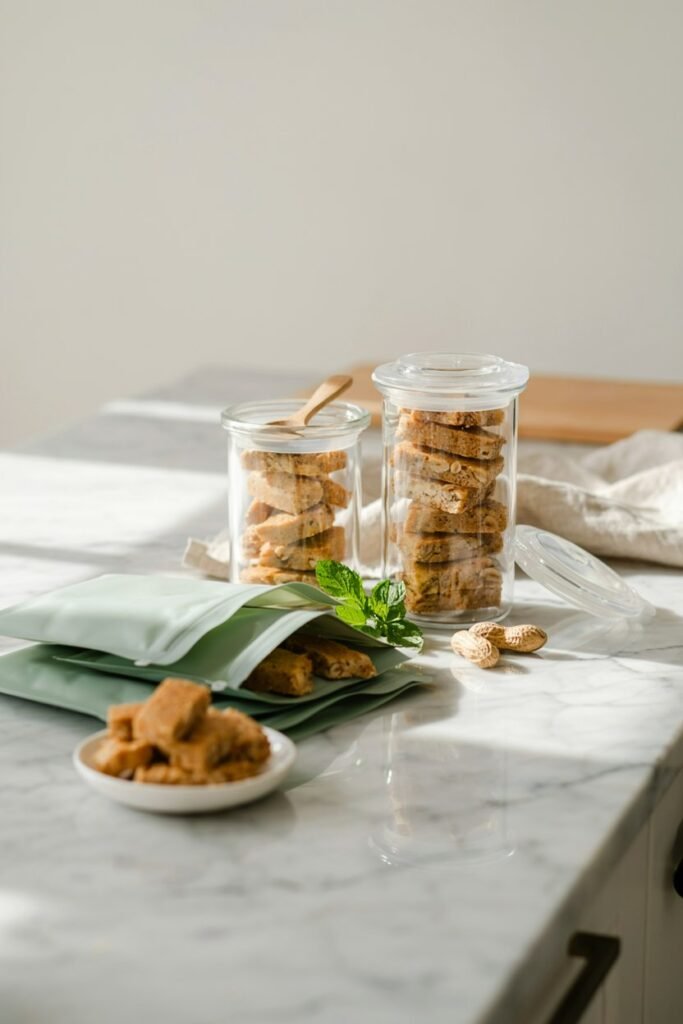
Proper storage helps keep your homemade chew sticks fresh, flavorful, and safe for your dog to enjoy.
- Room Temperature – Store the chew sticks in an airtight container for up to 3 days. Because they contain fresh fruit, they have a higher moisture content than crunchy biscuits.
- Refrigerator – For longer freshness, keep them in an airtight container in the refrigerator for up to 1 week. This is the best option if your kitchen is warm or humid.
- Freezer – Freeze the chew sticks for up to 3 months. Arrange them in a single layer until frozen, then transfer them to a freezer safe bag or airtight container to prevent them from sticking together.
- Thawing – Let frozen chew sticks thaw at room temperature for about 20 to 30 minutes before serving. Avoid microwaving them, as it can affect both the texture and the overall quality of the treats.
Can Puppies Eat These?
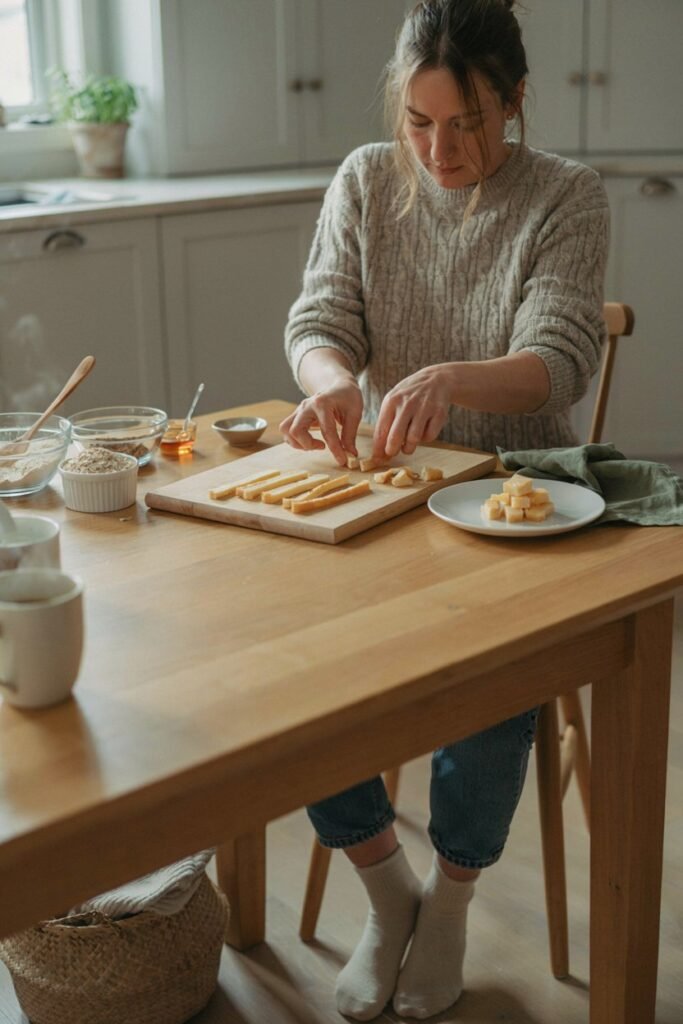
In small amounts, most puppies can enjoy these chew sticks once they are eating solid food regularly, though a few things are worth keeping in mind.
Because puppies have smaller mouths and are still developing their chewing habits, it can help to break the sticks into smaller, more manageable pieces or soften them slightly before serving.
Portion sizes should stay small, since treats of any kind should only make up a minor part of a growing puppy’s diet, and it is always a good idea to supervise your puppy the first few times they try a new treat to make sure they chew and swallow comfortably.
Serving Suggestions
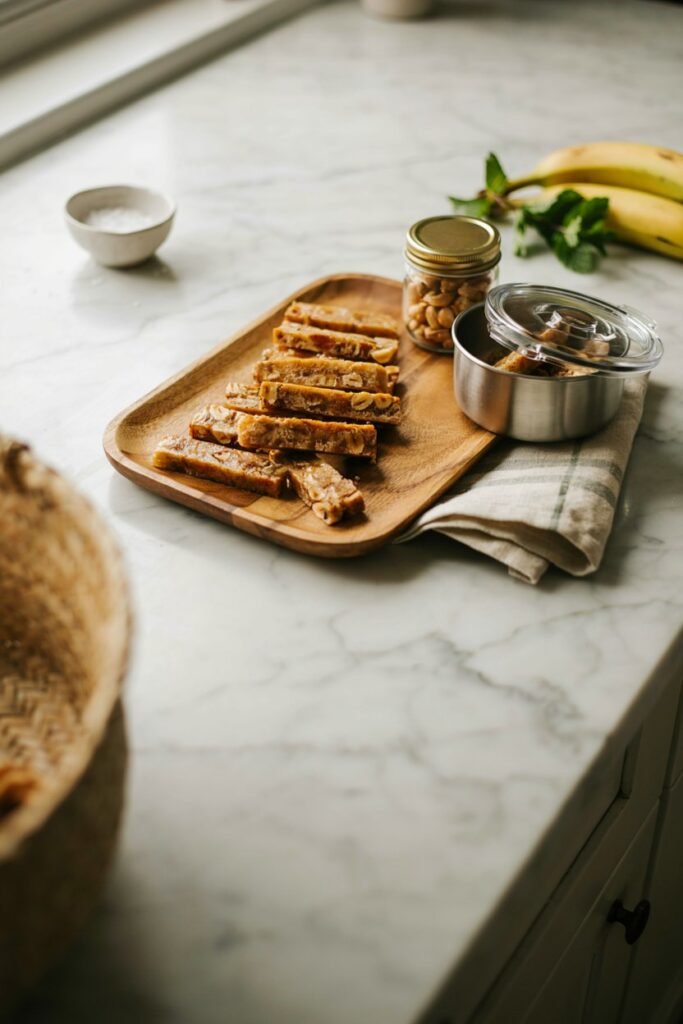
These chew sticks work well as more than just a snack. Broken into smaller pieces, they make excellent training rewards for repetitive practice sessions.
They can also be stuffed into puzzle toys or enrichment feeders for a slower, more engaging activity, similar to the ideas in my eight super easy ways to mentally stimulate your dog post.
A whole stick makes a satisfying afternoon snack on its own, and their sturdy shape also makes them convenient to toss in a bag for a hiking treat.
For a cooling twist, try freezing a few and stuffing them into a hollow toy as a frozen enrichment filling.
Crumbled over regular food occasionally, they can also turn an ordinary meal into something a little more exciting.
How Often Can Dogs Eat Them
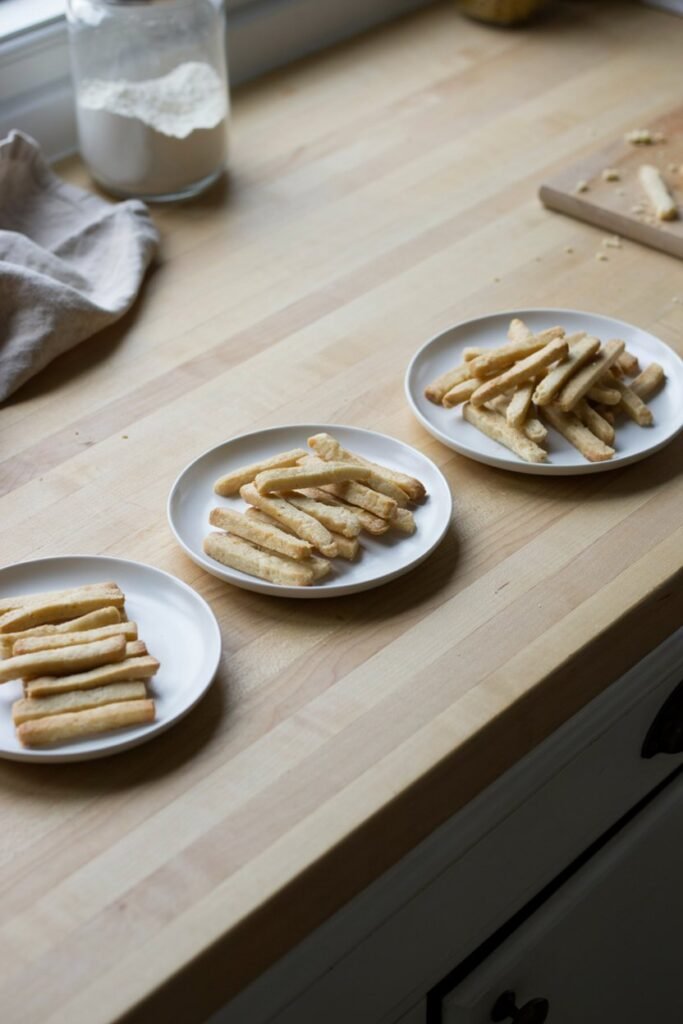
Portion frequency should scale with your dog’s size and overall diet. Small dogs generally do well with a small piece of a chew stick at a time rather than a whole one.
Medium dogs can typically enjoy one full stick as an occasional treat. Large dogs can usually have one to two sticks without issue.
As a general guideline, treats of any kind should make up no more than about 10 percent of a dog’s daily calorie intake, with the remaining 90 percent coming from a complete and balanced diet.
Troubleshooting
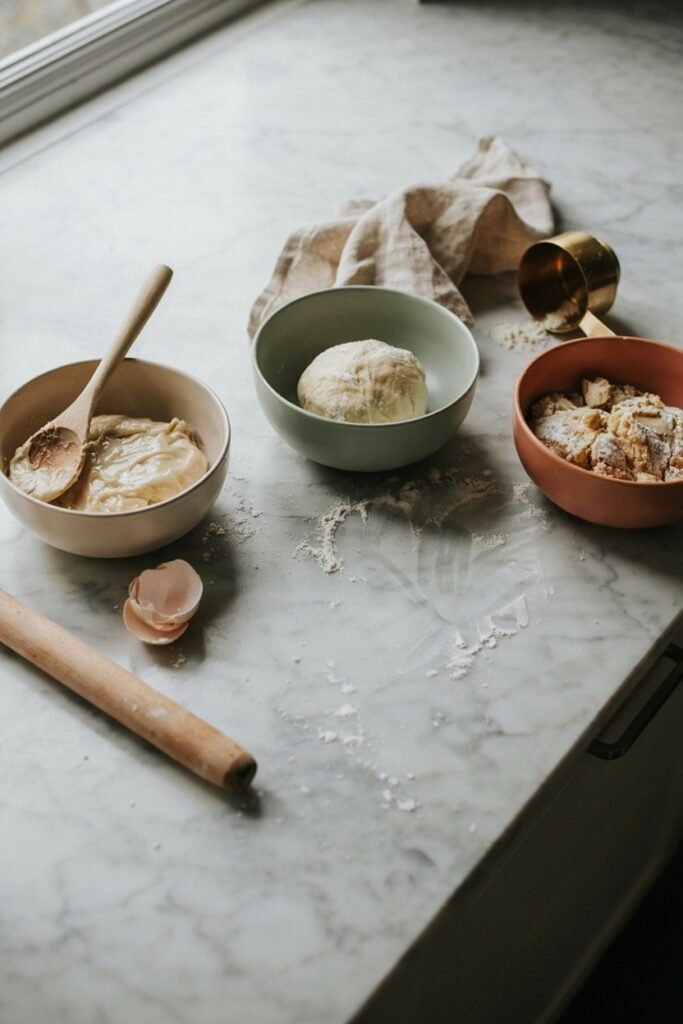
Dough Too Sticky
This usually means there is too much moisture from the banana or peanut butter relative to the flour.
Add a small amount of extra oat flour, a tablespoon at a time, until the dough firms up.
Dough Too Dry
If the dough feels crumbly and will not come together, add a small splash of water or an extra small spoonful of mashed banana until it holds its shape.
Chew Sticks Too Soft
Soft sticks after baking usually mean they were rolled too thick or removed from the oven too early.
Try rolling slightly thinner and baking for a few extra minutes next time.
Too Hard
Sticks that turn out too hard were likely left in the oven too long.
Reduce the baking time slightly and check for doneness a few minutes earlier next time.
Crumbling Apart
This is often a sign of too much flour or not enough binding moisture from the egg and banana.
Double check your measurements and make sure the egg is fully incorporated into the dough.
Burning on the Bottom
This can happen if your oven runs hot or if the tray is too close to the bottom heating element.
Try moving your tray to the middle rack and checking your oven’s actual temperature with an oven thermometer if this keeps happening.
Frequently Asked Questions
Can I freeze these? Yes, these chew sticks freeze well for up to 3 months when stored in an airtight, freezer safe container.
Can I use almond butter? Yes, as long as it is plain and free of xylitol, almond butter can be used in place of peanut butter.
Can I substitute oat flour? Yes, whole wheat flour can be used instead, though oat flour tends to be gentler for dogs with sensitive stomachs.
Are bananas healthy for dogs? In moderation, yes, bananas offer potassium, fiber, and vitamins that make them a healthy occasional treat ingredient.
Can I make these grain free? Yes, a grain free baking blend or almond flour can be substituted for oat flour, though the texture may turn out slightly different.
How long do homemade dog treats last? Around 3 days at room temperature, about a week refrigerated, and up to 3 months frozen.
Can senior dogs eat them? Yes, and their softer, chewier texture compared to a hard biscuit can actually make them easier for senior dogs with dental sensitivity to enjoy.
Can I make smaller sticks? Yes, simply cut the dough into smaller pieces before baking, which also works well for smaller breeds or for use as quick training rewards.
Can humans eat them? They are made from human safe ingredients, so a bite here and there will not hurt, though they are formulated specifically with a dog’s nutritional needs in mind.
Why did my dough crack? Cracking usually happens when the dough is a little too dry. Kneading in a small amount of extra mashed banana or a splash of water typically smooths it back out.
Can I add peanut butter as a topping instead of mixing it in? The recipe works best with peanut butter mixed directly into the dough, since adding it only as a topping can make the sticks unevenly flavored and slightly greasy on the surface.
Do I need to refrigerate the dough before baking? Not unless it feels too soft or sticky to roll, in which case chilling it briefly makes it much easier to work with.
Final Thoughts
Homemade treats like these banana and peanut chew sticks are a simple, rewarding way to spoil your dog while knowing exactly what goes into every bite.
The recipe is forgiving enough for beginners, quick enough for a busy afternoon, and flexible enough to customize with whatever dog safe ingredients you have on hand.
Bake a batch, freeze what you don’t need right away, and enjoy watching your dog’s excitement build every time you reach for the treat jar.
If you’re looking to keep building out your dog’s treat rotation, my apple and banana dog treats, apple carrot chew sticks, and bone broth gummy treats all make great next additions.
For warmer days, my two ingredient pupsicles, ten frozen dog treats your dog will love, frozen dog treats with banana and yogurt, and easy frozen coconut dog treats for summer round out a well stocked, homemade treat freezer your dog will always be excited to visit.