
Homemade Peanut Butter Banana Gummies for Dogs – 3 Ingredient Treat
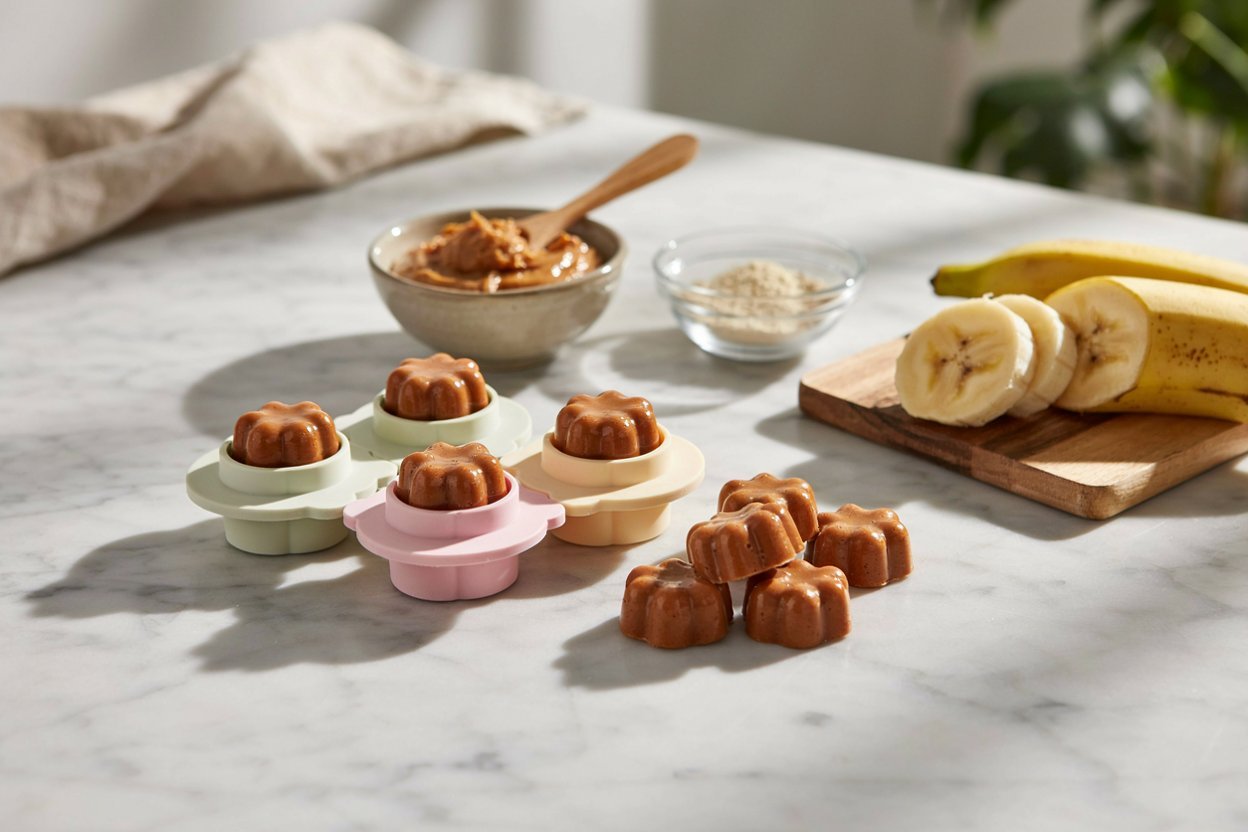
There are plenty of days when I want to give my dog something homemade without pulling out a long ingredient list or spending an hour in the kitchen. That’s exactly the gap these gummies fill. Three ingredients, a little bit of gentle warming, and a few hours in the fridge is genuinely all it takes.
The banana gives the mixture a naturally soft sweetness, the peanut butter makes the treats especially appealing, and once I started making them in small silicone molds, portioning and keeping a batch ready in the refrigerator became almost effortless.
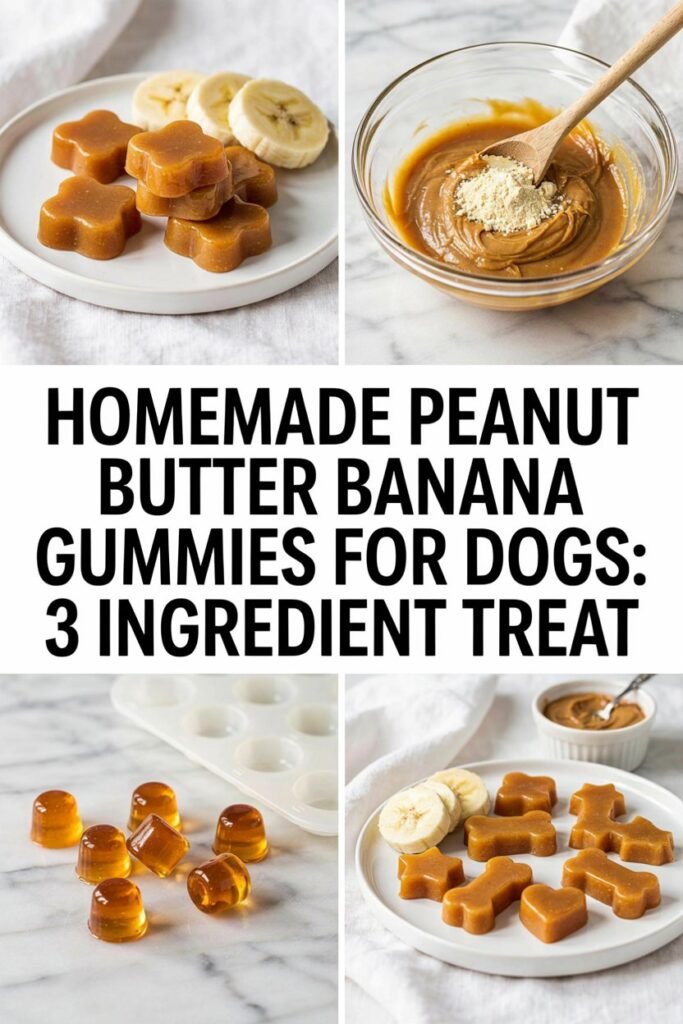
If you want to build out a wider treat rotation beyond this recipe, a few related guides are worth having open alongside this one. 3 ingredient peanut butter dog gummies and homemade beef bone broth gummies offer more gelatin based options, homemade banana dog treat recipes and simple carrot based dog treat recipes for beginners give you more everyday treat variety, easy frozen coconut dog treats for summer and 11 vet friendly frozen dog treat recipes are great if you want something colder, and human foods dogs can safely eat and homemade dog food with vet approved ingredients round out the bigger picture of feeding safely at home.
Disclaimer: This post may contain affiliate links, which means I may earn a small commission at no extra cost to you. Always use dog-safe ingredients and consult your veterinarian before introducing new treats, especially if your dog has allergies or dietary restrictions.
Amazon Shopping List You Need
- Dog-Safe Peanut Butter (Xylitol-Free)
- Unflavored Gelatin Powder
- Silicone Dog Treat Molds (Bone or Paw Shapes)
- Stainless Steel Mixing Bowl Set
- Measuring Cups and Spoons Set
- Silicone Spatula for Mixing
- Airtight Treat Storage Container
Why I Like These Peanut Butter Banana Gummies
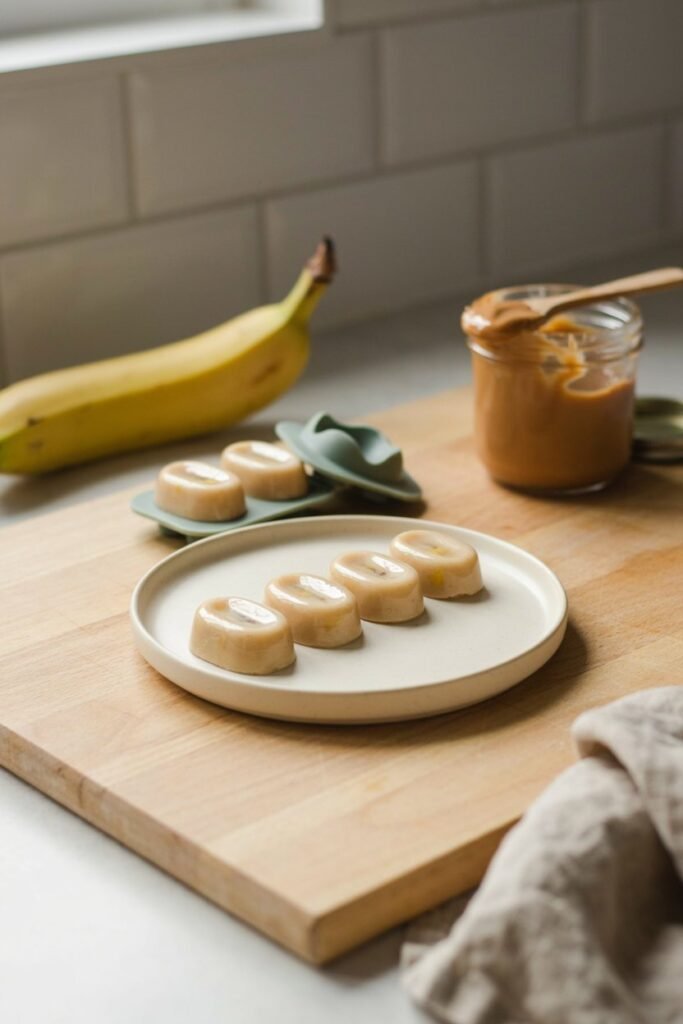
Three ingredients is really the whole appeal here. There’s no long shopping list, no complicated technique, and the portion control that comes from pouring the mixture into small molds makes it easy to keep a consistent treat size every single time.
They’re also genuinely convenient for busy weeks, since a single batch keeps for a while in the fridge and portions out easily whenever treat time comes around.
What You Need
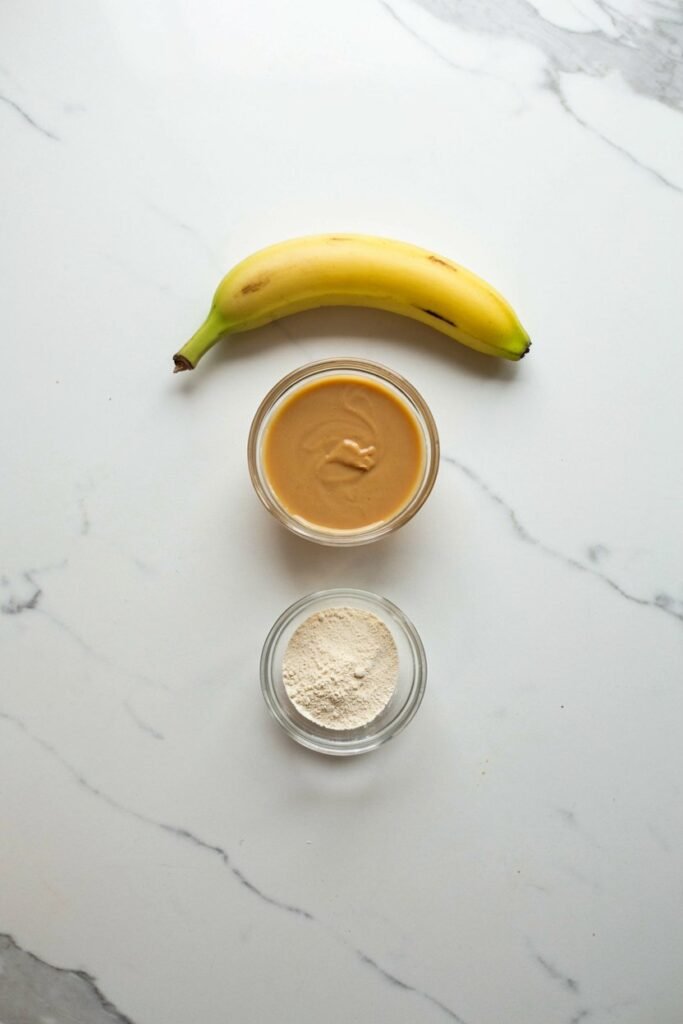
- Ripe banana
- Natural peanut butter
- Unflavored gelatin
The peanut butter deserves a closer look before you buy it. Check the ingredient label carefully and avoid any peanut butter containing xylitol, since xylitol is extremely dangerous to dogs even in very small amounts. Plain, natural peanut butter with nothing but peanuts, and maybe a small amount of salt, is what you’re looking for.
Ingredient Notes and Safe Substitutions
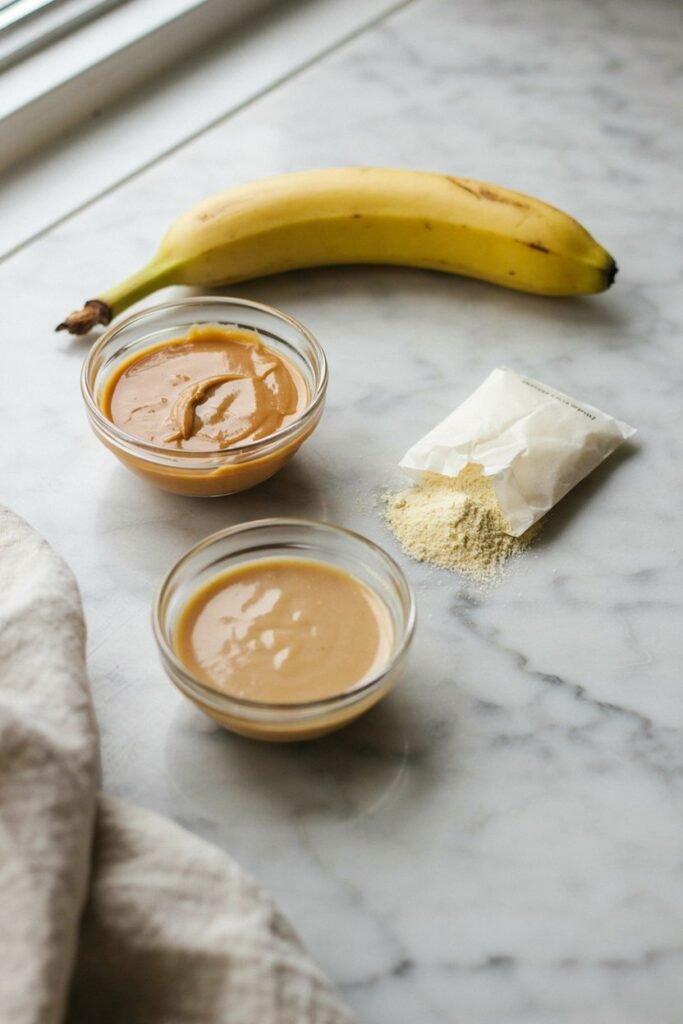
Why ripe banana works well. A ripe banana mashes easily and blends smoothly into the mixture, and its natural sweetness means you don’t need to add any sugar at all.
What type of peanut butter to use. Stick to plain, natural peanut butter without added sugar, salt heavy formulas, or artificial sweeteners. Always double check the label, even on brands you’ve used before, since ingredient lists can change.
Why unflavored gelatin is preferable. Unflavored gelatin sets the mixture into a proper gummy texture without introducing any added sugar or artificial flavoring that flavored gelatin packets typically contain.
What to avoid. Flavored gelatin, sweetened peanut butter, and overripe bananas that have started to ferment should all be skipped.
Substitutions. A less ripe banana works but produces a less sweet, slightly firmer result. Almond butter can replace peanut butter in a pinch, as long as it’s plain and xylitol free, though the flavor and texture will shift slightly.
How to Make Peanut Butter Banana Gummies for Dogs
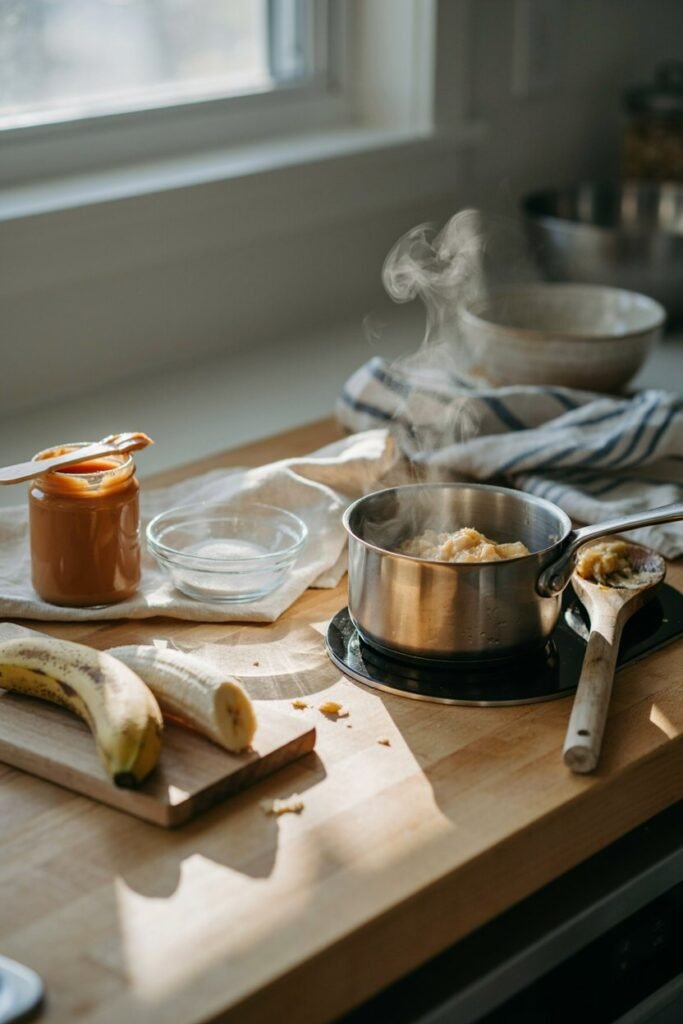
- Mash one ripe banana in a bowl until smooth, or blend it for an even smoother texture.
- Warm the mashed banana gently in a small saucepan over low heat, just until it’s warm to the touch, not hot or boiling.
- Stir in 2 to 3 tablespoons of natural peanut butter until fully melted and combined.
- Sprinkle in 2 to 3 tablespoons of unflavored gelatin, whisking continuously to avoid clumps.
- Continue stirring over low heat for a minute or two, until the gelatin is fully dissolved and the mixture is smooth.
- Pour the warm mixture into small silicone molds.
- Refrigerate for at least 2 to 3 hours, until fully set and firm to the touch.
- Pop the gummies out of the molds once set.
How I Get the Best Gummy Texture
If the mixture turns out too thick to pour smoothly, a small splash of warm water while stirring usually loosens it up without affecting how well it sets. If it turns out too runny after chilling, it likely needed slightly more gelatin, or wasn’t stirred long enough over the heat to fully dissolve what was added.
Not chilling the gummies long enough is probably the most common issue. If they still feel soft or tacky after a couple of hours, give them more time in the fridge before assuming something went wrong with the recipe itself.
How Many Gummies Can a Dog Have?
These shouldn’t be treated as an unlimited snack. Treats should remain a small part of a dog’s overall diet, and how many gummies is appropriate depends on your dog’s size, their regular diet, and their individual calorie needs.
A small dog might do well with just one or two, while a larger, more active dog could reasonably have a few more, but it’s worth erring on the side of fewer rather than more, especially since peanut butter adds up in calories faster than the banana alone would suggest.
How to Store Them
Refrigerator. Store the gummies in an airtight container for up to about a week.
Freezer. These freeze well. Arrange them in a single layer until solid, then transfer to a freezer safe container or bag.
Thawing. Thaw frozen gummies in the refrigerator, or let them sit at room temperature for a few minutes before serving.
Can You Freeze Homemade Dog Gummies?
Yes, and it’s a genuinely good option if you’ve made a larger batch than you’ll get through in a week. Freezing individual gummies in a single layer before transferring them to a container keeps them from sticking together, which makes grabbing just a few at a time much easier later on.
Can Puppies Eat These Treats?
In small amounts, occasionally, yes, though it’s worth being cautious here. Puppies have more specific nutritional needs during growth, and treats, homemade or otherwise, shouldn’t displace a meaningful portion of their regular puppy food. If you’re unsure how these fit into your puppy’s overall diet, it’s worth checking with your veterinarian before making them a regular addition.
Common Mistakes to Avoid
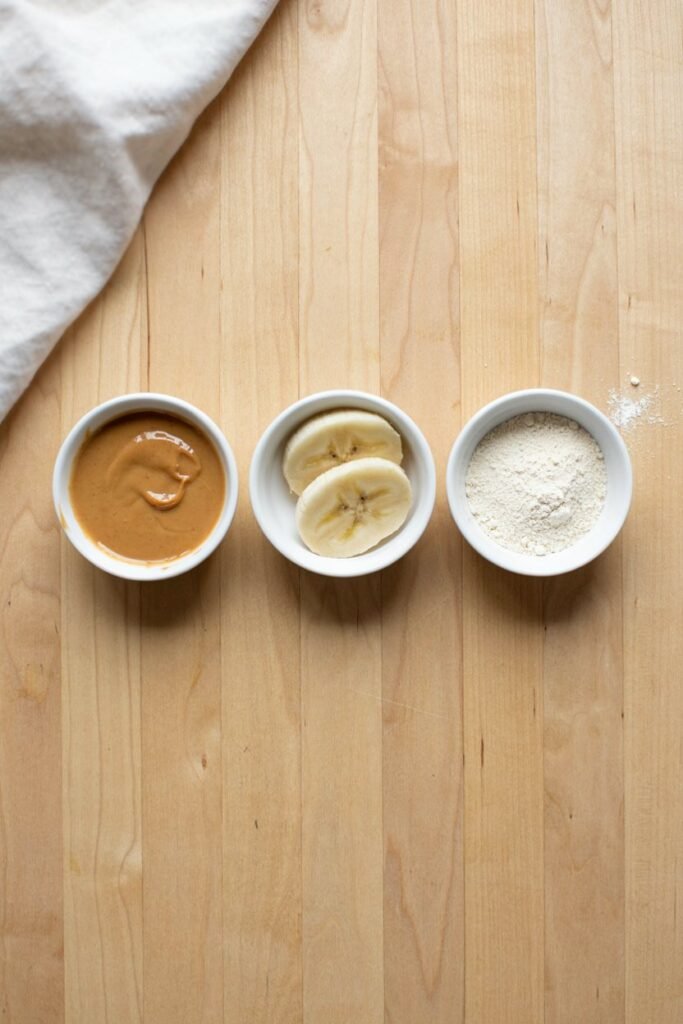
- Using sweetened or flavored peanut butter instead of a plain, natural version
- Using peanut butter containing xylitol, which is genuinely dangerous even in small amounts
- Adding sugar or artificial sweeteners of any kind
- Using flavored gelatin instead of unflavored
- Making the gummies too large for a quick, controlled treat
- Leaving them unrefrigerated for extended periods, since they’re a moist, perishable treat
Ways to Make the Recipe More Interesting
A small amount of plain pumpkin puree can be blended in alongside the banana for a slightly different flavor and a boost of fiber, as long as it fits your dog’s overall diet.
It’s worth keeping additions like this modest rather than turning the recipe into something else entirely, since the appeal here really is the simplicity of just three core ingredients.
My Tips for Making These Easier
Silicone molds have made this recipe genuinely low effort for me. I like using small ones specifically so I can control portion size without measuring each gummy out individually.
Making a full batch ahead of time and keeping a portion in the fridge for the week, with the rest frozen for later, means I always have something ready without needing to cook every time treat time rolls around.
Good Ingredients to Look For
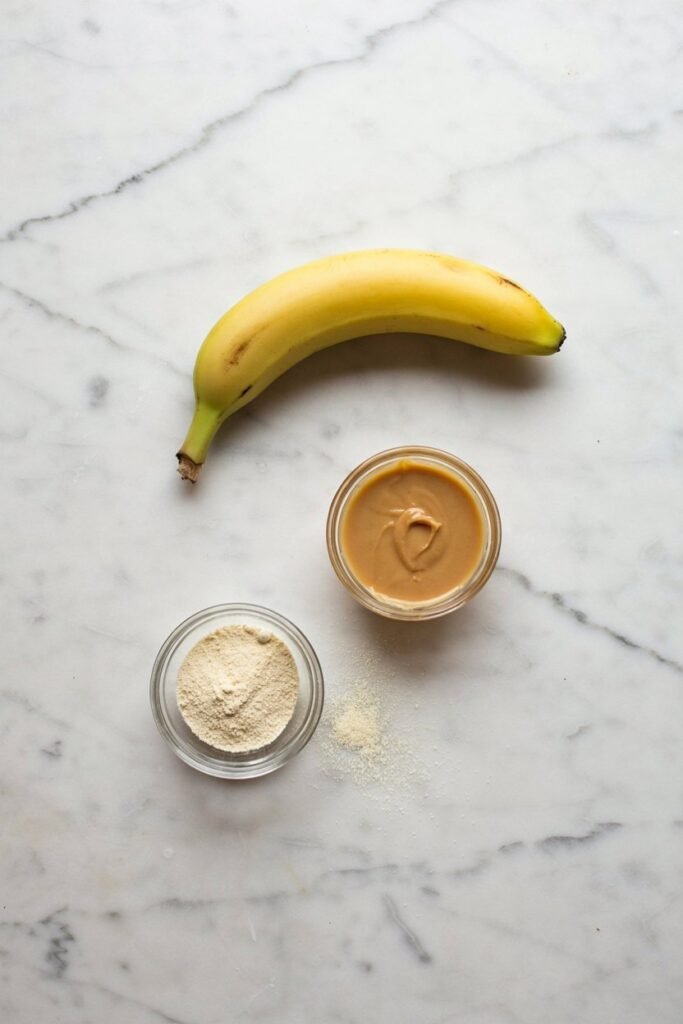
Beyond the three core ingredients in this recipe, it helps to know what generally makes a homemade dog treat a genuinely good one.
Plain, single ingredient peanut butter. Just peanuts, and maybe a touch of salt, with nothing else on the label.
Ripe, unblemished banana. Naturally sweet enough on its own without needing any added sugar.
Unflavored gelatin. Sets the mixture properly without introducing any unnecessary flavoring or sweeteners.
Nothing artificial. No added sugar, no artificial sweeteners, and no seasoning of any kind belong in a treat like this.
Recognizable, simple ingredients overall. If you can’t easily explain what an ingredient is or why it’s there, it probably doesn’t belong in a homemade treat.
Seeing a short, plain, recognizable ingredient list like this one is generally a good sign, whether you’re looking at a recipe you’re making yourself or checking the label on a store bought treat for comparison.
Frequently Asked Questions
Can dogs eat banana gummies? Yes, banana is safe for dogs in moderation, and combined with plain peanut butter and unflavored gelatin, these gummies make a simple, appropriate treat.
Is peanut butter safe for dogs? Yes, as long as it’s plain and free of xylitol, which is highly toxic to dogs even in small amounts.
Can I freeze these treats? Yes, freezing them in a single layer before transferring to a container works well and keeps them from sticking together.
How long do homemade dog gummies last? About a week in the refrigerator, or several months in the freezer when stored properly.
Can I use powdered gelatin? Yes, unflavored powdered gelatin is exactly what this recipe calls for.
Can I make them without a mold? Yes, you can pour the mixture into a shallow dish, let it set, and cut it into small squares once firm.
Are these suitable for puppies? In small amounts occasionally, yes, though it’s worth checking with your veterinarian about how treats like this fit into your puppy’s overall diet.
How many can my dog have? A small number, adjusted for your dog’s size and overall diet. Treats should stay a small part of their daily calorie intake, not a regular, sizable addition.
Final Thoughts
I’d make this recipe again for exactly the reason I made it the first time: it’s simple, it stores well, and it gives me something homemade to hand my dog without needing a free afternoon to pull it off.
It’s especially useful on weeks when I want to keep treat time consistent without relying entirely on store bought options, and having a batch ready in the fridge or freezer makes that a lot easier to keep up with.

9 Comments