
Affordable Homemade Cat Gravy Food on a Budget
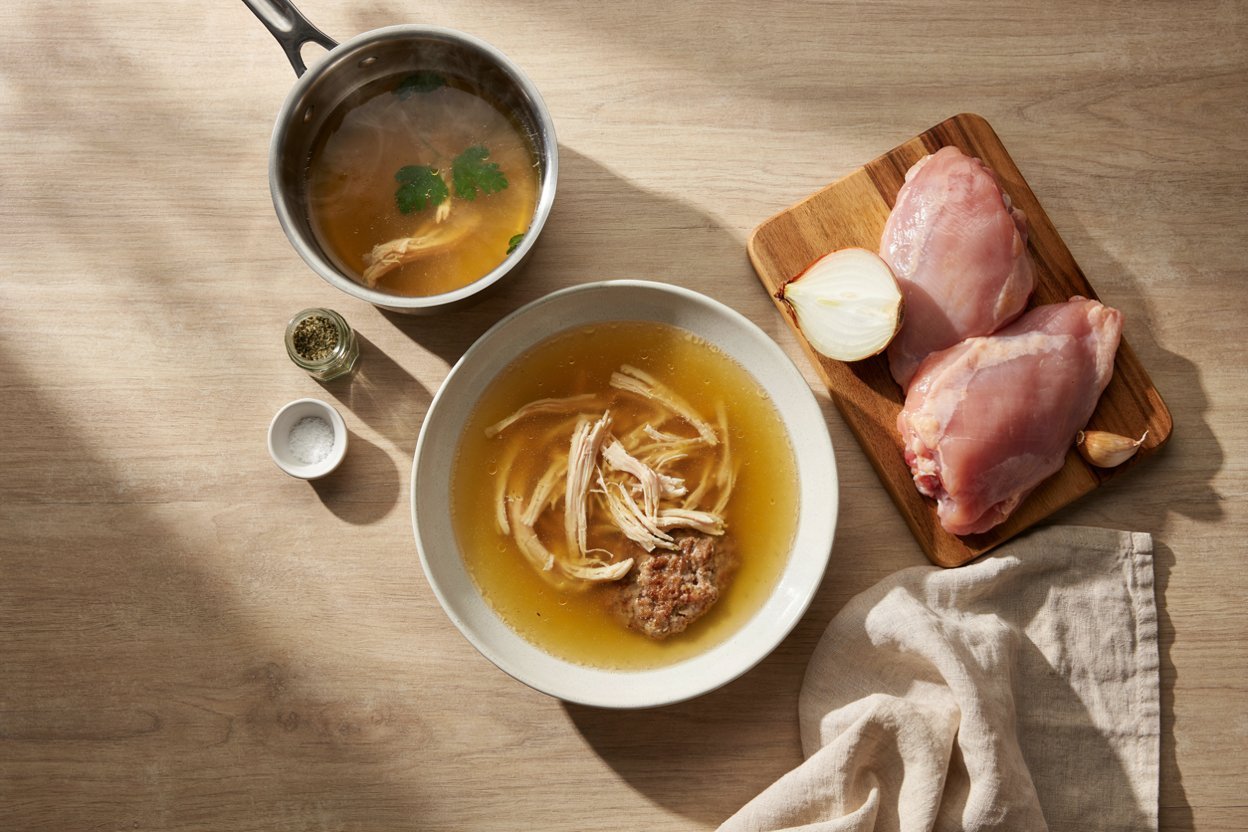
Cat food costs have a way of creeping up without anyone quite noticing, a few dollars more per case here, a new formula there, until the monthly grocery run for your cat starts to rival your own.
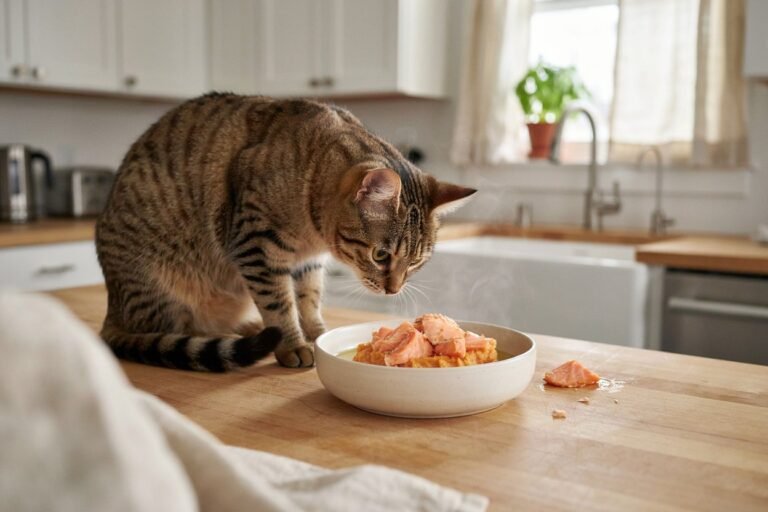
Gravy is one of the easiest, cheapest ways to stretch what you already have, turning a modest amount of protein into a bowl your cat is excited about, without needing to buy anything specialty or expensive to make it happen.
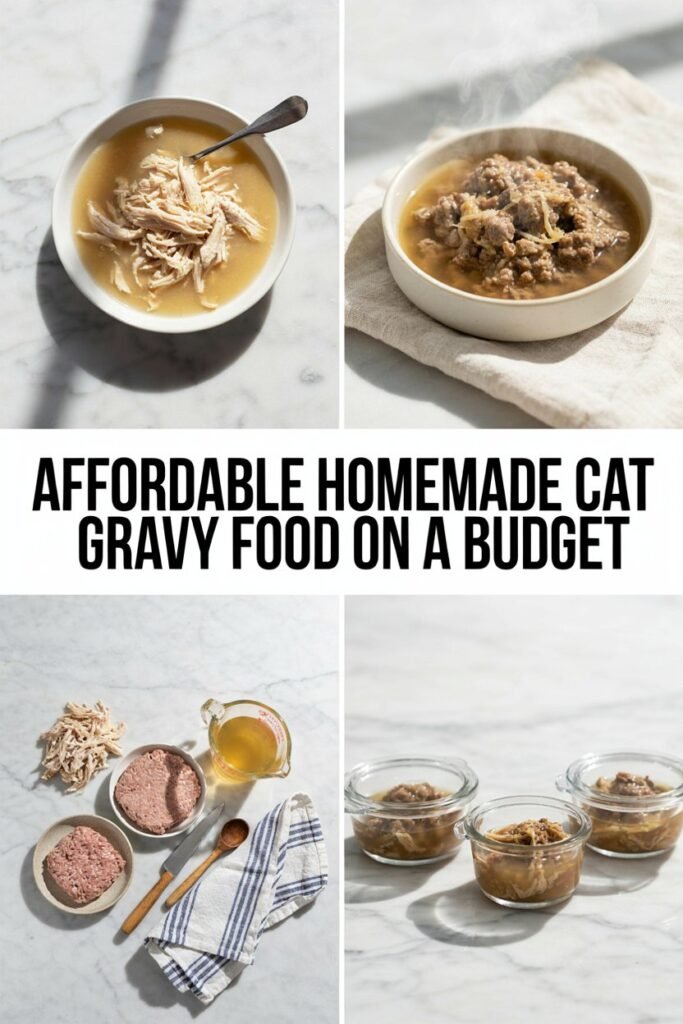
This guide is built specifically around keeping costs low while still making something genuinely good for your cat. You do not need pricey cuts of meat, imported broths, or gourmet ingredients.
What follows is an explanation of why gravy is such a budget friendly addition in the first place, a few money saving habits worth building, one simple base recipe using inexpensive staples, a couple of ways to stretch it even further, and answers to the questions budget minded owners tend to ask most.
Disclaimer: This post may contain affiliate links, which means I may earn a small commission at no extra cost to you. Always consult your veterinarian before changing your cat’s diet or introducing homemade meals and gravy recipes.
Amazon Shopping List You Need
- Nonstick Saucepan with Lid
- Stainless Steel Cat Food Bowls
- Glass Meal Prep Containers with Lids
- Silicone Freezer Food Trays
- Airtight Pet Food Storage Container
- Immersion Hand Blender for Smooth Cat Gravy
- Cat Multivitamin Supplement Powder
Why Gravy Is Such a Budget Friendly Option
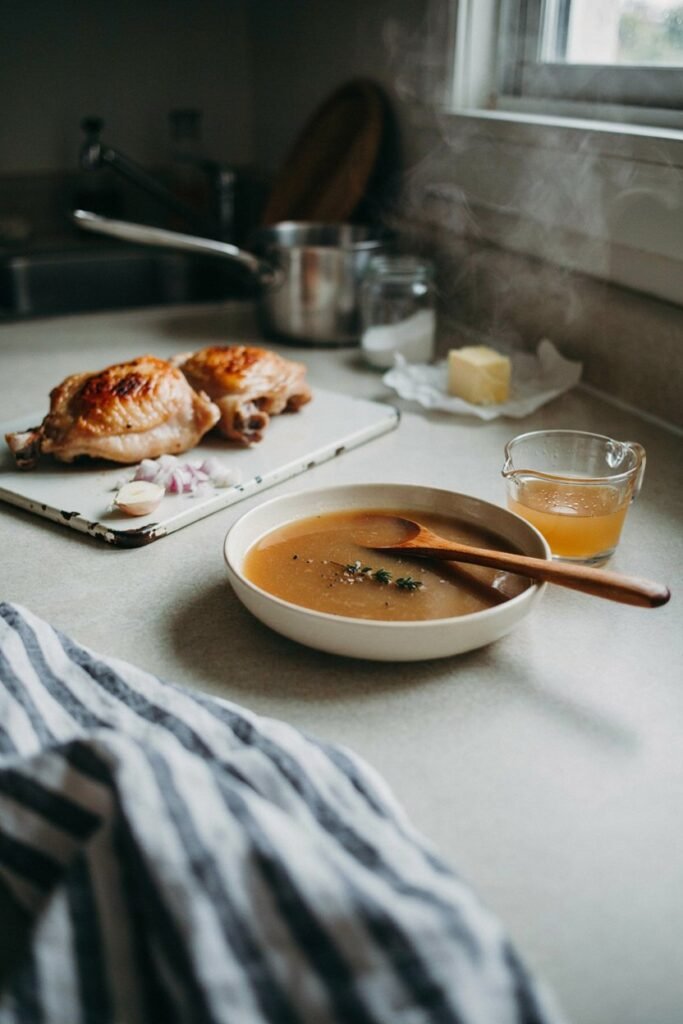
Gravy works so well for stretching a food budget because it takes a small amount of protein and turns it into a meaningfully larger, more satisfying meal without adding much cost at all.
A modest portion of chicken or a small can of budget friendly fish, simmered in broth, goes noticeably further than serving that same protein on its own, since the gravy adds both volume and appeal.
It also gives you a practical use for parts of a protein that might otherwise go to waste in your own cooking, such as the poaching liquid from chicken you made for your own dinner or the water from a can of tuna packed for human consumption, as long as it has no added salt or seasoning.
None of these ingredients require a special trip to the store, which is part of what makes gravy such an accessible way to add value to meals you are already planning to make.
Smart Habits That Keep Costs Down
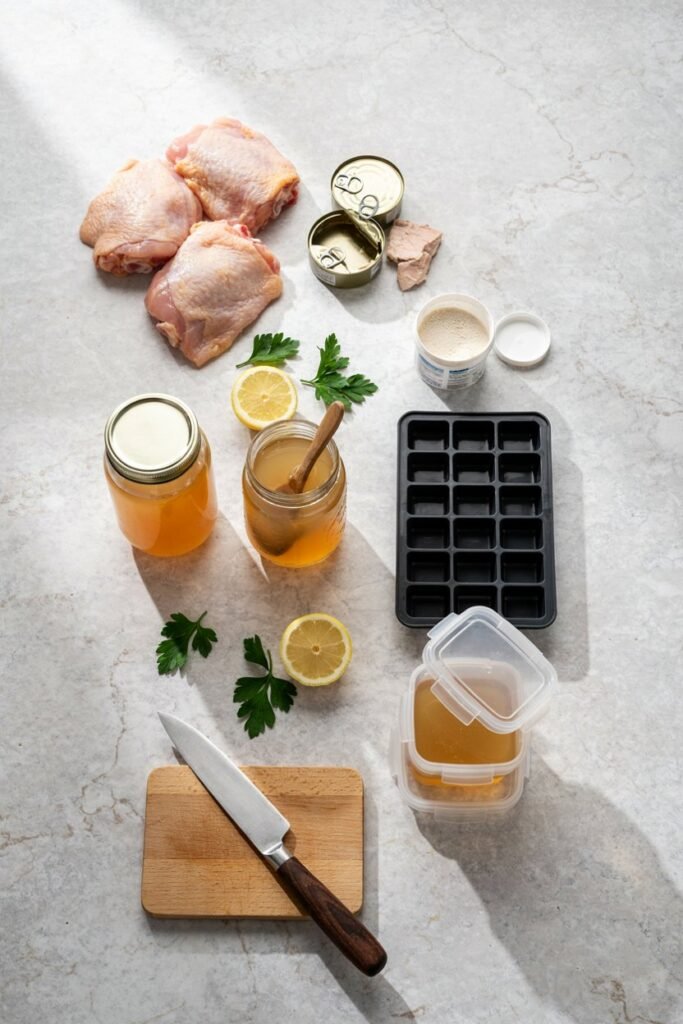
A few simple habits make a real difference over time when you are trying to keep homemade cat food affordable.
- Buy chicken thighs or whole chickens instead of boneless, skinless breast, since they are typically cheaper per pound and the poaching liquid becomes the base for your gravy at no extra cost.
- Watch for sales on canned fish packed in water, and buy a few extra cans when the price drops, since canned fish keeps well in the pantry until you are ready to use it.
- Make a large batch of broth at once and freeze it in small portions, so you are not buying broth in small quantities every time you want to make a fresh batch of gravy.
- Save the cooking liquid any time you poach or boil chicken for yourself, since that liquid alone, once cooled and strained of any seasoning, can become the base of a free batch of cat gravy.
- Buy plain gelatin in bulk if you use it regularly for thickening, since it is inexpensive and lasts a long time in the pantry.
Before You Start
A few safety guidelines apply regardless of budget, so keep these in mind no matter which ingredients you are using.
- Never use onion or garlic, including onion or garlic powder, since both are toxic to cats even in small amounts, and this includes many boxed and canned broths marketed for human cooking.
- Avoid added salt entirely, since low sodium is important both for your cat’s health and because unseasoned ingredients are often the cheaper option anyway.
- Any fish used should be fully cooked rather than raw, and canned fish should be packed in water rather than oil or a seasoned sauce.
- Introduce a new batch of homemade gravy gradually if your cat has not had it before, watching for any digestive upset over the following day.
- Check with your veterinarian before making homemade gravy a frequent part of your cat’s diet if your cat has a health condition that requires sodium or fluid management.
Ingredients You Will Need
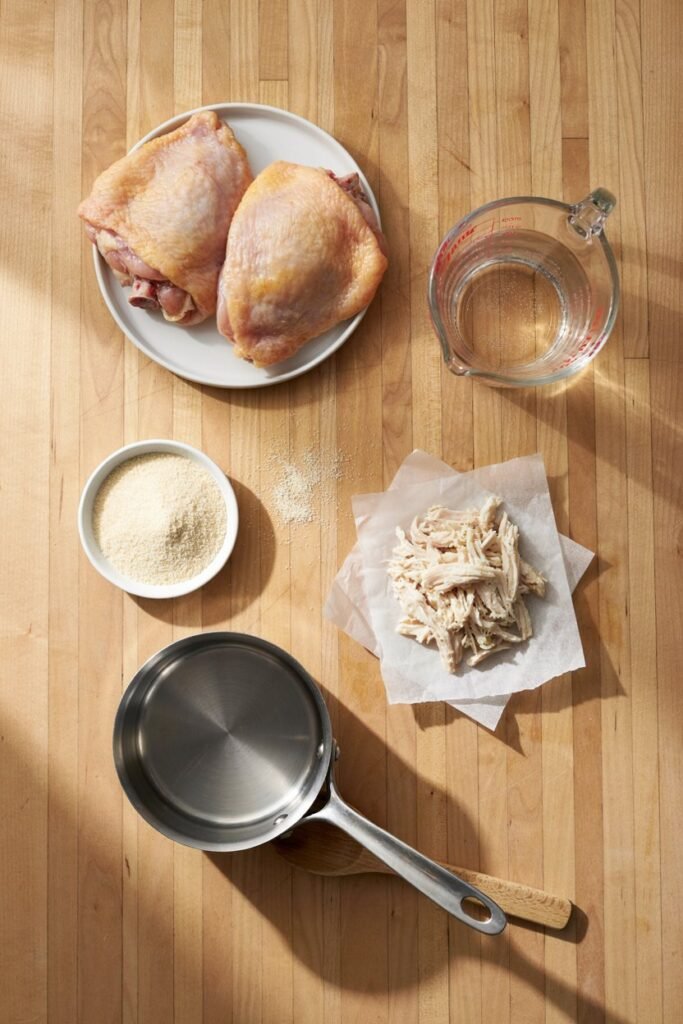
- 2 chicken thighs, bone in, skin on: the most affordable cut of chicken per pound, and using bone in, skin on pieces means the poaching liquid becomes a flavorful, gelatin rich gravy base at no extra cost. You can also substitute the equivalent amount of poaching liquid already saved from cooking chicken for yourself, which makes this recipe essentially free.
- 1 cup water, or reserved poaching liquid if you have it: forms the bulk of the gravy and delivers real hydration, which matters since cats naturally have a low thirst drive and get much of their water from food rather than a bowl.
- 1/2 teaspoon plain unflavored gelatin, optional: thickens the gravy to a smoother, glossier consistency without needing flour or cornstarch, and is completely optional if you prefer a thinner, more sippable texture or want to save a small amount of cost.
- A small handful of the cooked chicken, finely shredded: adds protein and real substance, turning a simple broth into something closer to a full meal rather than just a flavored liquid.
How to Make It
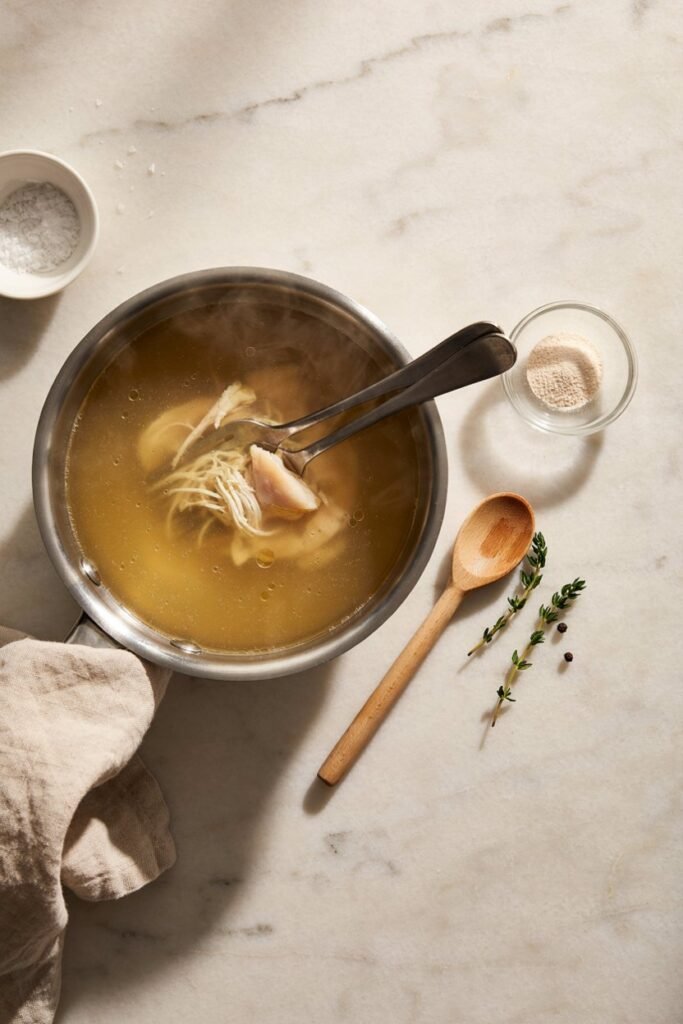
- If starting from raw chicken thighs, simmer them gently in the water until fully cooked through, since this both cooks the protein safely and builds a rich, flavorful poaching liquid that becomes the gravy itself. Remove the chicken once cooked and set it aside, keeping the cooking liquid in the pot.
- If using reserved poaching liquid instead of raw chicken, simply warm it gently in a small saucepan over low heat until heated through.
- Whisk in the gelatin, if using, stirring until it fully dissolves into the warm liquid with no lumps remaining, which is what gives the gravy its smoother, glossier texture.
- Shred a small amount of the cooked chicken finely, so it blends easily into the gravy and is easy for your cat to eat, then stir it into the warm liquid.
- Let the mixture simmer gently for a few minutes so the flavors combine fully, then remove from heat and cool to a safe serving temperature before offering it to your cat.

Stretching It Even Further
A single batch of this gravy can go further than it looks. Splitting it across several days by freezing it in small, single serving portions, such as an ice cube tray, means you are not making a fresh batch every time and are instead pulling from a stockpile built during a single cooking session.
Canned fish packed in water is another affordable way to vary the recipe without spending much, since a small can of the most basic, budget tier fish, drained and flaked, works just as well in this recipe as a more expensive cut of chicken.
Using the poaching liquid from any protein you already cook for your own meals, as long as it has no added salt, onion, or garlic, is essentially a free ingredient that many households pour down the drain without realizing it has a second use.
Ingredients to Avoid
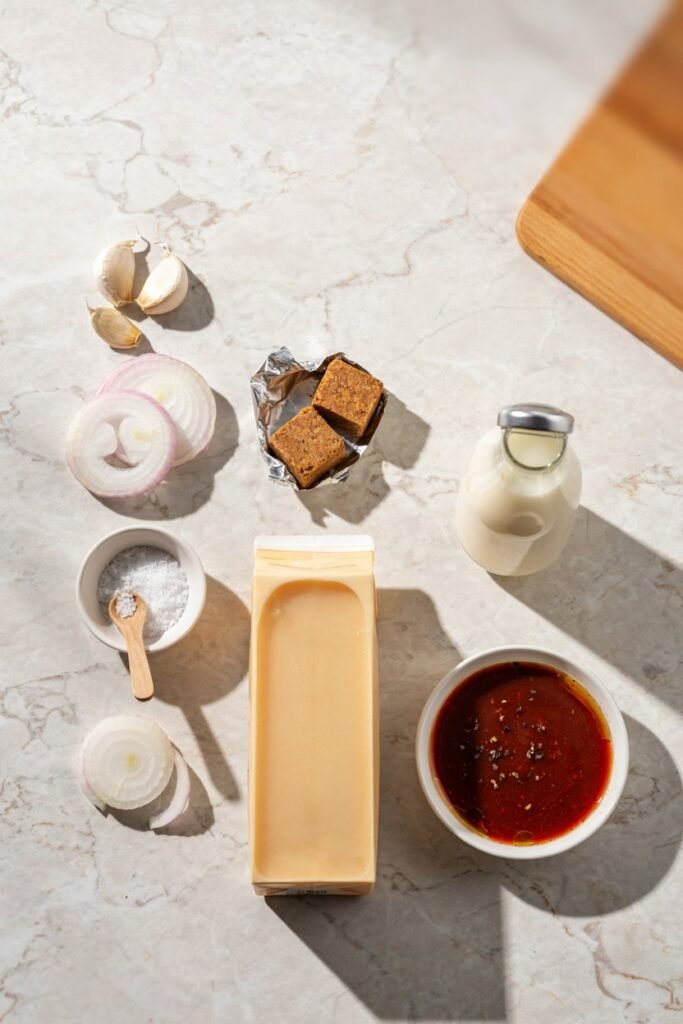
- Onion and garlic, in any form, including onion or garlic powder: both are toxic to cats even in small amounts, and this includes many broths and bouillon products marketed for human cooking, so always check the label carefully.
- Added salt: a cat’s sodium needs are much lower than a human’s, and most broths and bouillon cubes are far saltier than necessary for this purpose.
- Bouillon cubes as a shortcut for broth: most are extremely high in sodium and sometimes contain onion or garlic powder, making them a false economy even though they seem cheap.
- Raw fish or undercooked protein: raw fish can contain an enzyme that destroys thiamine, an essential nutrient for cats, so any protein used should always be fully cooked.
- Canned fish packed in oil or a seasoned sauce: only fish packed in plain water is appropriate, since oil adds unnecessary fat and seasoned varieties often contain salt, garlic, or other additives.
- Dairy, such as milk or cream, used to thicken or enrich the gravy: many adult cats digest dairy poorly, and it is not necessary for a good texture when gelatin does the job just as well.
Common Mistakes to Not Make
- Using a broth or stock made for human cooking without checking the label first, since many contain onion or garlic even when they are not the primary flavor you notice.
- Adding salt out of habit, the way you might when cooking for yourself, when the whole point of a homemade version is to keep sodium low.
- Skipping the step of cooling the gravy before serving, which can burn a cat’s mouth or simply discourage them from eating it if it is served too hot.
- Making a large batch without freezing portions for later, then letting leftovers sit in the refrigerator past the three day mark, where they are no longer safe to serve.
- Assuming gelatin is required for the recipe to work, when in fact it is entirely optional and skipping it is a reasonable way to save a small amount of cost without hurting the final result.
- Relying on gravy as a full meal replacement rather than a topper or moisture boost, which can leave gaps in your cat’s overall nutrition if it becomes the main thing they are eating day to day.
Frequently Asked Questions
Is homemade gravy actually cheaper than buying gravy toppers at the store? For most households, yes, particularly once you get in the habit of saving broth and buying chicken thighs or sale priced canned fish rather than premium cuts.
Can I use the broth from my own cooking, or does it need to be made specifically for my cat? As long as it has no added salt, onion, or garlic, broth made for your own cooking works perfectly well as a base for cat gravy.
What is the cheapest protein to use in this recipe? Bone in, skin on chicken thighs and sale priced canned fish packed in water are generally the most affordable options while still providing good flavor and nutrition.
How long does this budget gravy last? About three days refrigerated, and up to two months if frozen in small portions.
Do I need the gelatin, or can I skip it to save money? Gelatin is optional and mainly affects texture. Skipping it results in a thinner gravy, which many cats are perfectly happy with, so it is a reasonable place to cut a small cost if needed.
Is it safe to use bouillon cubes to save money on broth? Most bouillon cubes are very high in sodium and sometimes contain onion or garlic powder, so they are best avoided even though they seem like a cheap shortcut.
Affordable Homemade Cat Gravy Food
Ingredients
Equipment
Method
- Pour the chicken broth into a small saucepan and warm gently over low heat.
- Sprinkle the gelatin powder over the warm broth.
- Stir until the gelatin has completely dissolved.
- Add the shredded chicken and gently stir until evenly distributed.
- Remove the saucepan from the heat and allow the gravy to cool to a safe serving temperature.
- Spoon a small amount over your cat’s regular complete and balanced food and serve.
- For a budget friendly option, use leftover plain cooked chicken from a meal as long as it contains no onion, garlic, salt, butter, sauces, or seasonings.
- Always check the broth label carefully. It should contain no onion or garlic and should not be heavily salted.
- This gravy is a topper, not a complete cat food. It should be used in moderation alongside your cat’s regular nutritionally complete food.
Final Thoughts
Keeping your cat well fed on a budget does not mean cutting corners on quality. A few inexpensive habits, saving broth, buying the cheaper cuts, and keeping a small stockpile in the freezer, go a long way toward making homemade gravy something you can offer regularly without it becoming a real strain on your grocery budget.
Start with the base recipe above, build the habit of saving broth whenever you cook for yourself, and you will likely find that the most budget friendly version of homemade cat food is also one of the easiest to keep making week after week.



2 Comments