DIY Cat House: Tepee From an Old TV Tray
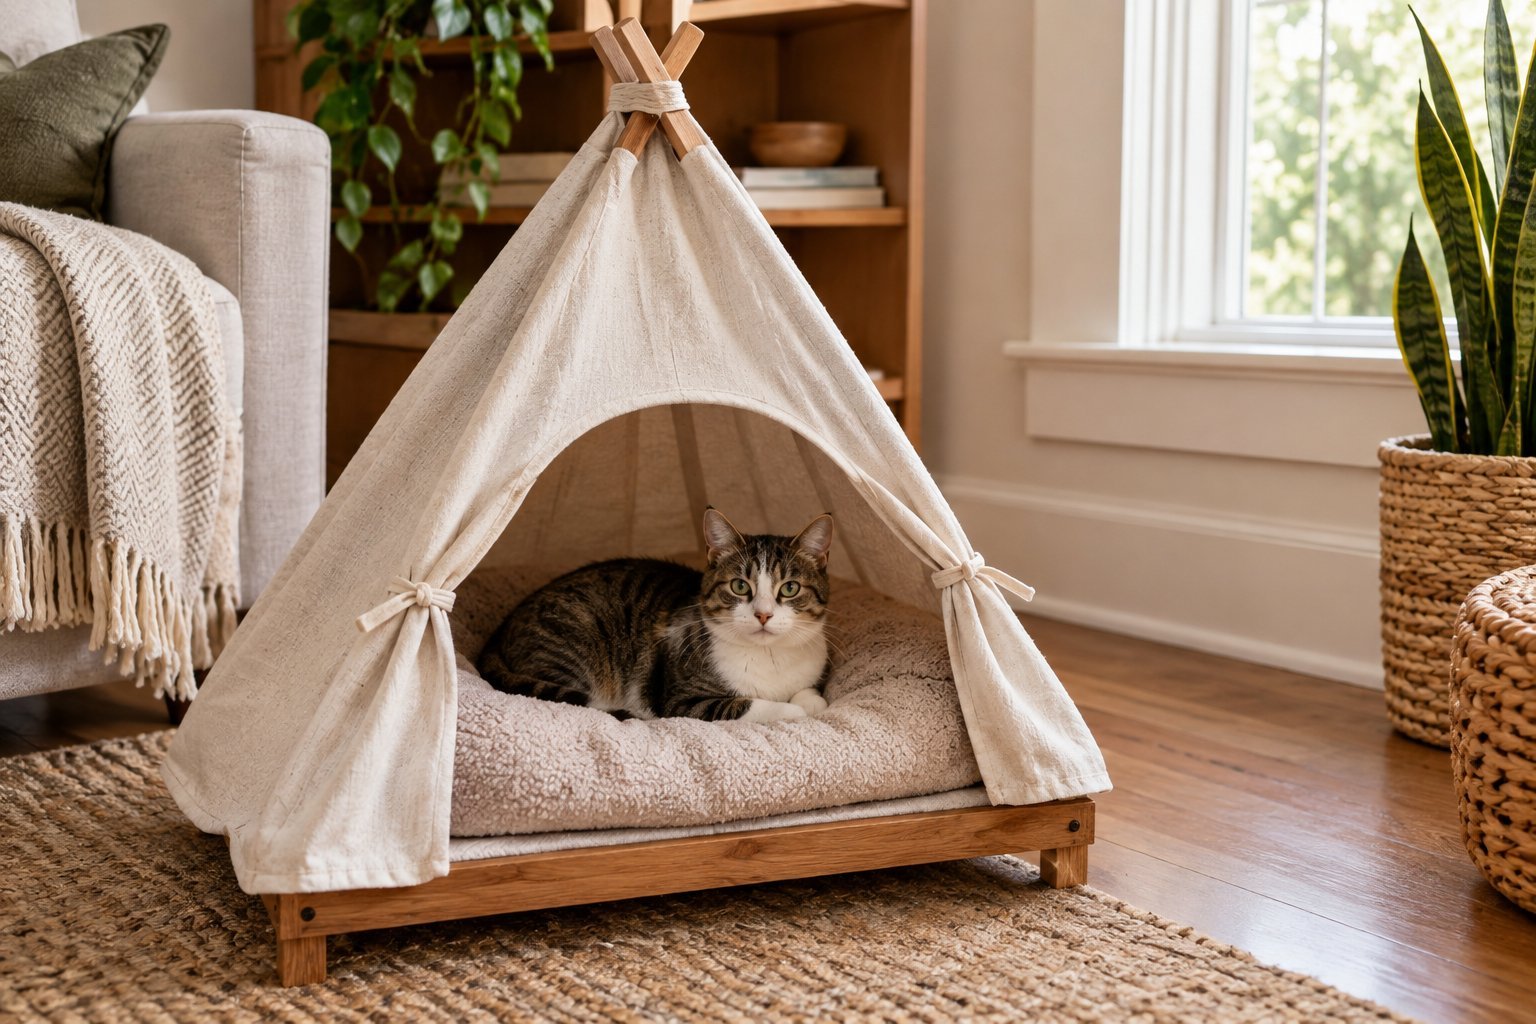
A cozy cat house does not need to come from a pet store or require expensive materials to become a favorite spot in the house.
One of my favorite DIY projects is turning an old TV tray into a simple tepee style cat house that gives a cat a private place to curl up, nap, or simply get away from the noise around the house.
I like this project because it takes something that might otherwise sit unused and turns it into something practical and cute.
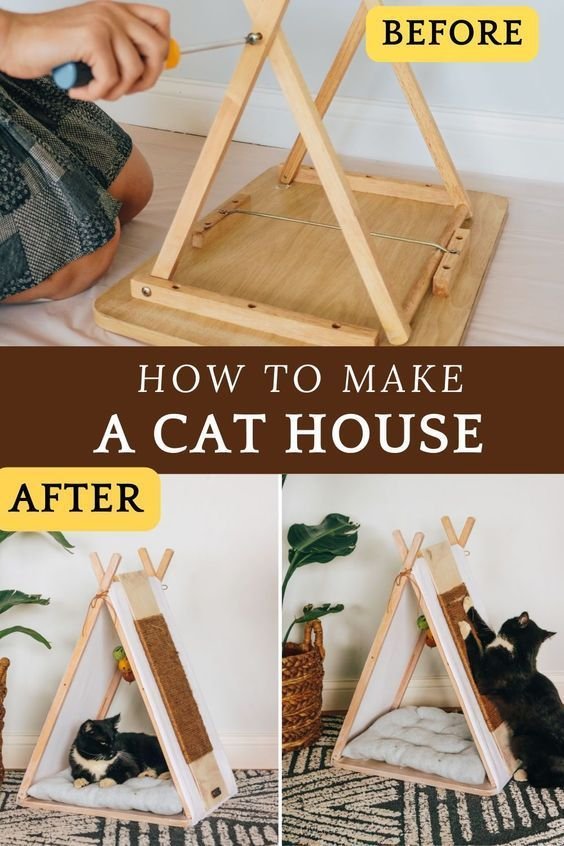
The old TV tray provides a surprisingly useful starting point because it already has a sturdy base and a shape that can be adapted into a small shelter.
With a few basic supplies and a little patience, the tray can become the foundation for a lightweight cat house that fits easily into a bedroom, living room, or quiet corner. I also love that the fabric can be changed whenever I want a different look.
This project is simple enough for a beginner, but there are a few details that make a big difference in how comfortable and stable the finished cat house feels.
Why I Turned an Old TV Tray Into a Cat House
I have always liked finding practical ways to reuse things around the house instead of throwing them away when they no longer serve their original purpose.
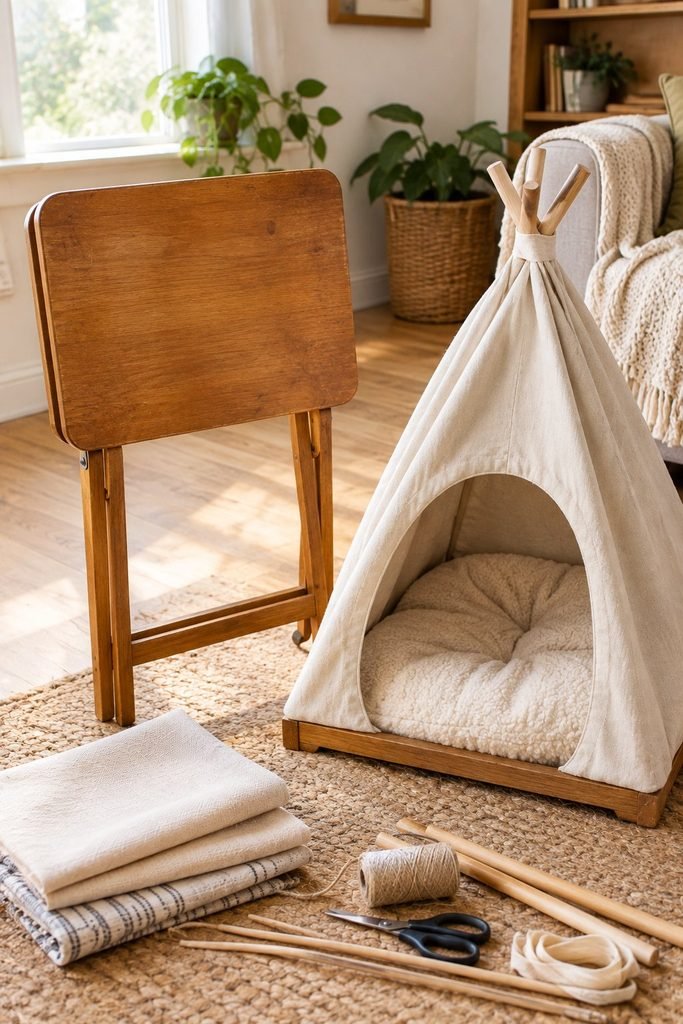
An old TV tray is a perfect example because the tabletop can become the floor of a small cat shelter while the legs can help create the structure for the tepee.
What makes this idea especially useful is that the finished house does not take up much space. Cats often enjoy having a small enclosed area where they can relax without being completely isolated from everyone else.
I also wanted something lightweight enough to move around easily. A permanent wooden cat house can be beautiful, but it can also take up considerably more room. This version can be moved beside a sofa, placed in a quiet corner, or relocated when cleaning.
Another reason I like this project is the ability to customize it. I can choose a fabric that matches the room, add a soft cushion inside, or make the opening larger depending on the size of the cat.
What You Will Need
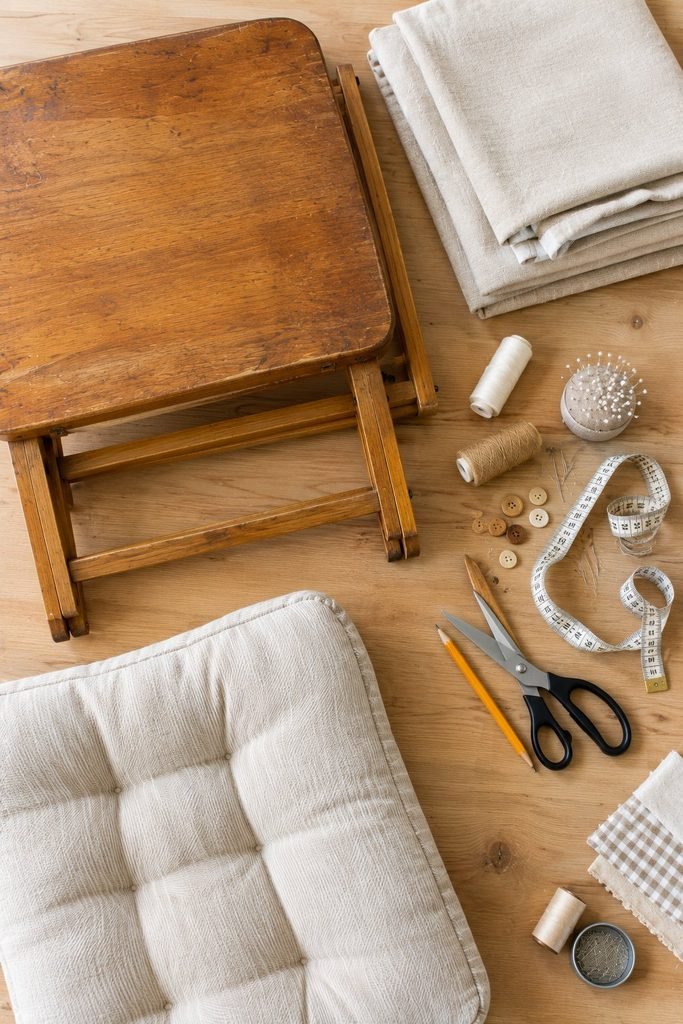
The supplies for this DIY cat house are fairly simple, which is part of what makes the project appealing.
Old TV tray
Look for a tray with a solid tabletop and legs that are still sturdy. Avoid using one with loose joints, cracked wood, sharp edges, or significant damage.
Fabric
Choose a durable fabric that feels comfortable and can be cleaned relatively easily. Cotton, canvas, or another sturdy washable material can work well.
Scissors
A sharp pair of fabric scissors makes cutting much easier and helps create cleaner edges.
Measuring tape
You will need this to measure the tray and determine how much fabric you need.
Pencil or fabric marker
This helps mark measurements before cutting.
Needle and thread or a sewing machine
The method you choose depends on how you want to finish the fabric. Sewing creates a more polished result, but simple fabric construction can also work for a basic version.
Soft cat bed or cushion
The inside should have a comfortable surface where your cat can lie down.
Optional decorative trim
You can add simple trim around the entrance or edges if you want the finished tepee to have a more finished appearance.
Choosing the Right TV Tray
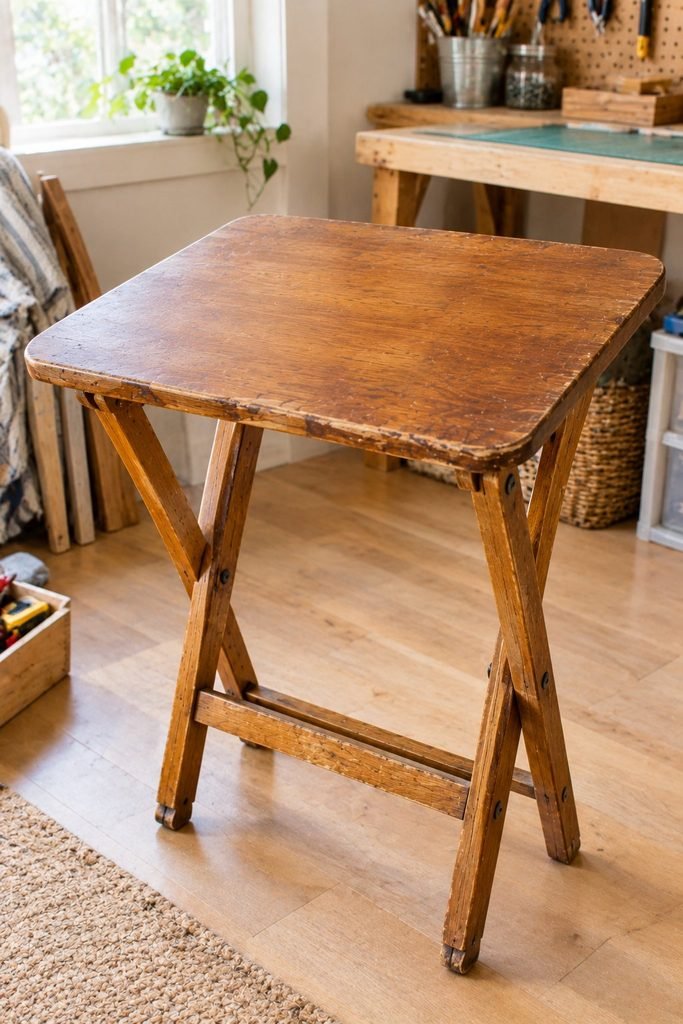
The TV tray is the most important part of this project, so I would not grab just any old tray and start cutting fabric.
I look for a tray that feels stable when placed on the floor. Give it a gentle shake and check whether the legs wobble.
If the tray already feels unstable before adding the fabric, it will not become more stable once the project is finished.
The tabletop should also be large enough for your cat to comfortably turn around and lie down. A small kitten may fit comfortably in a compact space, while a larger cat needs considerably more room.
Check the edges carefully as well. Old wooden trays can develop rough spots or small splinters with age. Sanding those areas before starting the project is worth the extra few minutes.
If the tray has a finish that is peeling badly or has damage that cannot easily be repaired, I would choose another one. The goal is to create a comfortable shelter, not simply to use the first piece of furniture available.
Preparing the Old TV Tray
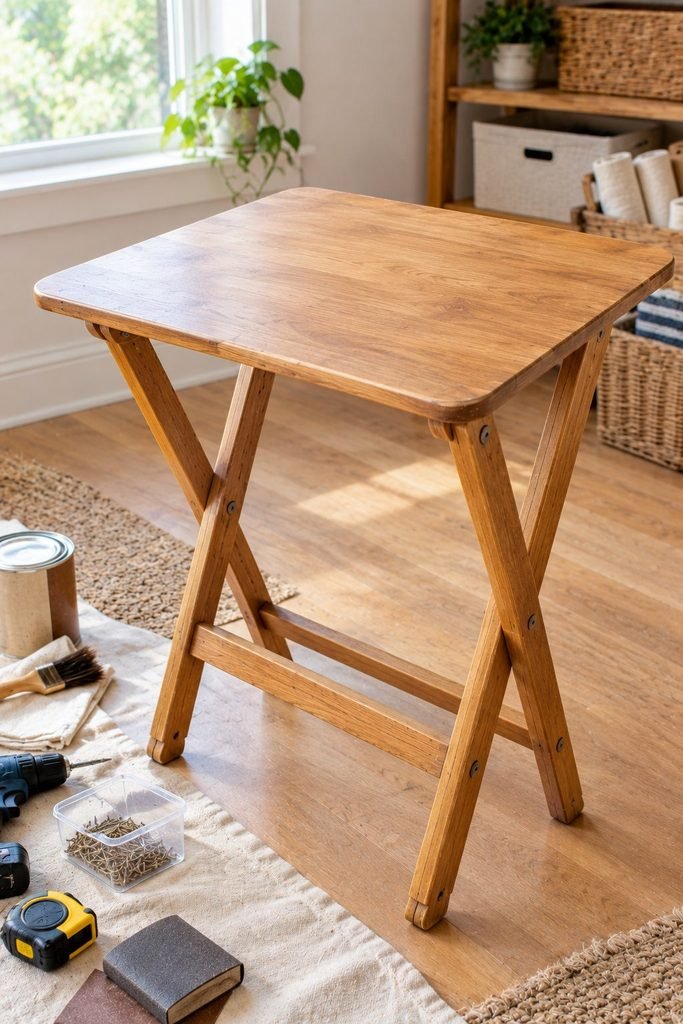
Before adding any fabric, I like to clean and inspect the entire tray.
Start by removing dust, dirt, and anything that has accumulated on the surface. If the tray has been stored somewhere for a long time, give it a thorough cleaning and allow it to dry completely.
Next, check every joint.
Pay particular attention to the folding mechanism if the tray has one. The legs should remain secure and should not unexpectedly collapse when the cat moves around inside the shelter.
I would also check for exposed screws, nails, rough wood, or sharp corners. Anything that could catch on fabric or scratch a cat should be repaired before moving forward.
This preparation step might seem minor, but it is one of the parts I would not skip. A DIY cat house should be comfortable and stable before worrying about how pretty it looks.
Measuring the Tepee
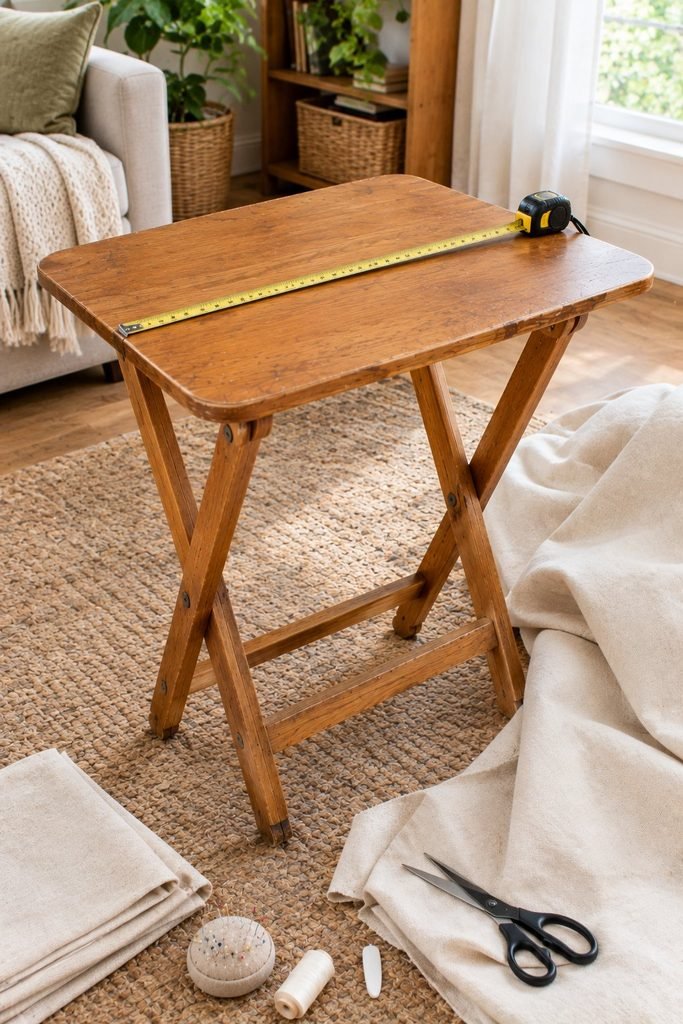
Once the tray is ready, measure the width and length of the tabletop.
These measurements give you a starting point for determining how much fabric you need for the sides of the tepee.
I recommend measuring twice before cutting. Fabric is much easier to measure than it is to replace after an accidental cut.
The height of the tepee will depend on the arrangement of the tray and how you want the fabric to drape. I prefer leaving enough room for the fabric to create a relaxed shelter without pressing tightly against the structure.
The entrance also deserves some thought at this stage. A cat needs enough room to walk comfortably into the shelter, turn around, and leave without feeling restricted.
For a larger cat, make the entrance proportionally larger. For a kitten, you can make it smaller while still leaving enough clearance.
Picking Fabric Your Cat Will Actually Use
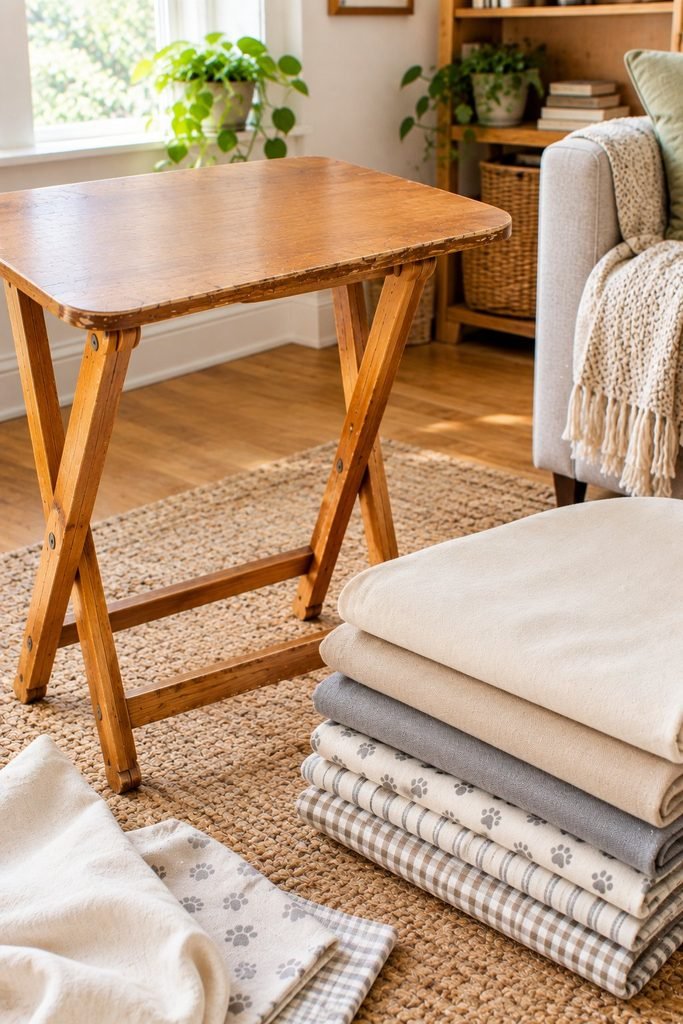
Fabric choice can completely change the appearance of the finished cat house, but appearance is not the only thing I consider.
I prefer a fabric that feels soft enough to make the shelter inviting but is still durable enough for everyday use. A fabric that attracts every bit of hair in the room may look beautiful initially but become frustrating to maintain.
Washability matters too.
Cats can track litter, shed hair, and occasionally have accidents, so I like being able to remove the fabric and clean it when necessary.
For the color and pattern, I usually choose something that works with the room rather than making the cat house look like a completely separate piece of furniture. Neutral fabrics work particularly well if the house will stay in a visible part of the home.
I also like using a fabric with enough structure to hold its shape without becoming excessively heavy.
Planning the Shape Before Cutting
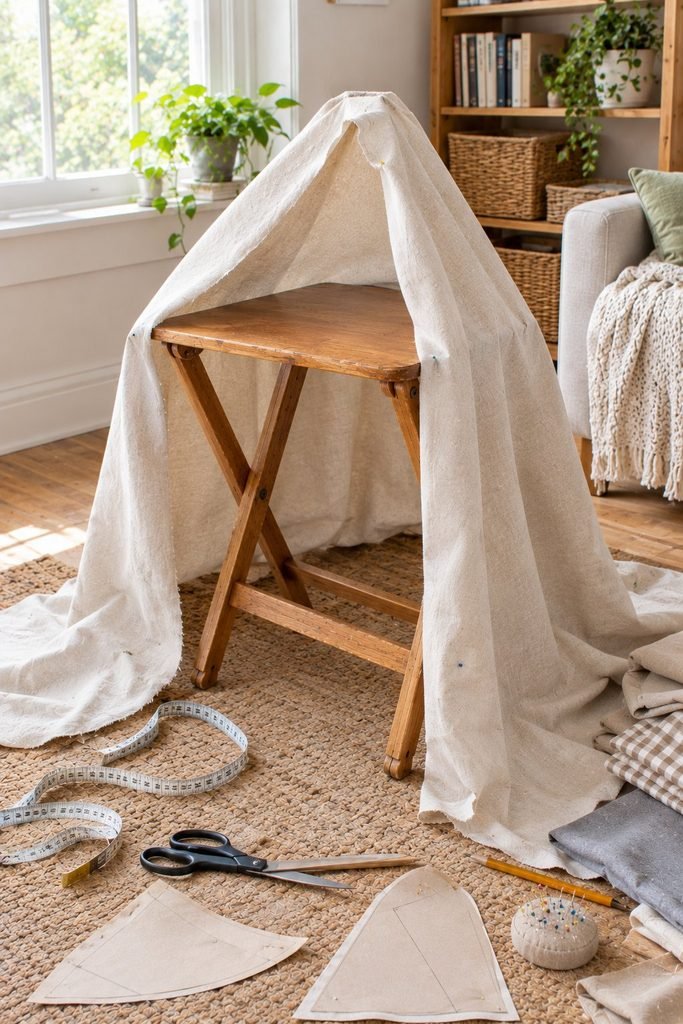
Before cutting the fabric, I recommend laying everything out and visualizing how the finished tepee will look.
This is one of those projects where taking a few minutes to plan can save a lot of frustration later.
Think about where the entrance will sit, how much fabric should reach the floor, and how the sides will overlap.
I prefer having enough fabric to create a cozy enclosed feeling without completely blocking ventilation. The opening should remain easy for the cat to find and use.
You can also temporarily hold the fabric around the tray before making permanent cuts. This gives you a much better idea of how much material you actually need.
That little test helped me avoid cutting too much fabric away too early.
A Few Things I Would Keep in Mind
The biggest lesson I would take from this project is that the cat comes before the decoration.
It is easy to get caught up choosing the prettiest fabric or adding decorative details, but the finished shelter needs to be comfortable, stable, and easy for the cat to enter.
I would also keep the design relatively simple. Cats do not need an elaborate structure to enjoy having their own little space.
A sturdy base, comfortable fabric, a roomy entrance, and a soft place to lie down can be enough.
And before letting the cat use the finished house, I would inspect every part again. Check the seams, fabric edges, tray joints, and anything else that could potentially become loose with use.
That final inspection takes very little time and gives me much more confidence that the finished DIY is ready for everyday use.
How to Make the Tepee Cat House
With the TV tray cleaned, checked, and ready, the fun part of the project is putting the little shelter together.
I wanted the finished cat house to feel cozy without making the construction complicated, so I kept the design simple and focused on creating a structure that would stay comfortable and stable during everyday use.
The nice thing about using an old TV tray is that much of the basic structure is already there.
Instead of building a frame from scratch, I could concentrate on creating the fabric covering and making sure everything fit properly.
Create a Simple Fabric Pattern
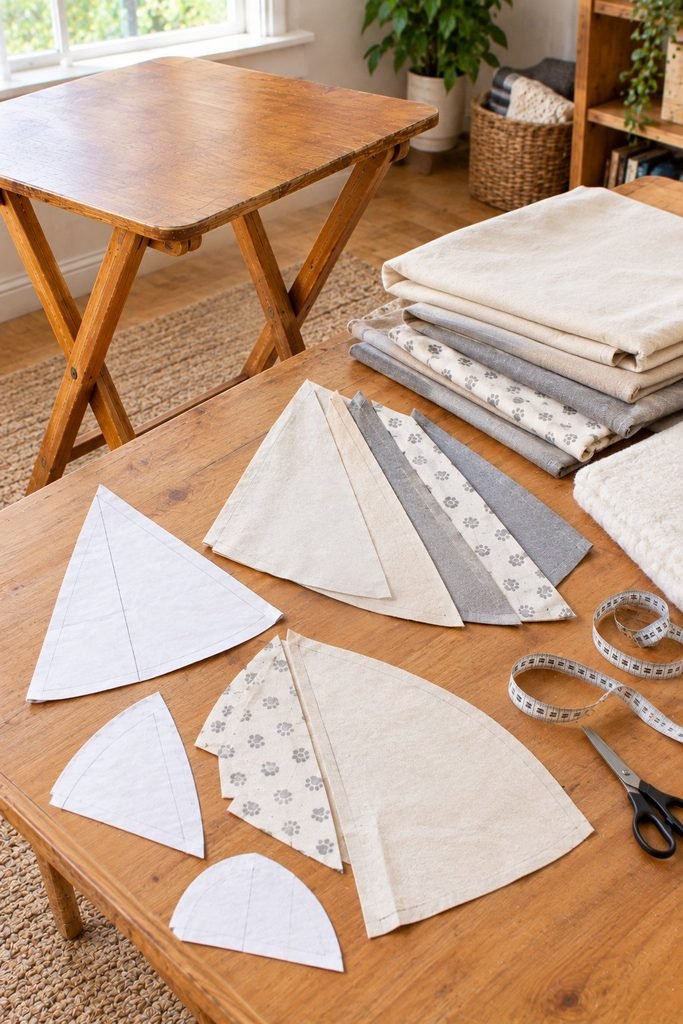
Before cutting the final pieces, I recommend making a quick paper or scrap fabric template.
This gives you the opportunity to check the size and shape without wasting your good fabric.
I find this especially helpful when working with a fabric that has a noticeable pattern because you can decide how you want the design positioned before making permanent cuts.
Lay the template against the tray structure and check how far you want the fabric to extend toward the floor.
I prefer allowing the fabric to hang slightly around the sides while keeping enough clearance at the bottom that it does not constantly drag across the floor.
Once the proportions look right, transfer the measurements to your actual fabric.
Add a little extra material around the edges if you plan to sew a hem. Having that extra allowance gives you room to create cleaner finished edges.
Cut the Fabric Carefully
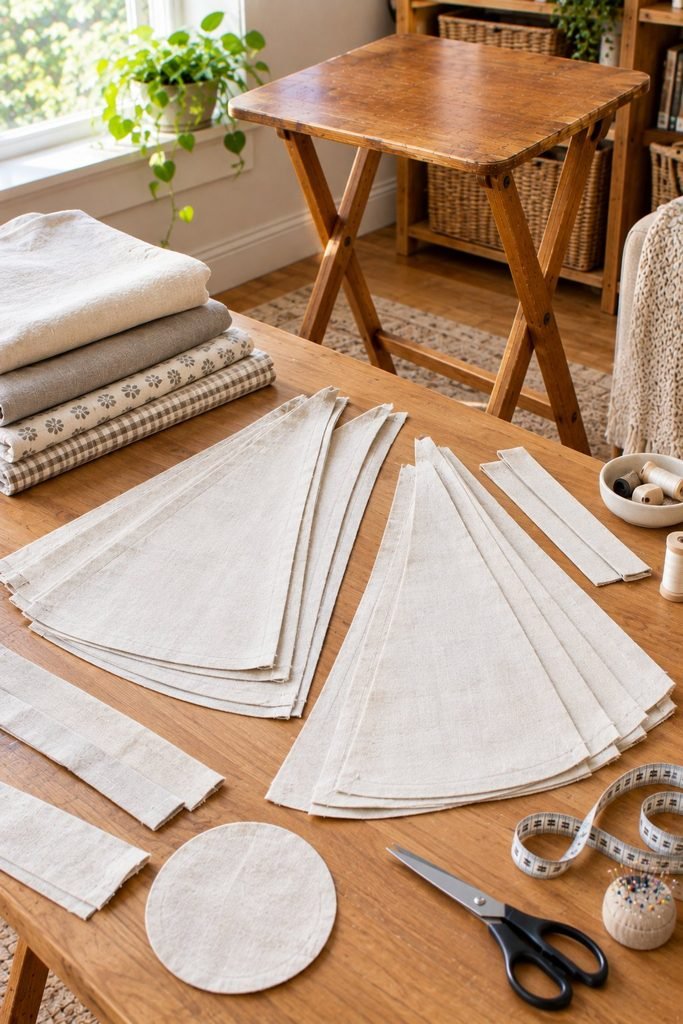
Place the fabric on a large, flat surface and smooth it out before marking your measurements.
I like to measure from several points rather than relying on one measurement. This helps keep the finished pieces symmetrical.
Mark the cutting lines with a fabric marker or pencil, then cut slowly.
There is no need to rush this part. A few extra minutes spent making clean cuts can make the finished tepee look much more polished.
If your fabric has a pattern, pay attention to the direction of the design. I find it much easier to think about this before cutting than to discover afterward that one side of the tepee is upside down.
Make the Entrance
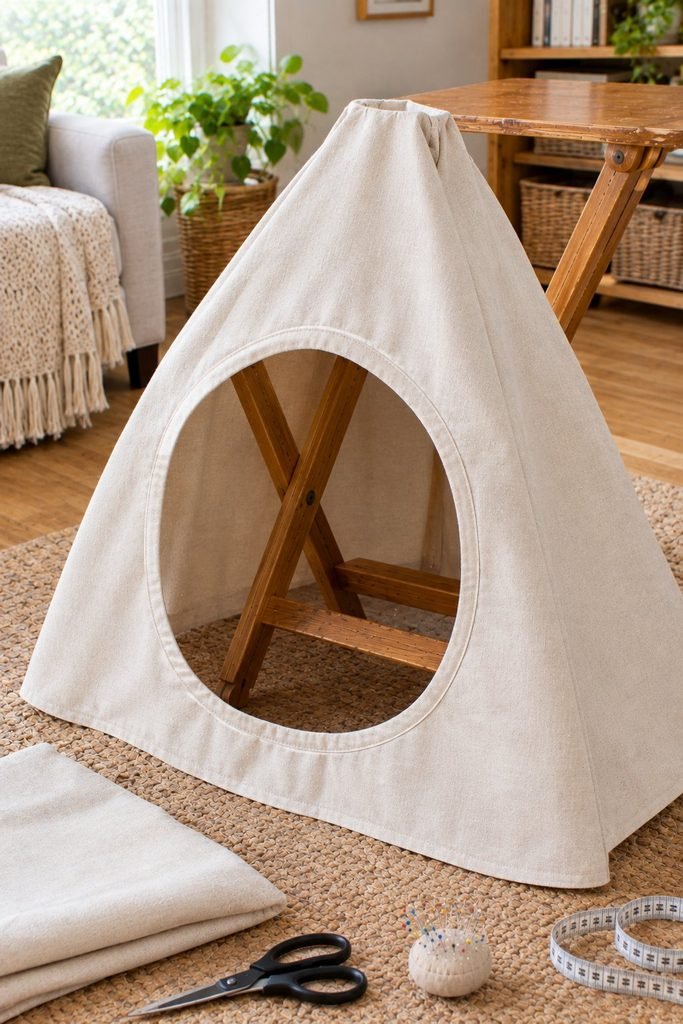
The entrance is one of the most important parts of the cat house because it needs to be inviting without making the shelter feel too exposed.
I prefer a simple opening rather than a complicated door. A rounded or slightly curved entrance gives the tepee a softer appearance and makes it easy for the cat to walk inside.
Before cutting the opening into the final fabric, mark it and hold the material against the frame.
This gives you an opportunity to check the height and width from the cat’s perspective.
The entrance should be large enough for your cat to comfortably walk through without squeezing. At the same time, making the opening excessively large can take away from the cozy feeling of the shelter.
Once you are happy with the size, carefully cut the opening.
Finish the Fabric Edges
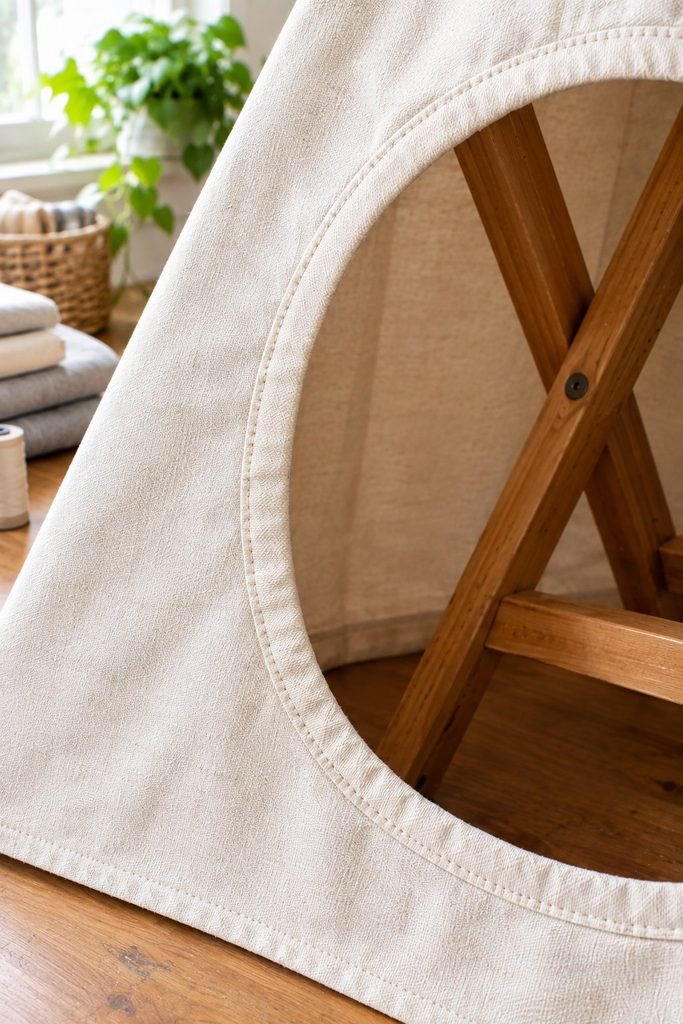
Raw fabric edges can fray over time, particularly around an entrance that gets used regularly.
For that reason, I like finishing the edges rather than leaving them completely raw.
A simple hem works well. Fold the edge inward, secure it with pins if needed, and sew it into place.
If you are using a sewing machine, this part can go fairly quickly. Hand sewing also works if you prefer a slower approach or do not have a machine available.
Pay special attention to the entrance because this area will receive the most movement.
I would rather spend a little extra time making the opening neat and durable than have loose threads hanging around the finished cat house.
Position the Fabric Around the TV Tray
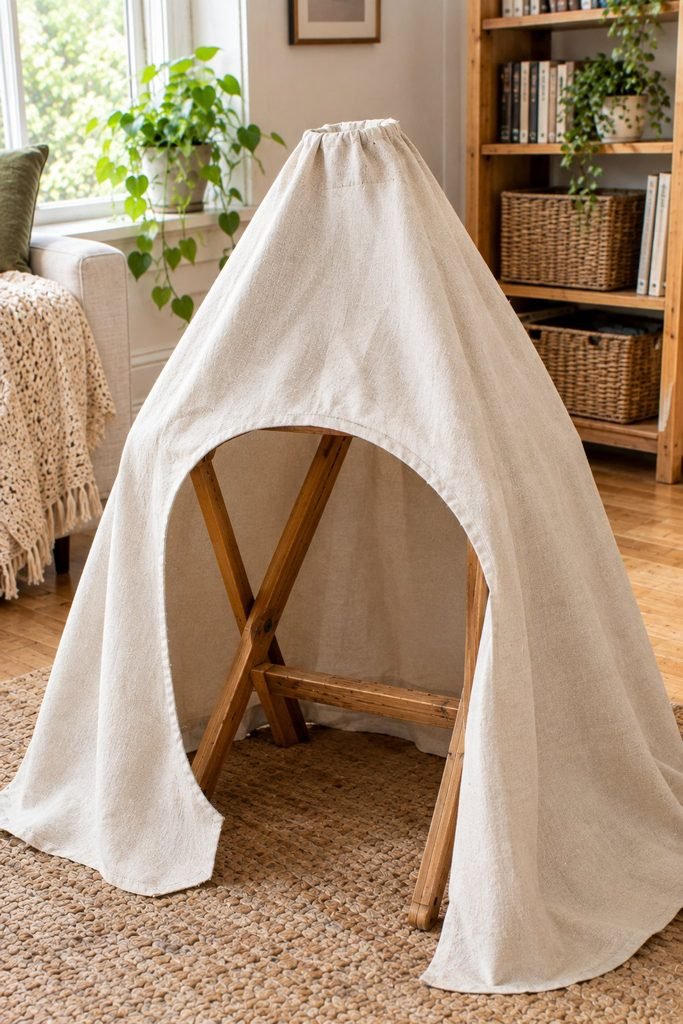
Once the fabric is cut and the edges are finished, place it around the TV tray structure.
This is where the project starts to look like an actual tepee.
I like to position the fabric loosely at first instead of attaching everything immediately. This lets me adjust the sides and check whether the entrance sits where I want it.
Look at the shelter from the front, sides, and back.
Make sure the fabric is not pulling heavily in one direction. Uneven tension can make the finished house look crooked and can also affect how the shelter sits on the floor.
Once everything looks balanced, you can begin securing the fabric.
Secure the Fabric Properly
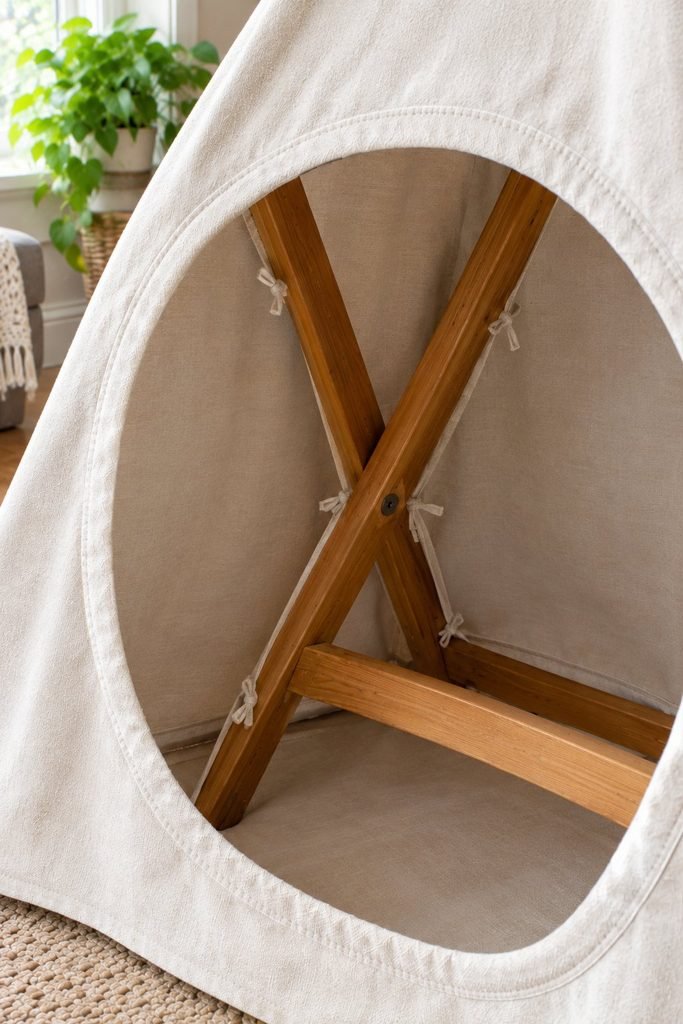
There are several ways to attach the fabric depending on the type of TV tray you are using.
For a simple removable design, fabric ties can work well. You can sew small fabric loops or ties along the inside edges and use them to attach the covering to the structure.
This method is particularly useful because the fabric can be removed for washing.
Another option is using sewn channels or loops around the supporting points of the tray. The important thing is that the attachment method should not leave sharp pieces, loose hardware, or anything the cat could chew or snag.
I prefer keeping the attachment points tucked away from the areas where the cat will sleep.
The finished fabric should stay in place while still being removable enough to clean.
Check the Stability Before Adding the Cushion
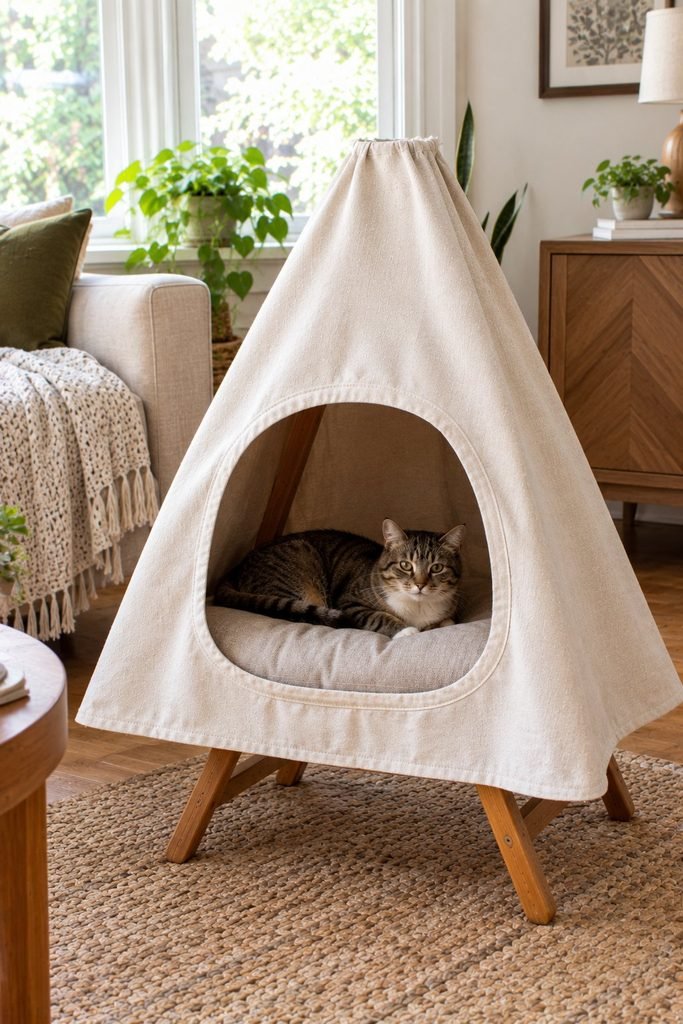
Before making the inside comfortable, test the structure itself.
Place the finished tepee on the floor and gently move it from different directions.
If it shifts too easily, go back and check the TV tray legs and attachment points.
This is an important step because a cat may jump into the shelter quickly or move around inside it. The house should not feel like it is going to tip over every time the cat enters.
If the original tray has folding legs, make sure the locking mechanism is properly engaged.
I would not rely on the fabric to stabilize the structure. The tray itself should provide the stability.
Add a Comfortable Base
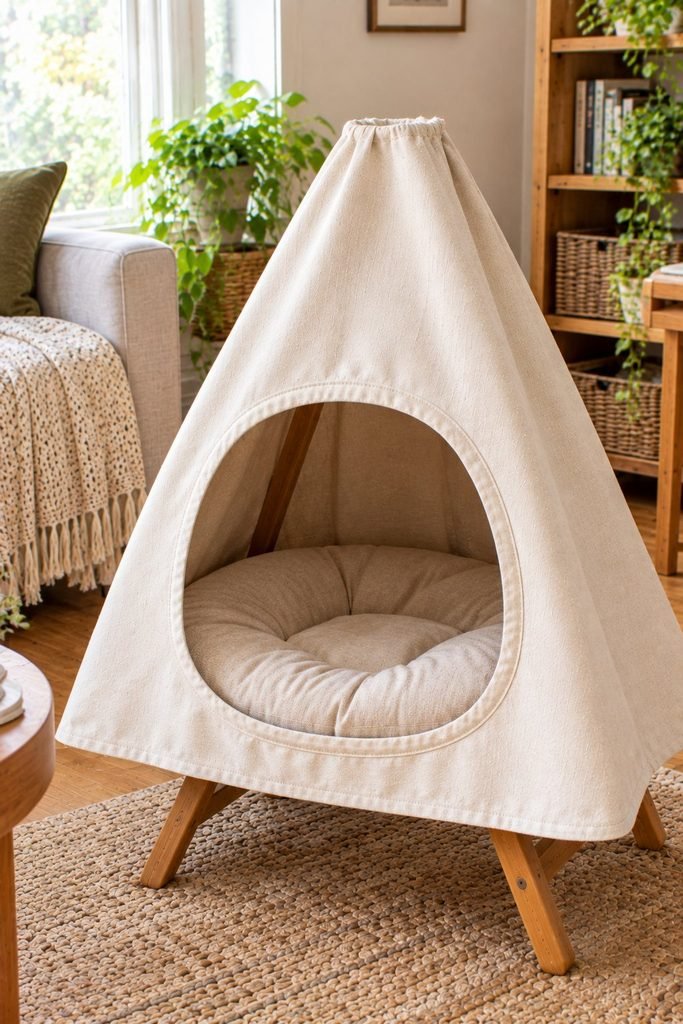
Once the structure feels secure, add a soft cushion or small cat bed to the bottom.
The cushion does not need to be expensive. A washable pet cushion or appropriately sized padded mat can work perfectly well.
I like using something that fits inside the tray without bunching up around the edges.
Too much loose material can make the sleeping area uncomfortable and can make it harder for the cat to settle down.
A cushion that fits the base neatly creates a much more finished look and turns the basic TV tray into a genuinely comfortable resting area.
Make It Feel Like a Safe Space
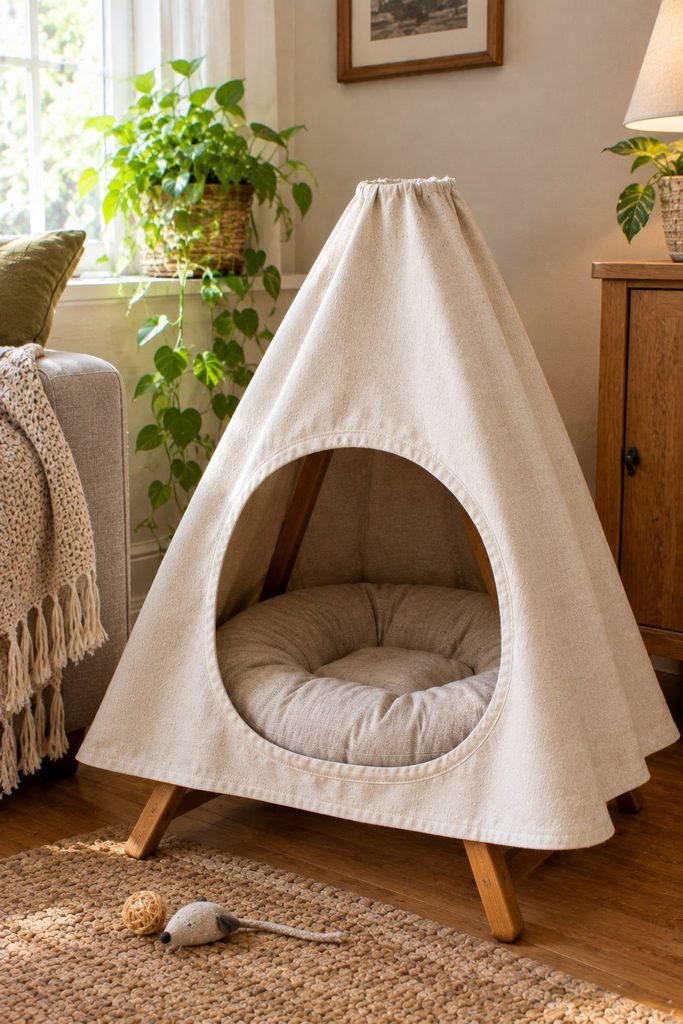
One thing I like about a tepee style cat house is that it gives the cat a sense of privacy without completely separating them from the rest of the room.
I would place it somewhere relatively quiet but still within the normal living area.
Cats often like having the option to retreat while remaining close enough to observe what is happening around them.
I would avoid placing the house directly beside a loud appliance, busy doorway, or area where people constantly walk past.
A calm corner beside a sofa or in a bedroom can work much better.
The location can make just as much difference as the actual DIY project.
Let Your Cat Explore It Naturally
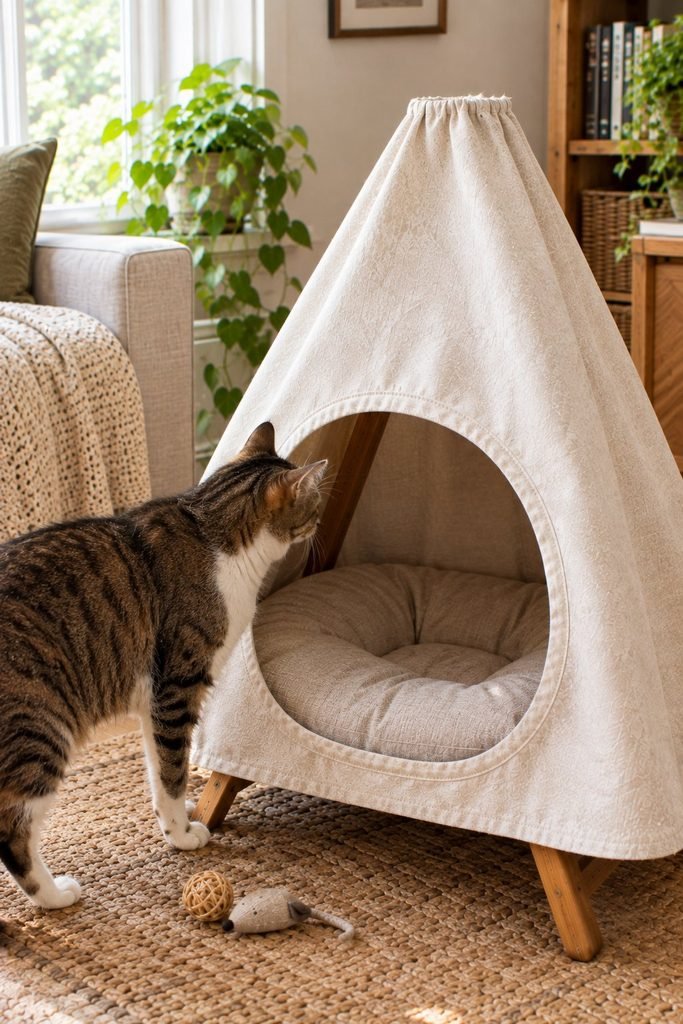
Once the cat house is finished, I would resist the temptation to immediately put the cat inside.
Let the cat discover it naturally.
Place the tepee in the chosen location and allow your cat to investigate it at their own pace.
Some cats will walk straight inside. Others may sniff it, circle around it, and completely ignore it for a while before deciding that it is worth using.
That is completely normal.
I would not force the cat into the shelter because the goal is to make it feel like a comfortable place they have chosen for themselves.
You can make the space more inviting by placing a familiar blanket or favorite toy inside.
A familiar scent can help make a new DIY cat house feel less unfamiliar.
Keep the Design Practical
As tempting as it can be to keep adding decorations, I think simple is better for this particular project.
The cat needs a comfortable place to rest, not a complicated piece of furniture covered in unnecessary extras.
If you want to personalize the tepee, focus on details that are easy to remove and clean.
A different fabric, a washable cushion, or a simple trim can completely change the appearance without making maintenance difficult.
That is one of the reasons I like this DIY. The basic structure can stay the same while the appearance can be changed whenever you want.
My Favorite Part of This DIY
What I enjoy most about this project is seeing how different the old TV tray looks once it has been given a completely different purpose.
Something that was sitting unused can become a little retreat that actually has a place in the home.
I also like that the project does not require advanced woodworking skills. The TV tray does most of the structural work, while the fabric creates the cozy part of the shelter.
The result feels much more personal than simply buying another cat bed, and I can adjust the fabric and cushion whenever I want to change the look.
Common Mistakes to Avoid
This is a fairly simple DIY project, but a few mistakes can affect how comfortable and practical the finished cat house becomes. I found that paying attention to the small details makes a noticeable difference.
Using an Unstable TV Tray
The TV tray is the foundation of the entire project, so it needs to be sturdy before adding anything else.
A tray with loose legs, damaged joints, or a weak folding mechanism can make the finished tepee unstable. I would always test the tray on the floor and tighten or repair anything that feels loose before continuing.
If the tray itself does not feel secure, I would choose another one.
Making the Entrance Too Small
It can be tempting to make a small entrance because it gives the tepee a cute appearance, but comfort should come first.
Your cat should be able to walk through the opening without squeezing or awkwardly bending.
I would measure the opening based on the size of the cat using the house rather than copying a measurement from another project.
Using Fabric That Is Difficult to Clean
A beautiful fabric is not necessarily a practical fabric for a cat house.
Cat hair, dust, and everyday dirt can build up surprisingly quickly, especially around the entrance.
I prefer fabric that can be removed and washed without a lot of trouble. Being able to clean the covering makes it much easier to keep the little house fresh.
Adding Loose Decorative Pieces
I would be careful with decorative details that could become detached.
Small buttons, beads, dangling strings, loose ribbons, or similar decorations are not necessary for the project and can create problems if they become loose.
I prefer letting the fabric pattern provide most of the decoration.
Making the Shelter Too Tight
The whole point of this DIY is to create a comfortable little retreat.
If the fabric is pulled too tightly around the frame, the inside can feel cramped and the tepee can lose the relaxed shape that makes it inviting.
Leave enough room for the cat to move comfortably and settle into their preferred sleeping position.
How to Make the Cat House More Comfortable
The fabric creates the shelter, but the inside is what makes the cat want to stay there.
I like adding a soft cushion that fits neatly on the base. A familiar blanket can also make the space more appealing, particularly if your cat is cautious around new objects.
Another simple idea is to place the tepee somewhere your cat already enjoys spending time.
If your cat regularly sleeps beside the sofa, placing the new house nearby may encourage them to investigate it.
I would not expect a cat to immediately choose a completely unfamiliar corner simply because a new bed has been placed there.
Location matters.
Choosing the Best Location
A quiet corner usually works better than a busy part of the house.
The tepee should be somewhere the cat can relax without constantly being disturbed, but it does not necessarily need to be hidden away.
I like the idea of positioning it where the cat can still see what is happening around them.
Avoid placing it directly beside noisy appliances or in a location where people regularly bump into it.
You should also keep it away from areas where the structure could easily be knocked over.
A stable surface with enough surrounding space gives the cat an easier path into and out of the shelter.
How I Would Keep It Clean
One of the biggest advantages of using fabric that can be removed is easier maintenance.
I would regularly shake out or vacuum the cushion and remove visible cat hair from the fabric.
When the covering needs a deeper clean, remove it from the structure and wash it according to the fabric’s care instructions.
Allow everything to dry completely before putting it back together.
The TV tray itself can be wiped down with a suitable household cleaner, but I would make sure the surface is completely dry and free of strong cleaning residue before allowing the cat to use the house again.
Regular cleaning also gives you a chance to inspect the structure for loose stitching, damaged fabric, or anything else that may need attention.
Safety Checks I Would Not Skip
Before allowing a cat to use the finished tepee, I would inspect the entire project one more time.
Check the TV tray legs and joints.
Check the fabric seams.
Check the entrance for loose threads.
Check that the cushion sits securely.
Check that nothing sharp is exposed.
I would also make sure the fabric cannot easily become wrapped around the cat or interfere with their ability to leave the shelter.
The tepee should always have an easy exit.
If your cat scratches or chews the fabric, inspect it more frequently. Replace damaged material rather than continuing to use it once it becomes unsafe.
What If Your Cat Ignores the Tepee?
This is probably one of the most important things to remember about making DIY cat furniture.
You can build the cutest little shelter and your cat may decide they would rather sleep in the cardboard box it came in.
Cats have their own preferences.
I would give the tepee time rather than assuming the project has failed.
Try moving it closer to a favorite resting spot. Add a familiar blanket. Leave a favorite toy inside. You can also simply leave the house available without trying to encourage your cat into it.
Sometimes curiosity takes over after a few days.
The goal is to create an option for your cat, not force them to use it.
Easy Ways to Personalize the Tepee
One of my favorite things about this DIY is how easy it is to change the appearance.
You can use a neutral fabric for a minimalist look or choose a fun pattern that adds personality to the room.
You can also change the cushion without rebuilding the entire house.
If you make more than one fabric covering, you can switch them throughout the year or whenever one needs to be washed.
For a more finished appearance, you could sew a neat border around the entrance or use a contrasting fabric for the inside.
I would still keep any decorative additions simple and secure.
Why I Like This DIY Cat House
This project is a good example of how a little creativity can turn an unused household item into something genuinely useful.
The old TV tray provides the basic structure, so there is no need to build an entire frame from scratch. The fabric gives the project its cozy appearance, while a simple cushion transforms the inside into a comfortable resting spot.
I also like that the finished cat house is relatively easy to move.
If your cat decides they prefer another area of the house, you can relocate the tepee without much effort.
The fabric can also be changed, cleaned, or replaced without rebuilding the entire project.
For me, those practical details are what make this DIY worth trying.
Final Thoughts
Making a DIY cat house from an old TV tray is one of those projects that proves you do not need expensive materials to create something useful for your cat.
The most important part is starting with a sturdy tray and taking your time with the fabric. From there, the project is mostly about creating a comfortable enclosed space with a roomy entrance, a soft place to rest, and enough stability for everyday use.
I especially like being able to personalize the fabric and move the finished tepee around the house when needed.
Before letting your cat use it, take a few minutes to inspect the entire structure and make sure everything is secure. After that, give your cat the freedom to investigate it on their own terms.
Whether your cat immediately claims the tepee or takes a little time to warm up to it, the finished project gives you a practical way to turn an old TV tray into something new.
And honestly, seeing an unused piece of furniture become a cozy little retreat for a cat makes the whole project feel worthwhile.