
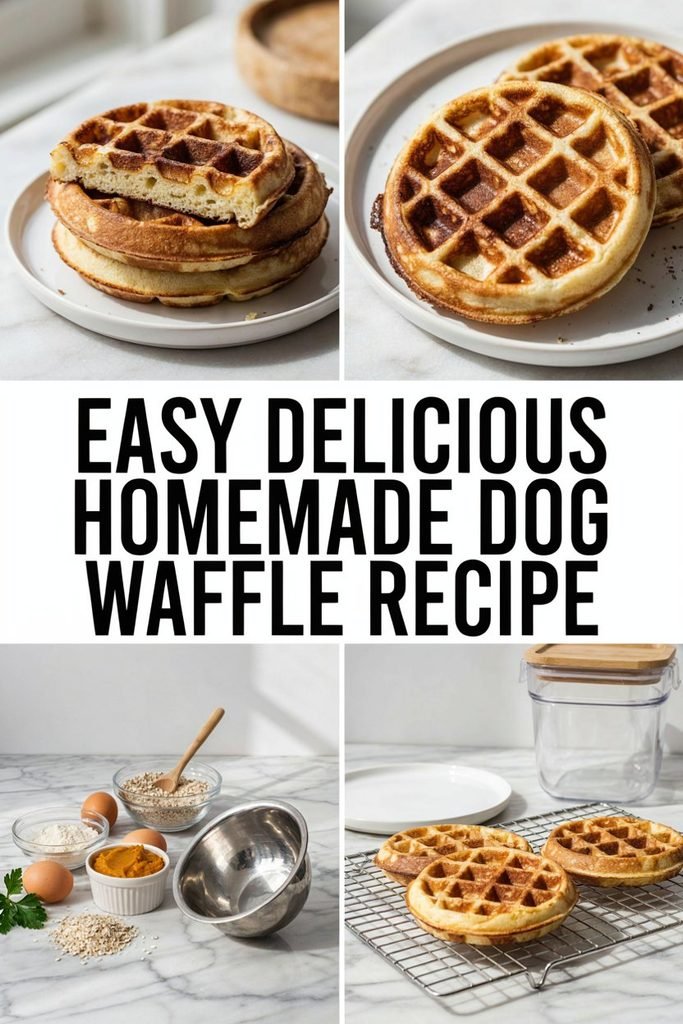
Easy Delicious Homemade Dog Waffle Recipe
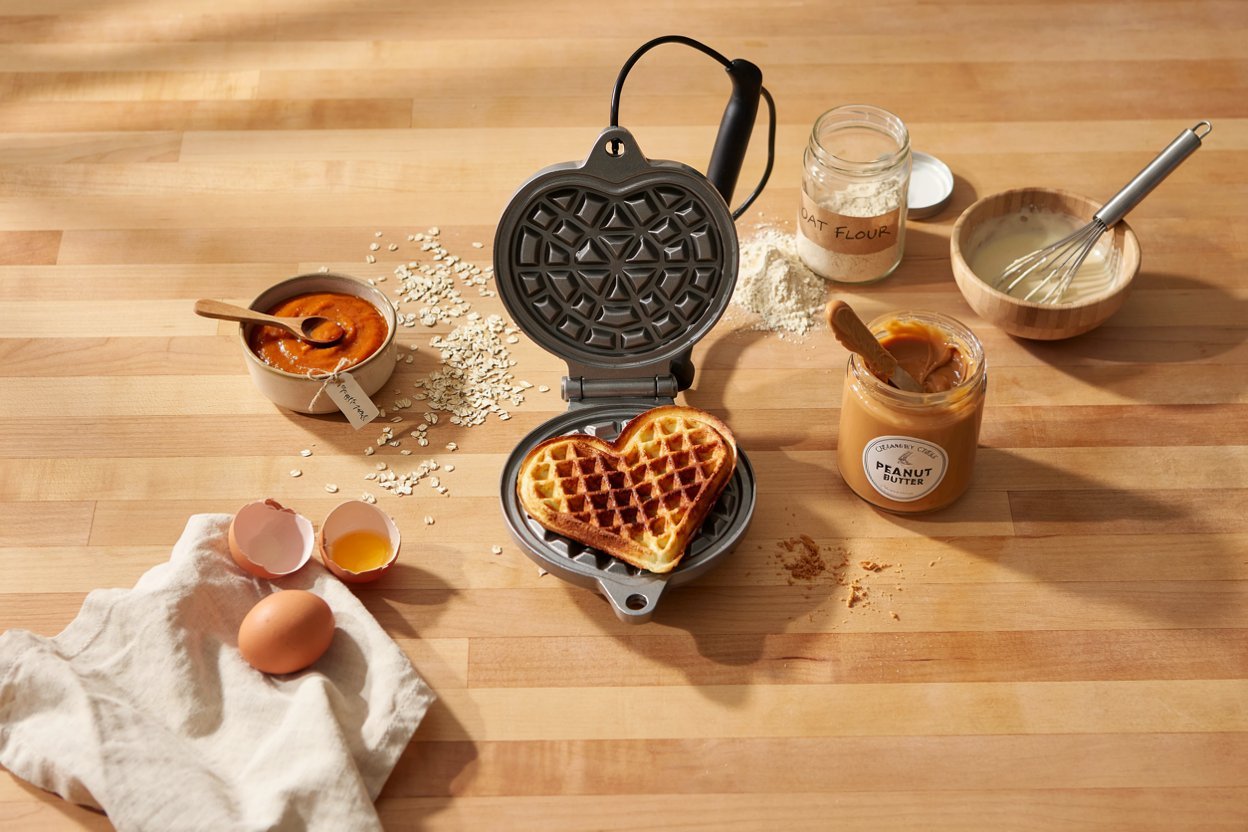
A waffle iron isn’t the first tool that comes to mind for making dog treats, but it turns out to be a genuinely good one.
The shape naturally portions itself into neat, even squares, the ridged surface gives each piece a fun texture, and the whole thing cooks in just a few minutes rather than the longer bake time most homemade treats need.
This guide walks through one simple dog safe waffle recipe, along with the waffle iron specific technique that keeps them from sticking or falling apart, and how to adjust the recipe for different flavors.
If you want to build out your treat rotation beyond this one recipe, a few related guides are worth having open alongside this one.
Best DIY dog biscuits that last for weeks and homemade pumpkin and oatmeal dog snack sticks cover other baked options with a similar ingredient philosophy, easy homemade dog chew sticks with peanut butter offers a firmer, longer lasting alternative, homemade banana dog treat recipes and 3 ingredient peanut butter dog gummies give you other flavor directions, sweet potato and blueberry chews for dogs and simple carrot based dog treat recipes for beginners round out your everyday rotation, and human foods dogs can safely eat is a good reference for the bigger picture of safe food sharing.
Disclaimer
This post may contain affiliate links. As an Amazon Associate, I earn from qualifying purchases at no additional cost to you. I only recommend dog-safe ingredients and kitchen tools that I genuinely find useful for making homemade dog treats. Always use dog-safe ingredients, avoid xylitol, chocolate, grapes, raisins, macadamia nuts, and unsafe seasonings, and consult your veterinarian before introducing new treats.
Shop on Amazon With 50% Discount On Your Orders
- Dog-Safe Waffle Maker – I use a waffle maker to create evenly cooked homemade dog waffles with a fun shape that makes portioning easy.
- Digital Kitchen Scale – I use this to measure ingredients accurately so the waffle batter comes out consistent every time.
- Silicone Spatula – I use one to mix the batter smoothly and scrape the bowl clean without wasting ingredients.
Why a Waffle Iron Actually Works Well for Dog Treats
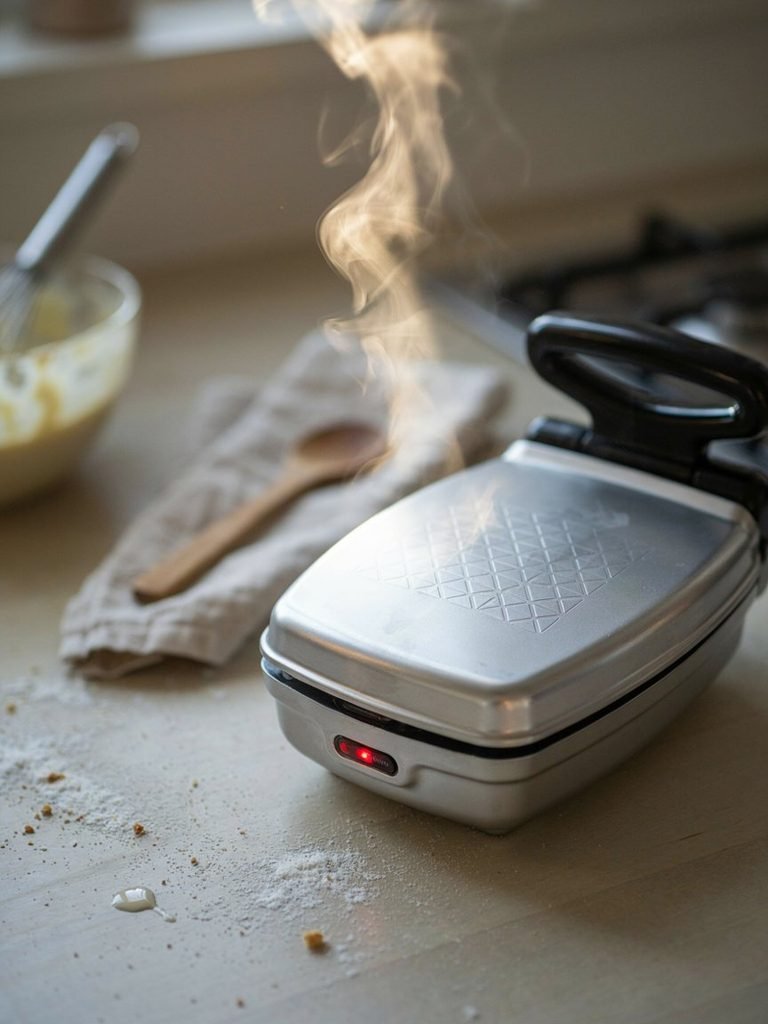
Beyond just being a fun novelty, a waffle iron solves a couple of practical problems at once. The batter cooks quickly and evenly on both sides simultaneously, which cuts down significantly on total cooking time compared to a longer oven bake.
The waffle grid also naturally divides the batch into individual, similarly sized pieces, which makes portioning almost automatic rather than something you have to measure out separately.
And because the batter cooks through fully in just a few minutes at a moderate temperature, this recipe skips the extended low and slow baking that a lot of shelf stable treats need, trading some shelf life for speed and convenience instead.
Before You Start
A few ground rules apply here as with any homemade treat.
Use only plain ingredients with nothing added beyond what’s listed, and lightly grease your waffle iron with a small amount of a dog safe oil, like plain vegetable or coconut oil, rather than a cooking spray that may contain additives not meant for repeated pet food use.
Introduce this treat gradually the first time, watching for any signs of digestive upset, and keep in mind that a homemade waffle, however wholesome the ingredients, is a treat rather than a meal replacement.
Understanding the Ingredients
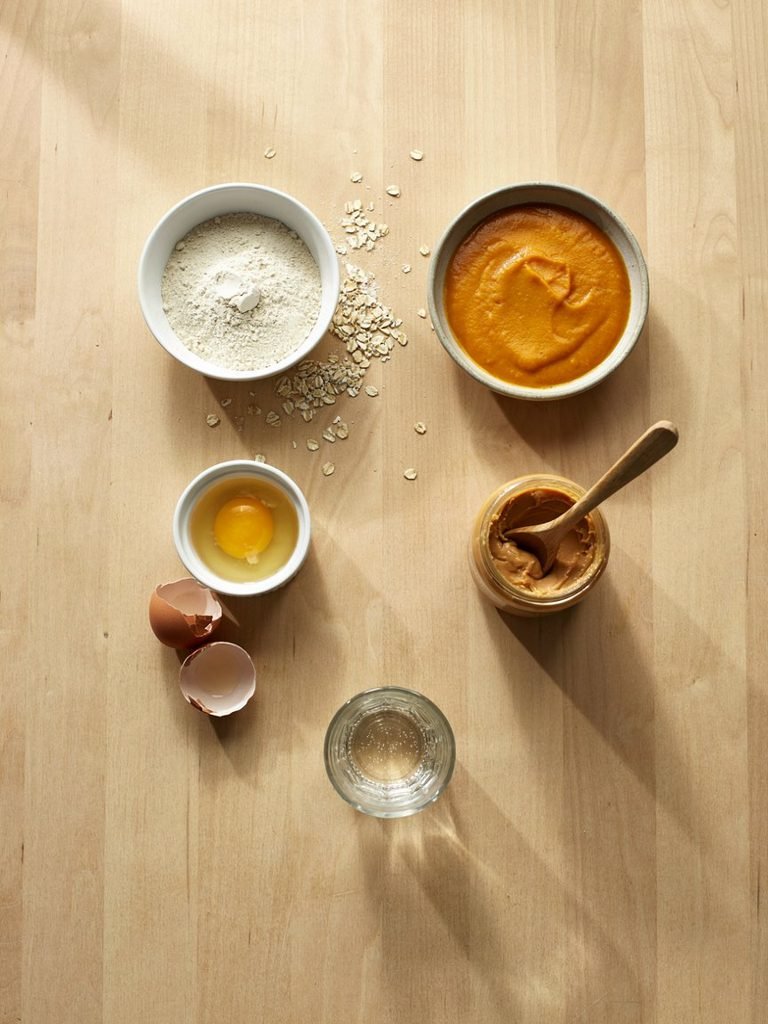
Oat flour. Forms the base of the batter, offering a gentle, easily digestible structure that most dogs tolerate well, including those with sensitivities to other grains.
Plain pumpkin puree. Adds moisture and a naturally appealing flavor, while also helping bind the batter together without needing a lot of additional liquid.
Egg. Helps the batter rise slightly and gives the finished waffle a bit more structure, cooking through fully in the short time the waffle iron is closed.
Peanut butter, xylitol free. Adds richness and a flavor most dogs get genuinely excited about, though it should be checked carefully on the label every time you buy a new jar.
Water or unsweetened applesauce, as needed. Used to adjust the final batter consistency to something pourable but not runny.
Ingredients I Avoid
Added sugar, salt, baking powder or baking soda in more than a trace amount, syrup, chocolate chips, or any topping meant for a human waffle have no place in this recipe.
It’s worth being especially mindful here given how tempting it might be to treat this like a human breakfast food and add something inappropriate on top out of habit.
Easy Homemade Dog Waffles
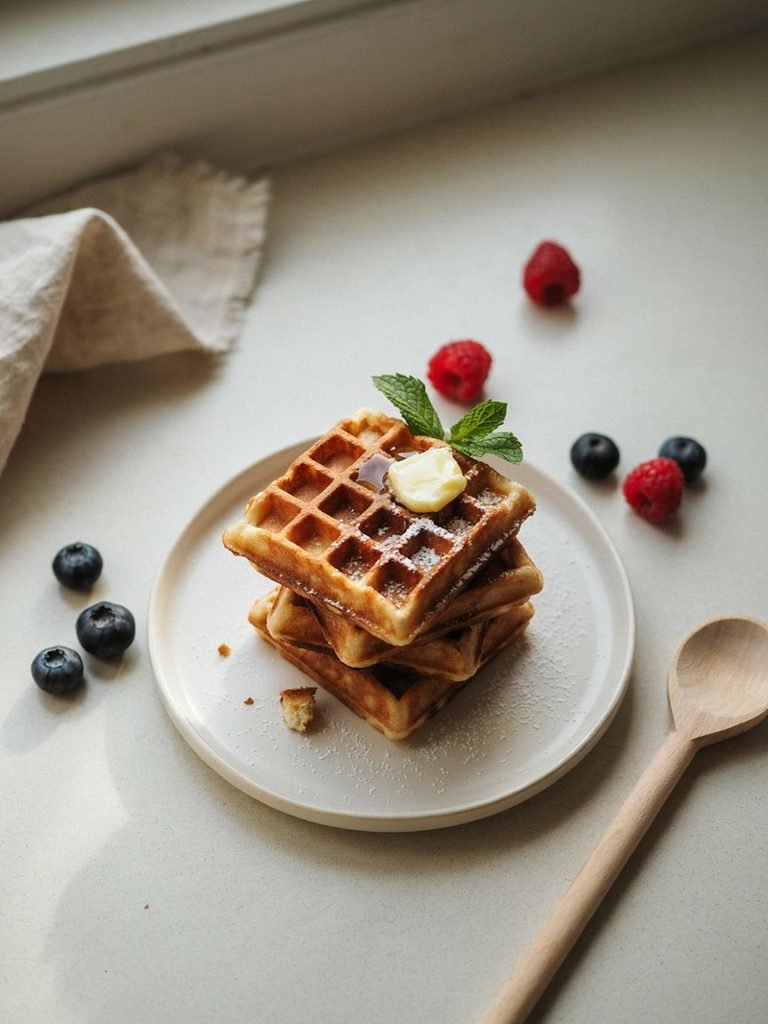
Yield: About 8 to 10 small waffle pieces, depending on your waffle iron size Prep Time: 10 minutes Cook Time: 3 to 5 minutes per waffle Total Time: About 25 to 30 minutes total Storage: Refrigerate up to 4 days, freeze up to 2 months
Ingredients
- 1.5 cups oat flour. The main structure of the batter, offering a gentle carbohydrate base.
- 1/2 cup plain pumpkin puree. Adds moisture and flavor while helping bind the batter.
- 1 egg. Helps the batter hold together and cook through evenly.
- 2 tablespoons natural peanut butter, xylitol free. Adds richness and flavor.
- 2 to 4 tablespoons water or unsweetened applesauce, as needed. Used to reach the right batter consistency.
How to Make It
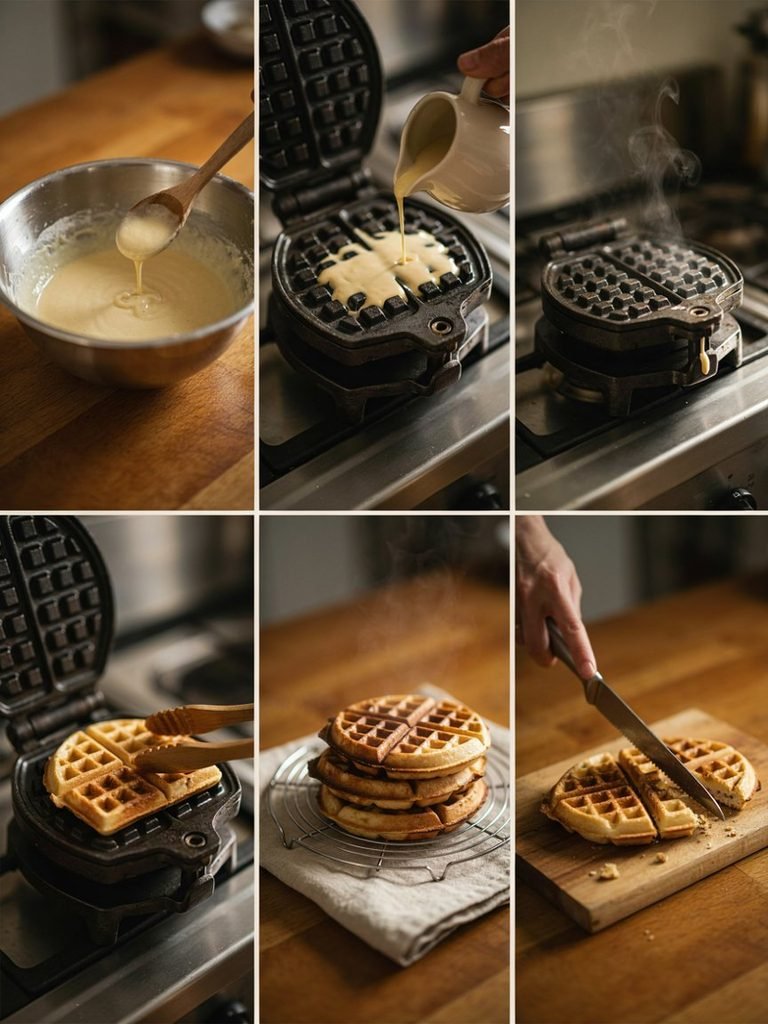
- Preheat your waffle iron according to its own instructions, and lightly grease it with a small amount of plain vegetable or coconut oil using a brush or paper towel.
- In a mixing bowl, combine the oat flour, pumpkin puree, egg, and peanut butter, stirring until mostly combined.
- Add water or applesauce a tablespoon at a time, mixing after each addition, until the batter reaches a thick but pourable consistency, similar to a standard pancake batter.
- Pour a small amount of batter onto the preheated waffle iron, using less than you would for a human sized waffle, since these are meant to be smaller, treat sized portions.
- Close the waffle iron and cook for 3 to 5 minutes, or according to your waffle iron’s typical cook time, until the waffle is golden and firm rather than soft or doughy.
- Carefully remove the waffle and let it cool on a wire rack.
- Repeat with the remaining batter, re-greasing the waffle iron lightly between batches if needed.
- Once fully cooled, cut or break the waffles into smaller, treat sized pieces before serving or storing.
Waffle Iron Tips for This Recipe
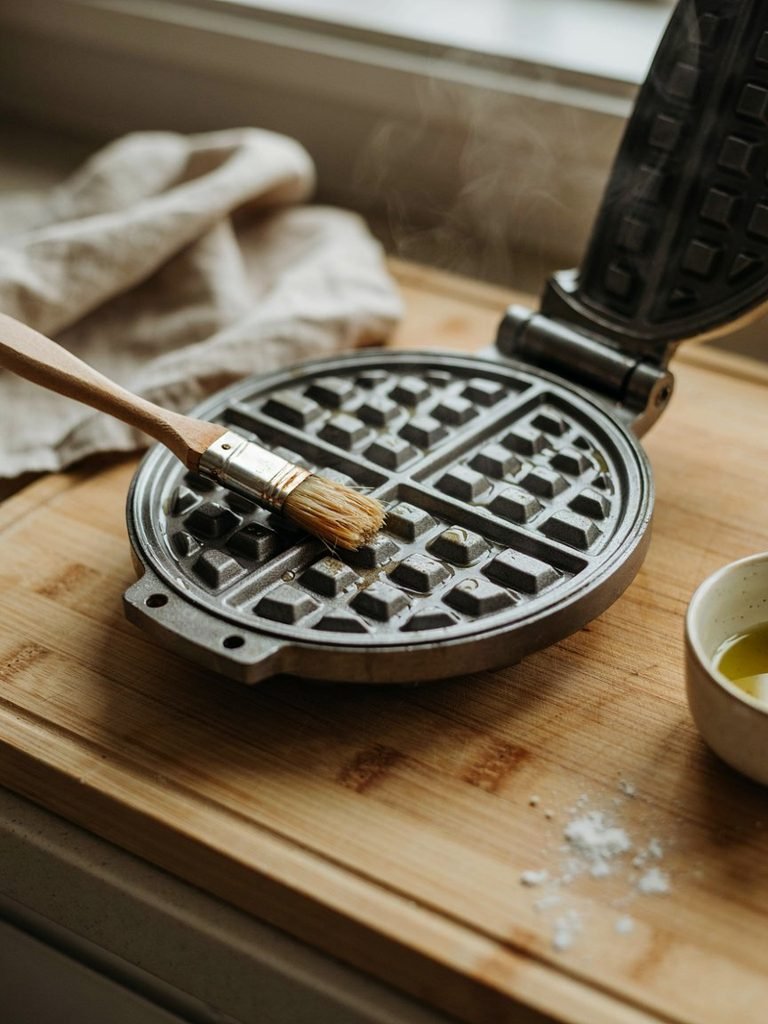
Grease lightly but consistently. A thin layer of oil brushed onto the plates before each waffle, or every couple of waffles, prevents sticking without making the finished treat greasy.
Don’t overfill the iron. Since this batter doesn’t rise the way a traditional waffle does, using less batter than you might for a human waffle prevents overflow and keeps the pieces a reasonable treat size.
Check doneness by texture, not just color. The waffle should feel firm and slightly crisp on the outside once done, not soft or spongy, which would suggest it needs more time.
Let the iron reheat between waffles. Cooking back to back without letting the plates return to full temperature can result in an undercooked next batch, so a short pause between each one helps keep results consistent.
How to Adjust This Recipe
For a plain, simple version. Skip the peanut butter entirely and let the pumpkin carry the flavor, which works well for a dog who needs a lower calorie option.
For extra flavor. A small amount of mashed banana can replace part of the pumpkin, adding a different natural sweetness.
For a firmer, more shelf stable waffle. Cook slightly longer than the standard time, until the waffle feels quite firm and dry to the touch throughout, which extends its storage life somewhat compared to a softer version.
How Many Waffle Pieces Can a Dog Have?
Treats should stay a small part of your dog’s overall diet, generally no more than about 10 percent of their total daily calories.
A couple of small waffle pieces make a reasonable serving for most dogs, adjusted for their size, and it’s worth remembering that the peanut butter in particular adds meaningful calories, so this isn’t a treat to offer in large quantities despite how fun and novel it feels to make.
Storage
Refrigerator. Store in an airtight container for up to 4 days.
Freezer. Freeze in a single layer first, then transfer to a freezer safe container or bag, where they’ll hold their quality for up to 2 months.
Reheating. A few seconds in the microwave or a quick pass in a toaster on a low setting can warm a piece slightly before serving, though this is entirely optional.
Common Problems When Making These Waffles
Why is my waffle sticking to the iron? This usually means the plates weren’t greased thoroughly enough, or the batter is too wet. Try a slightly thicker batter and a more generous, even layer of oil on the plates.
Why did my waffle come out soft instead of firm? It likely needs a bit more cook time. Since this batter doesn’t behave exactly like a traditional waffle batter, it’s worth checking texture rather than assuming a standard cook time will always be enough.
Can I use a mini waffle maker instead of a full sized one? Yes, a mini waffle maker actually works especially well here, since it naturally produces smaller, more appropriately sized treat portions without needing to cut a larger waffle down afterward.
Why does my batter seem too thick to pour? Add water or applesauce a tablespoon at a time until it loosens to a pourable, pancake like consistency.
Good Ingredients to Look For
Plain oat flour. A gentle, recognizable base with nothing added.
Plain pumpkin puree. Nothing but pumpkin on the label, never pie filling.
Plain, single ingredient peanut butter. Just peanuts, and maybe a touch of salt, with nothing else on the label, especially no xylitol.
Nothing artificial. No added sugar, sweeteners, or seasoning belong in a treat meant for your dog, regardless of how tempting it might be to dress it up like a human breakfast food.
Common Mistakes to Avoid
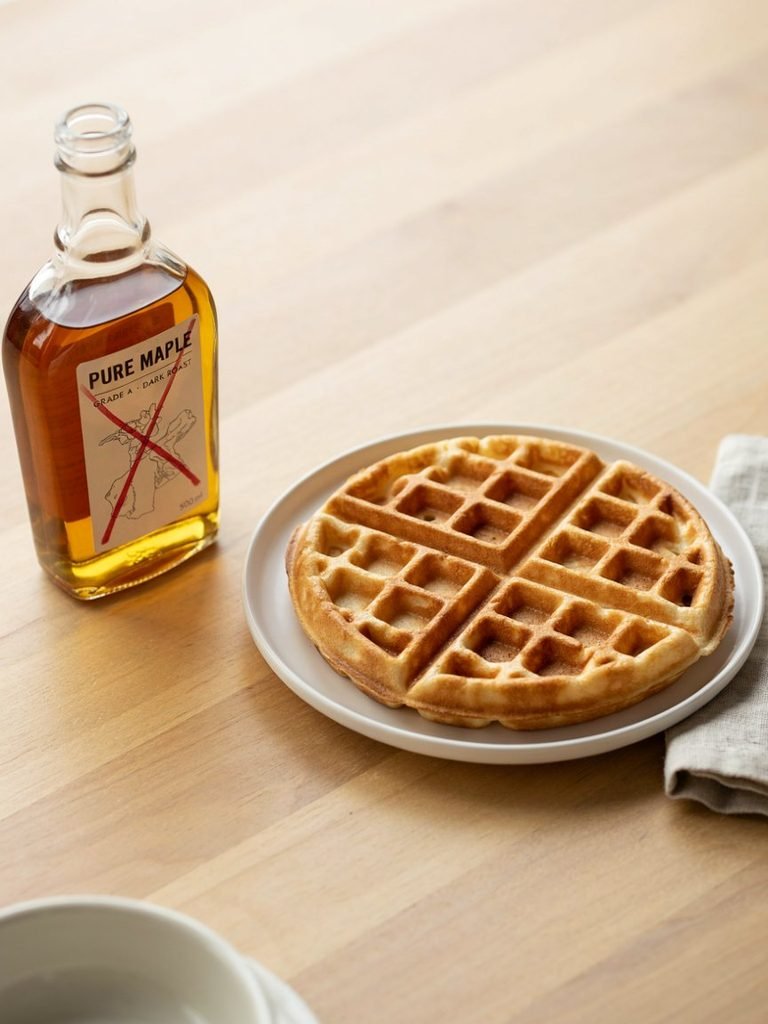
Treating this like a human waffle and adding syrup or toppings. This recipe should stay plain throughout, since sweet toppings and syrups have no place in a dog’s treat.
Skipping the peanut butter label check. Worth repeating here as much as anywhere else, since it’s a genuinely important safety step.
Making the waffles too large. Use less batter than you would for a human portion, since these are meant to be small, treat sized pieces rather than a full meal.
Not greasing the waffle iron adequately. This leads directly to sticking and a frustrating cleanup, so err on the side of a bit more oil rather than too little.
Serving them warm straight from the iron without checking the temperature. Let waffles cool to a safe temperature before offering them to your dog.
Frequently Asked Questions
Can dogs actually eat waffles? Not a regular human waffle, which typically contains sugar, salt, and other additives, but a plain, dog specific version made with safe ingredients like this one works well as an occasional treat.
Do I need a special waffle iron for this recipe? No, a standard or mini waffle iron both work fine, though a mini one naturally produces more appropriately sized treat portions.
How long do these waffles last? About 4 days refrigerated, or up to 2 months frozen when stored in an airtight container.
Can puppies eat these waffles? In small amounts, generally yes, though it’s worth keeping pieces small given a puppy’s smaller mouth and stomach capacity.
Can I make these without peanut butter? Yes, the recipe works fine without it, relying on the pumpkin for flavor and moisture instead.
Why did my waffle not crisp up like a regular waffle would? This batter is built to be a soft, chewy treat rather than a crisp one, so a slightly softer texture than a traditional waffle is expected, though cooking a bit longer can firm it up further if you prefer.
Can I freeze the batter instead of the cooked waffles? It’s better to cook first and then freeze, since the batter’s texture and rise can be affected by freezing and thawing raw.
What size should I cut the waffle pieces into? Small enough for a single bite for your specific dog’s size, generally smaller than you’d think, since these are meant to be treats rather than a full meal.
Can I add fruit to the batter? A small amount of mashed banana or a few finely chopped blueberries can be added for variety, though it’s worth keeping additions modest and sticking to ingredients you already know are safe for dogs.
Is this treat good for training? The pieces can be broken down into smaller bites, which works reasonably well for training, though a firmer, less crumbly treat may hold up better through a longer training session.
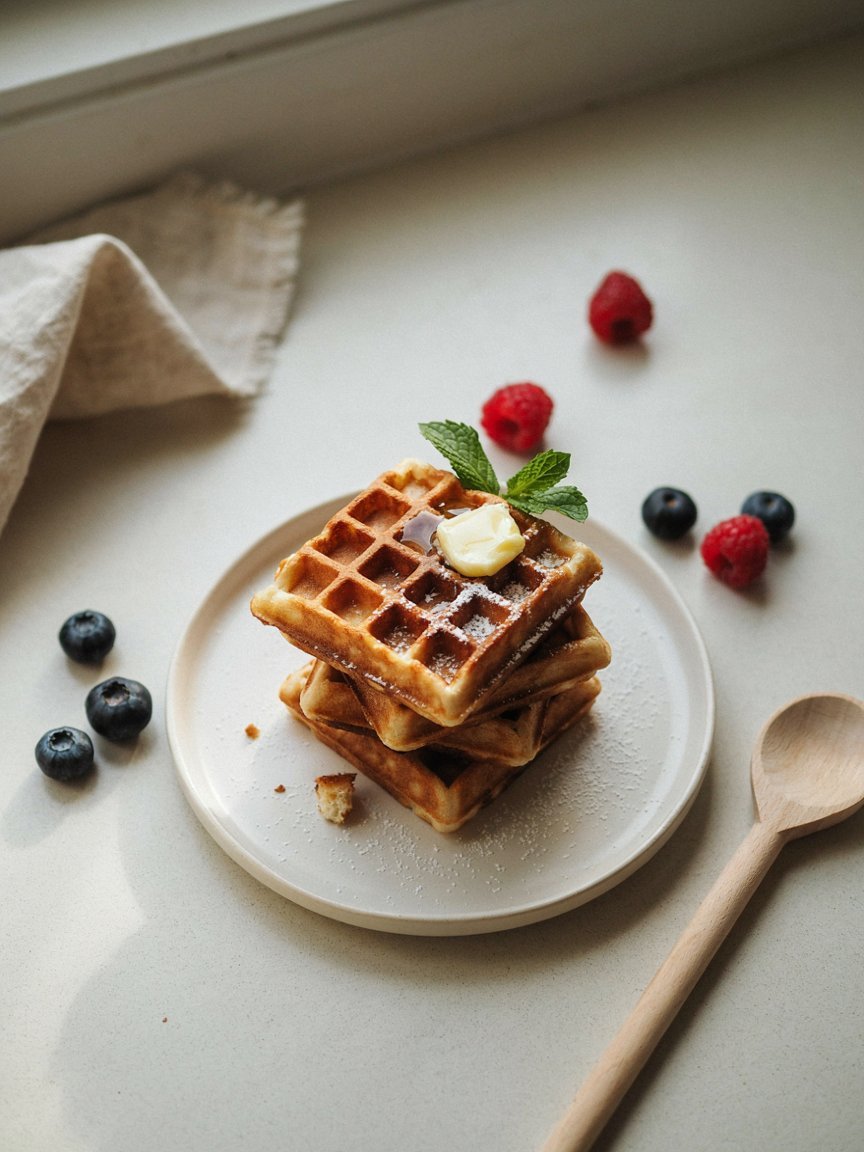
Easy Homemade Dog Waffle Recipe
Ingredients
Equipment
Method
- Preheat the waffle maker according to the manufacturer’s instructions.
- Mash the banana thoroughly in a large mixing bowl.
- Add the egg, plain Greek yogurt, and xylitol free peanut butter. Stir until smooth.
- Add the whole wheat flour and mix until combined.
- Gradually add the water until you have a thick but spoonable waffle batter. Avoid making the batter too thin.
- Lightly grease the waffle maker if needed.
- Spoon a small amount of batter into the waffle maker, close the lid, and cook until the waffle is firm and lightly golden.
- Carefully remove the waffle and allow it to cool completely before serving.
- Cut the waffle into smaller pieces appropriate for your dog’s size.
- Use plain, unsweetened yogurt and always check that it does not contain xylitol.
- If using peanut butter, make sure it is xylitol free and does not contain chocolate or added sweeteners.
- Let the waffles cool completely before giving them to your dog.
- These homemade waffles are intended as an occasional treat and should not replace a complete and balanced dog food diet.
- Store leftovers in an airtight container in the refrigerator for several days, or freeze them for longer storage.
Final Thoughts
A waffle iron turns out to be a surprisingly practical tool for dog treats, cooking quickly, portioning evenly, and giving you a fun, novel format without much extra effort.
Keep the batter plain, skip any temptation to dress it up the way you would your own breakfast, and you’ll have a quick, genuinely appealing treat your dog will likely start recognizing the sound of the waffle iron for.




4 Comments