
Easy Homemade Dog Chew Sticks with Peanut Butter
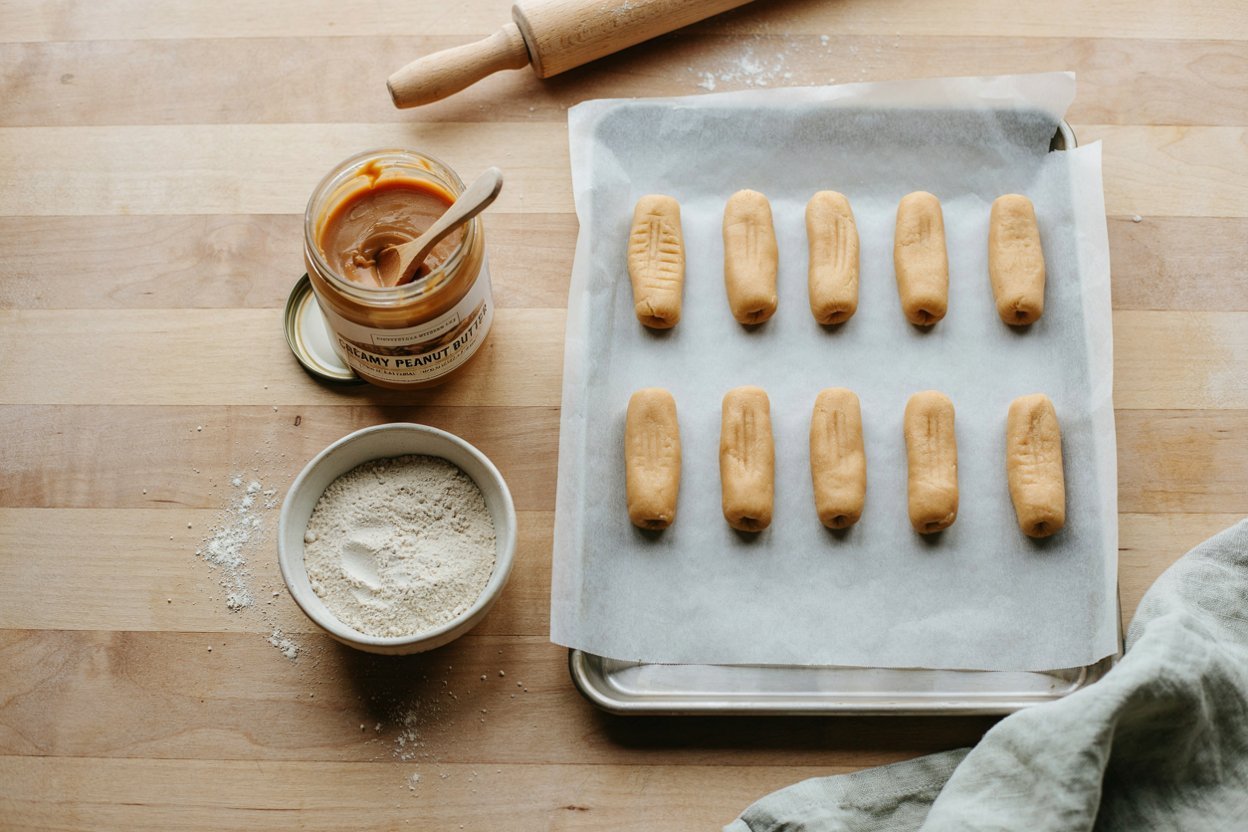
There’s a real difference between a treat a dog eats in two bites and one that actually keeps them occupied for a while.
Chew sticks fall firmly into the second category, and baking your own means you get to control exactly what’s in them, peanut butter flavor included, without paying for a bag of commercial chews with a longer ingredient list than you’d like.
This guide walks through one simple recipe for baked peanut butter chew sticks, along with the technique that gives them a firm, long lasting texture and the supervision guidance that matters more with a chew format like this than with a soft treat.
If you want to build out your treat rotation beyond this one recipe, a few related guides are worth having open alongside this one.
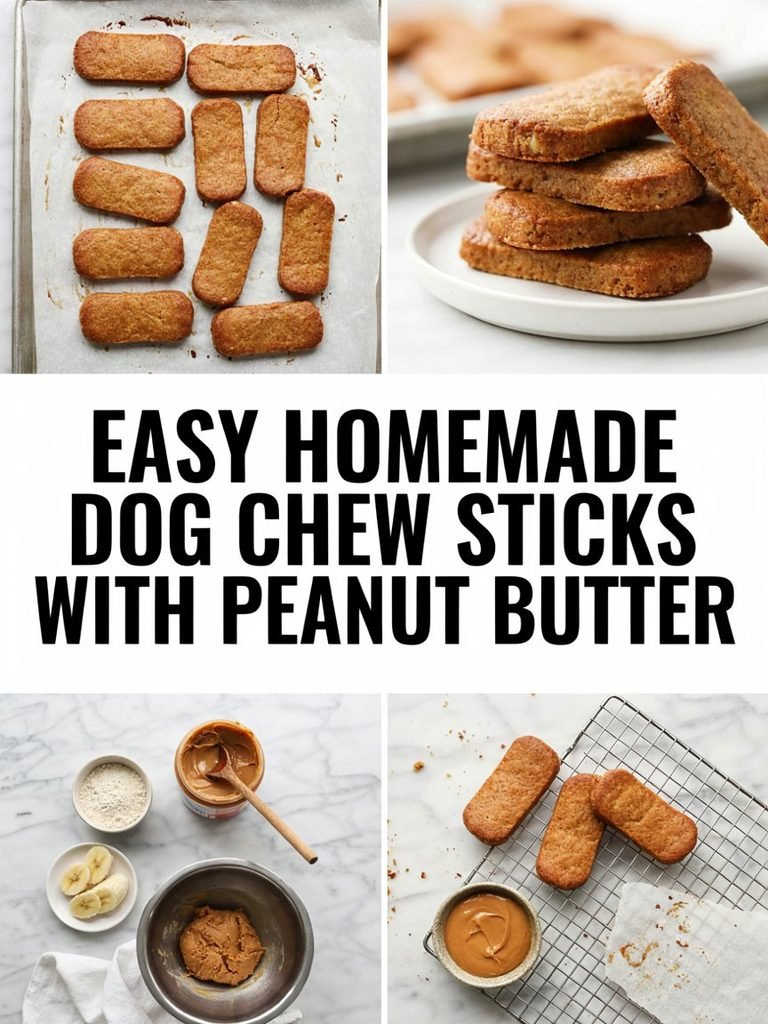
Best DIY dog biscuits that last for weeks covers the same low moisture baking approach used here, easy homemade pumpkin carrot chews for dogs and sweet potato and blueberry chews for dogs offer other baked chew options with different flavors, 3 ingredient peanut butter dog gummies and peanut butter banana gummies for dogs give you a softer, different textured peanut butter treat, simple carrot based dog treat recipes for beginners is a good companion for everyday variety, and DIY frozen dog treats using pantry ingredients and human foods dogs can safely eat round out the bigger picture of treats and safe food sharing.
Disclaimer
This post may contain affiliate links. As an Amazon Associate, I earn from qualifying purchases at no additional cost to you. I only recommend dog-safe ingredients and kitchen tools that I genuinely find useful for making homemade dog treats. Always use xylitol-free peanut butter and dog-safe ingredients, avoid chocolate, grapes, raisins, macadamia nuts, and unsafe sweeteners, and consult your veterinarian before introducing new treats.
Shop on Amazon With 50% Discount On Your Orders
- Xylitol-Free Peanut Butter – I use dog-safe peanut butter to add a creamy texture and flavor that dogs enjoy in these homemade chew sticks.
- Silicone Dog Treat Molds – I use these to create evenly shaped chew sticks that are easier to portion and bake.
- Silicone Baking Mat – I use one to prevent the chew sticks from sticking to the baking sheet and make cleanup much easier.
Why the Stick Format Works So Well
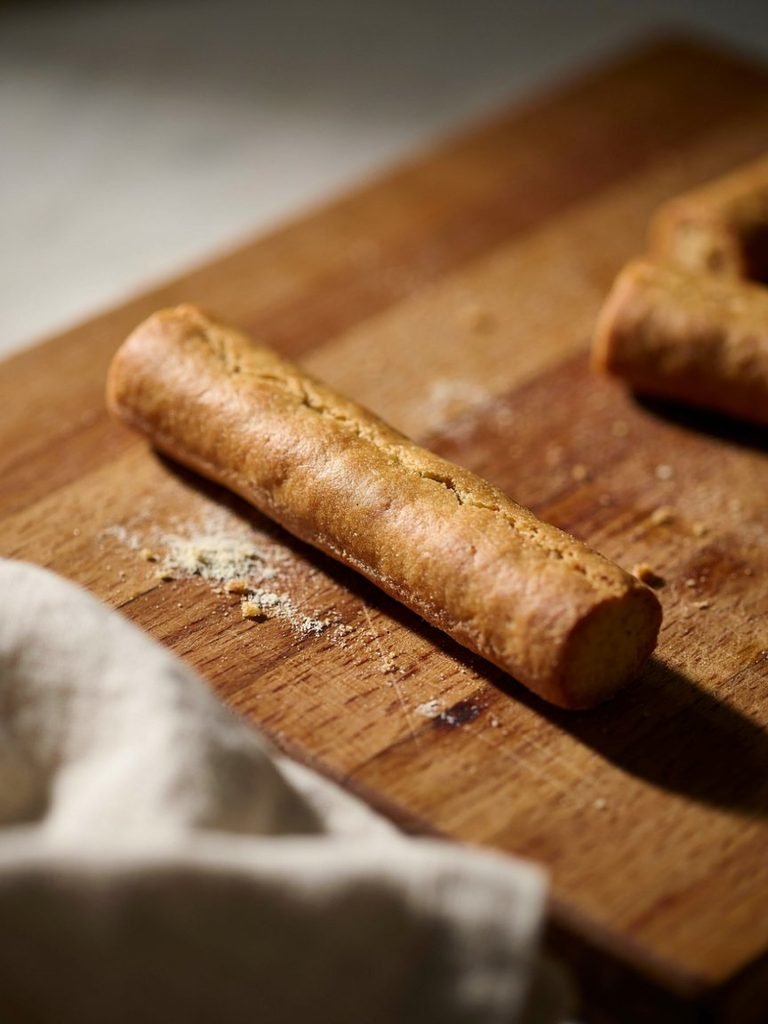
A stick shaped chew gives a dog something to actually work at, rather than a treat that’s gone in a single bite.
That extended chewing time can be genuinely useful, both as a way to keep a dog occupied for a while and as a mild dental benefit, since the repeated gnawing motion helps scrape a bit of plaque off the teeth as they work through it.
Baked low and slow the same way a long lasting biscuit is, these sticks dry out enough to hold their shape and firmness through a solid chewing session, rather than falling apart into crumbs within the first few minutes.
Before You Start
The extended, low temperature bake is what gives these sticks their firm, long lasting texture, so it’s worth resisting the temptation to pull them early just because the outside looks done.
A stick that looks firm on the surface can still be soft in the center, and that residual moisture shortens both shelf life and how well the stick holds up to sustained chewing.
Beyond that, chew sticks specifically call for supervision while your dog is working on one, since any hard, extended chew treat carries some risk of a dog breaking off and swallowing a larger piece than intended, which is worth watching for regardless of how sturdy the stick seems.
Understanding the Ingredients
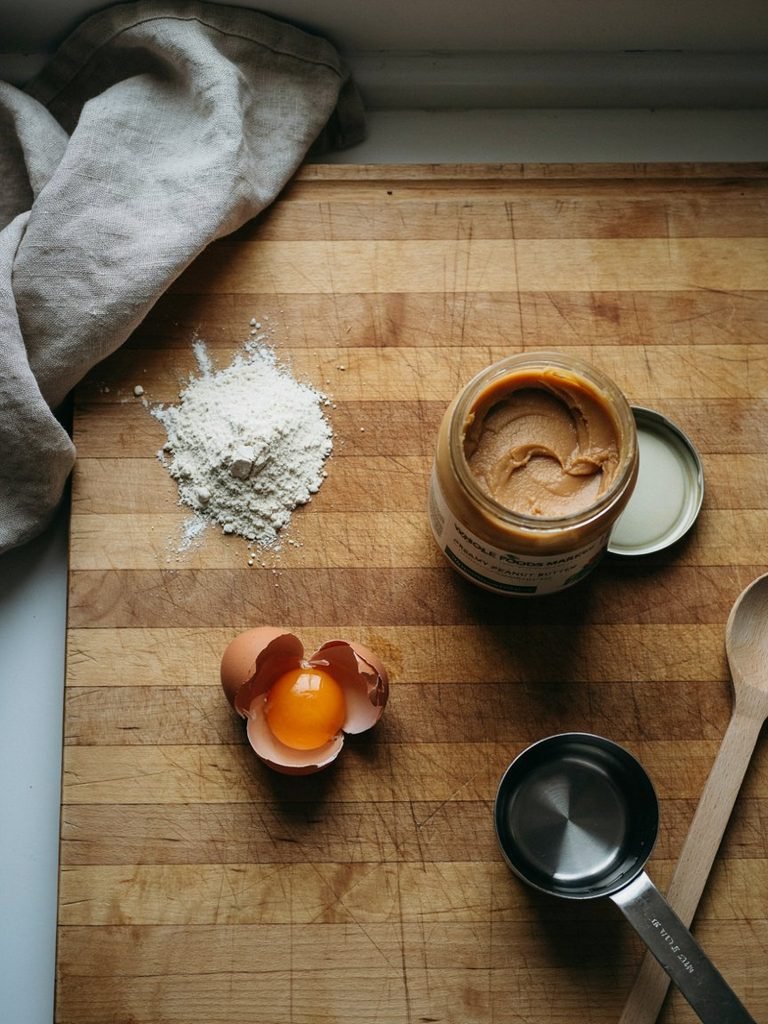
Oat flour or whole wheat flour. Forms the entire structure of the dough, with oat flour being the gentler choice for a dog with any grain sensitivity, and whole wheat flour producing a slightly firmer, more traditional texture.
Natural peanut butter, xylitol free. Provides the flavor that makes these genuinely appealing, and it’s worth checking the label every single time you buy a new jar, since xylitol, an artificial sweetener extremely dangerous to dogs even in small amounts, has shown up in some peanut butter products without much warning.
Egg. Helps bind the dough together and adds structure that holds up well through the long bake.
Water, as needed. Used sparingly, since too much liquid works against the firm, dry texture that makes these sticks last through a real chewing session.
Ingredients I Avoid
Added sugar, salt, xylitol, and any liquid beyond what’s strictly needed to bring the dough together all work against both the safety and the sturdy texture of this recipe.
Xylitol deserves particular attention in the peanut butter specifically, since it’s genuinely dangerous and doesn’t always announce itself clearly on the front of the label.
Peanut Butter Dog Chew Sticks
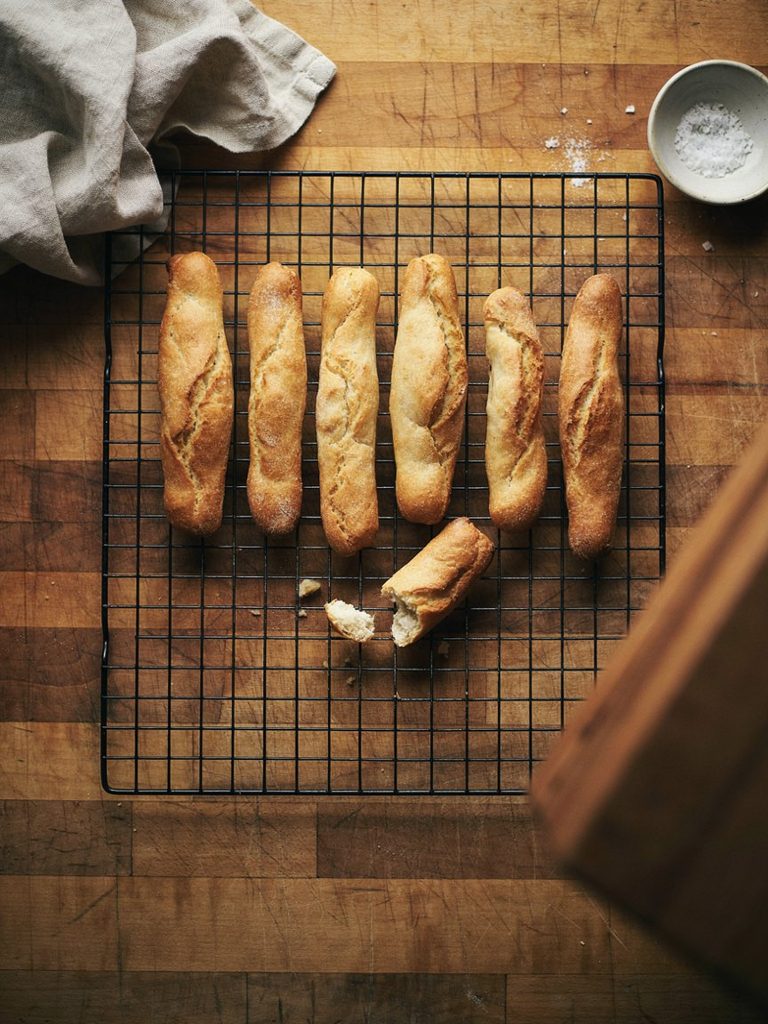
Yield: About 12 to 16 chew sticks, depending on size Prep Time: 15 minutes Cook Time: 45 to 60 minutes Total Time: About 1 hour and 15 minutes Storage: Room temperature, airtight, up to 2 to 3 weeks
Ingredients
- 2 cups oat flour or whole wheat flour, plus more as needed. Forms the structure of the dough and needs to stay firm rather than sticky.
- 1/3 cup natural peanut butter, xylitol free. Provides the flavor without adding excessive moisture, given how thick peanut butter is compared to a liquid ingredient.
- 1 egg. Binds the dough together and helps it hold its shape through shaping and baking.
- 2 to 4 tablespoons water, added gradually. Used only as needed to bring the dough together.
How to Make It
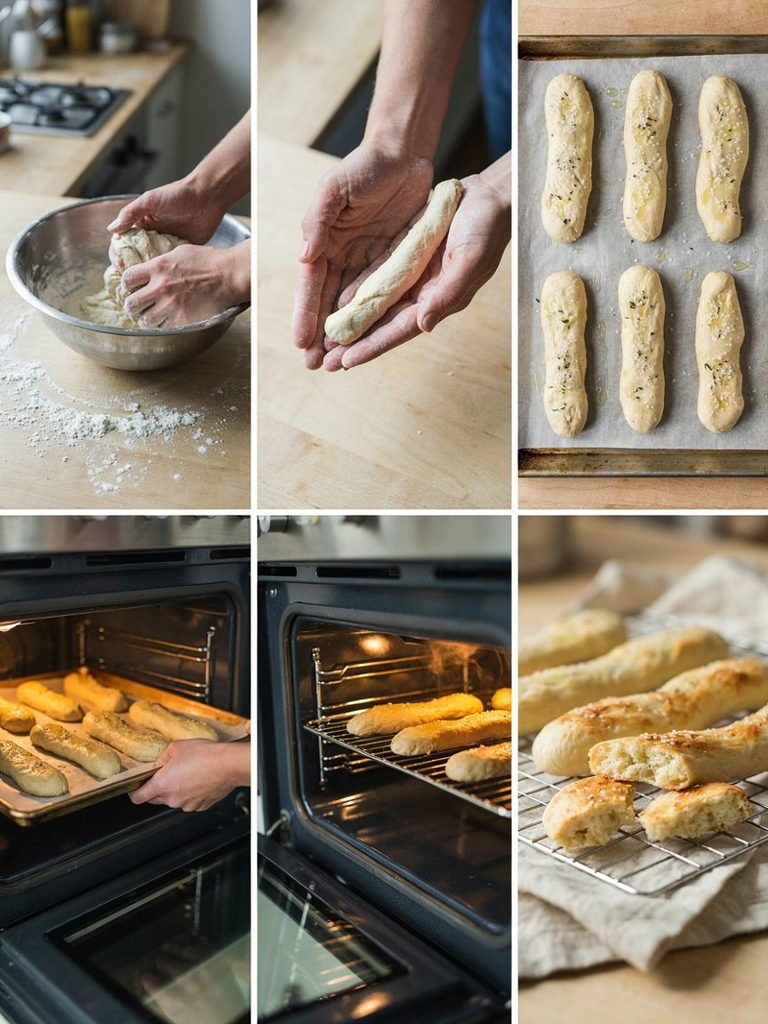
- Preheat your oven to 300°F (150°C), a notably lower temperature than a typical cookie recipe, since a low, slow bake is what dries these sticks out fully without burning the outside before the inside catches up.
- In a large bowl, combine the flour and peanut butter, mixing until it forms coarse crumbs.
- Whisk the egg separately, then add it to the mixture, stirring until it starts to come together.
- Add water a tablespoon at a time, mixing after each addition, until the dough forms a firm ball that isn’t sticky or wet.
- Divide the dough into small portions and roll each one between your palms into a stick shape, about the length and thickness of a finger, adjusting the size based on your dog’s mouth.
- Place the sticks on a parchment lined baking sheet, leaving space between each one.
- Bake for 45 to 60 minutes, checking at the 45 minute mark. The sticks should feel firm all the way through with no soft give anywhere on the surface.
- Turn off the oven and let the sticks sit inside the cooling oven for an additional 30 to 60 minutes with the door slightly ajar, which continues drawing out residual moisture.
- Remove and let cool completely on a wire rack before handling or storing.
How to Tell When They’re Actually Done
Break one open after the initial bake time and check the interior. It should look and feel dry all the way through, not soft, pale, or doughy anywhere in the center.
If it still looks underdone, continue baking in 10 minute increments, checking again each time, rather than trusting the outside appearance alone.
How to Adjust the Size for Your Dog
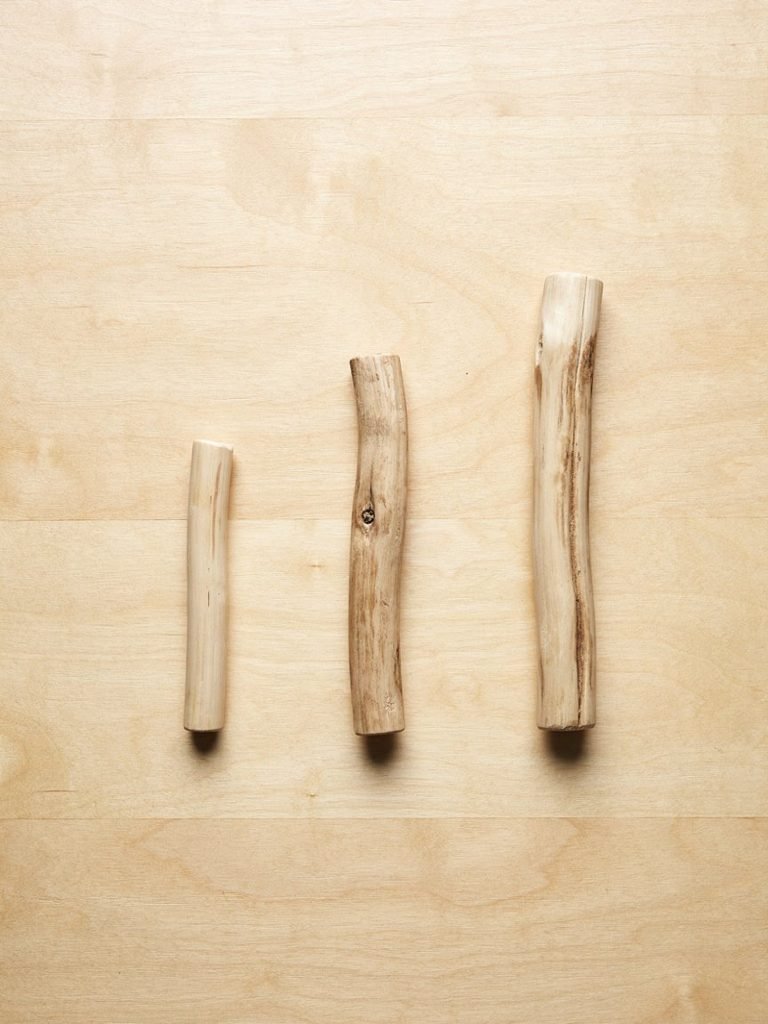
For small dogs. Roll the sticks thinner and shorter, closer to the size of a pinky finger, which is easier to manage for a smaller mouth and reduces the risk of a large piece breaking off.
For medium to large dogs. A standard finger sized stick works well, giving enough material for a genuinely extended chewing session.
For a firmer, longer lasting stick. Roll slightly thicker and extend the bake time by 10 to 15 minutes, checking the interior carefully to confirm it’s fully dry before assuming a longer bake is safe to stop.
Supervision Matters With This Treat
Any extended chew, homemade or store bought, carries some risk if a dog manages to break off and swallow a piece larger than they should.
Always supervise your dog while they’re working on one of these sticks, and take it away once it’s been chewed down to a small enough size that it could pose a choking risk, the same guidance you’d follow with a commercial dental chew or bully stick.
This is especially worth keeping in mind for aggressive chewers who tend to bite down hard rather than gnaw gradually.
How Many Chew Sticks Can a Dog Have?
Treats should stay a small part of your dog’s overall diet, generally no more than about 10 percent of their total daily calories.
One chew stick, offered as a supervised activity rather than a quick snack, is a reasonable amount for most dogs on a given day, and given how calorie dense peanut butter is relative to some other treat ingredients, it’s worth treating this as an occasional offering rather than a daily habit.
Storage
Store the fully cooled sticks in a genuinely airtight container, a glass jar with a tight sealing lid works better than a loosely closed bag. Keep the container in a cool, dry spot away from direct sunlight or heat.
Properly dried and stored, these hold up well at room temperature for 2 to 3 weeks. If you notice any softening, an off smell, or any sign of mold at any point, discard the batch rather than risk it.
Common Problems When Making These Sticks
Why did my sticks turn out soft even after the full bake time? This usually means the dough had too much moisture to begin with, either from too much water or too much peanut butter relative to the flour.
Reducing the liquid slightly on the next batch, and checking the interior rather than relying on outside appearance, should fix this.
Why are my sticks cracking as I roll them? The dough may be a bit too dry. Add water a teaspoon at a time until it becomes pliable enough to roll without cracking excessively.
Can I speed up the drying process? Not without risking burning the outside. The low, slow bake combined with the extended cooling oven step is what actually removes the moisture safely, and rushing it undermines the whole point of this recipe.
My dog chewed through a stick very quickly. Is that normal? Chewing speed varies a lot between individual dogs. If your dog tends to chew through things quickly, rolling slightly thicker sticks and supervising closely for any large pieces breaking off is worth building into your routine.
Good Ingredients to Look For
Plain, single ingredient peanut butter. Just peanuts, and maybe a touch of salt, with nothing else on the label, especially no xylitol.
Plain oat flour or whole wheat flour. A simple, recognizable base with nothing added.
Minimal liquid ingredients overall. The fewer wet ingredients, the easier it is to hit a genuinely firm, long lasting final result.
Common Mistakes to Avoid
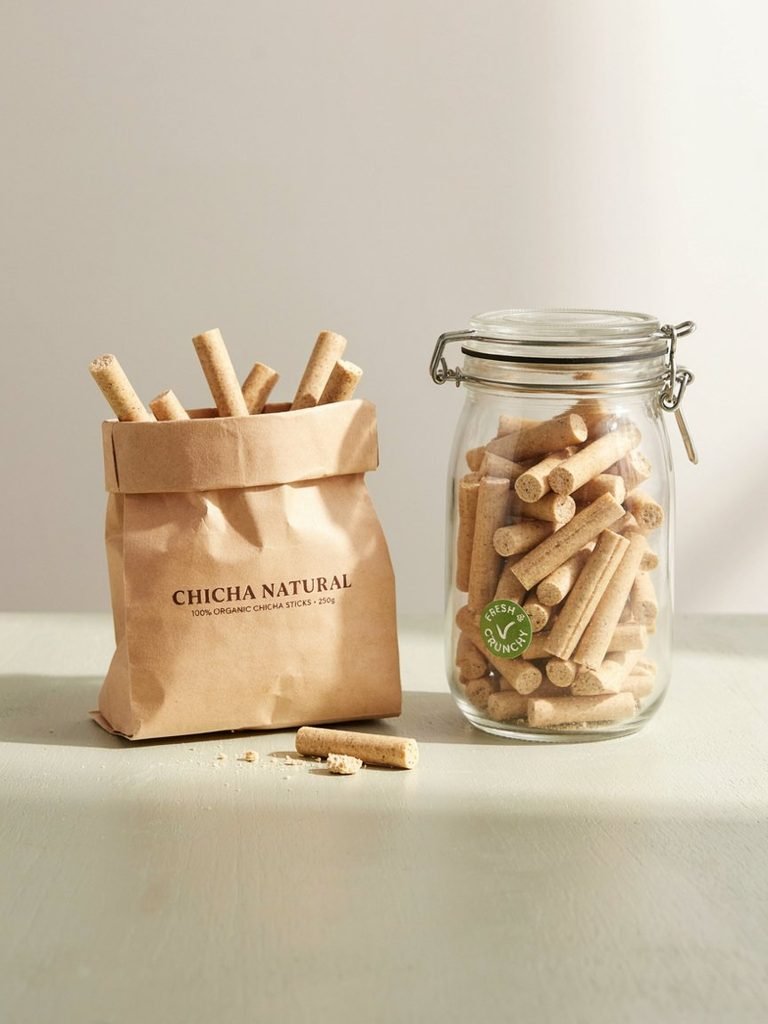
Pulling the sticks out too early. This is the single most common mistake with this recipe, and it directly undermines both the texture and the shelf life you’re going for.
Skipping the interior check. Always break one open to check the center, since the outside can look firm well before the inside actually is.
Making the sticks too large for your specific dog. A stick that’s too thick or long for your dog’s mouth is harder for them to manage safely, so size it appropriately rather than making every batch one standard size.
Leaving your dog unsupervised with a chew stick. This matters more here than with almost any other treat in this guide, given the extended chewing involved.
Storing them in a container that isn’t truly airtight. A loosely sealed bag lets in humidity that shortens shelf life considerably compared to a properly sealed container.
Frequently Asked Questions
How long do these chew sticks last? Generally 2 to 3 weeks at room temperature when stored in a genuinely airtight container in a cool, dry spot.
Do I need to supervise my dog with these? Yes, always. Extended chews, whether homemade or store bought, carry some risk if a dog breaks off and swallows a piece larger than intended.
Can puppies have these chew sticks? In an appropriately sized, softer version, generally yes, though the firm, dry texture may be too much for very young puppies, making a softer treat a better choice until their adult teeth are in.
Why is the bake time so much longer than other dog treat recipes? The extended time at a lower temperature is what drives out internal moisture, giving the sticks their firm, long lasting texture and extended shelf life.
Can I use a different nut butter instead of peanut butter? Yes, as long as it’s plain and free of xylitol, almond butter works as a direct substitute.
Can I freeze these chew sticks? Yes, though it’s somewhat unnecessary given how long they already last at room temperature when made correctly.
Why did my dough feel too dry to roll into sticks? Add water a teaspoon at a time until it comes together enough to roll smoothly without cracking.
Is it safe to give a small dog the same size stick as a large dog? No, size the stick to your dog specifically. A stick that’s too large or thick for a small dog’s mouth can be harder for them to manage safely.
Can I add other flavors besides peanut butter? A small amount of plain pumpkin puree can replace part of the peanut butter, though this adds moisture and will shorten the shelf life and firmness compared to the original version.
What’s the best container for storing these long term? A glass jar with a tight, gasket sealed lid tends to work better than a standard snap lid container or a bag, since it more reliably keeps humidity out over several weeks.
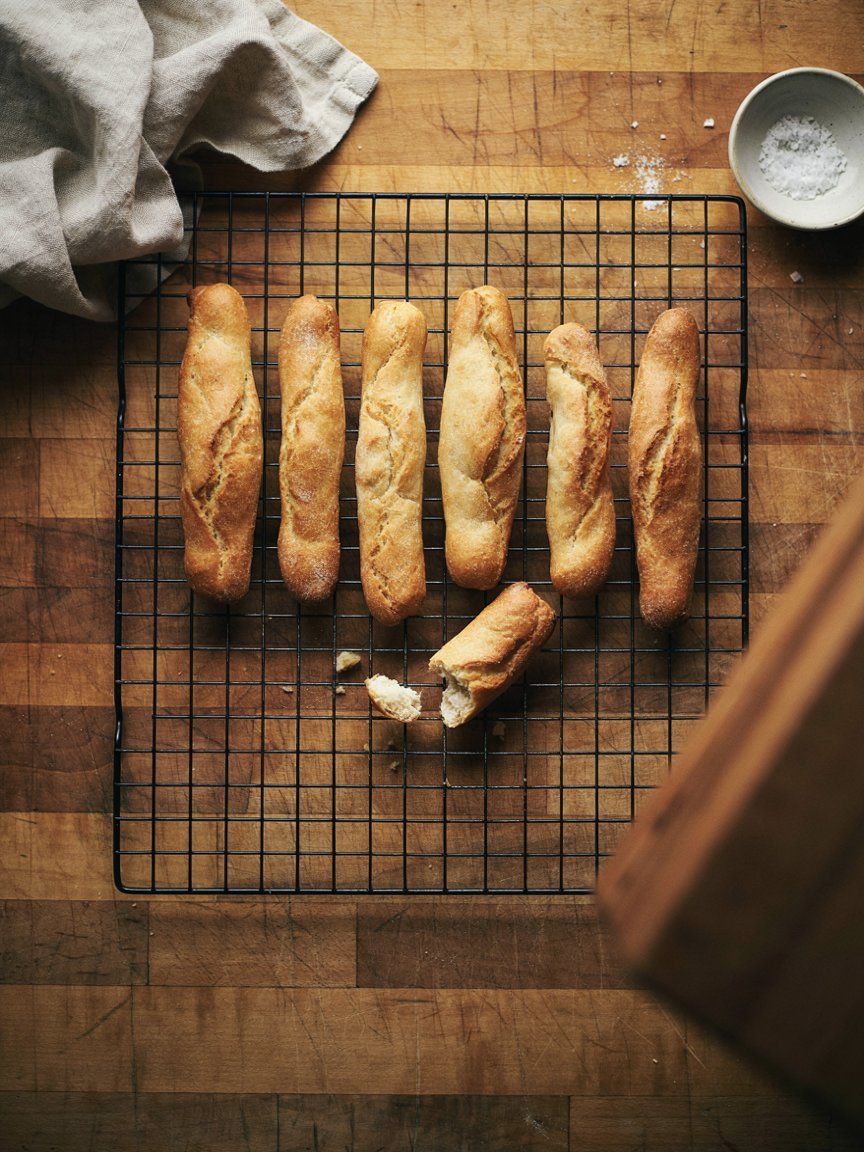
Easy Homemade Dog Chew Sticks with Peanut Butter
Ingredients
Equipment
Method
- Preheat the oven to 350°F (175°C) and line a baking sheet with parchment paper.
- Mash the banana in a mixing bowl until mostly smooth.
- Add the peanut butter and stir until well combined.
- Gradually add the oat flour and mix until a firm dough begins to form.
- Add the water one tablespoon at a time until the dough is soft but easy to handle.
- Place the dough on a lightly floured surface and roll it to about 1/4 inch thick.
- Cut the dough into narrow strips or small chew stick shapes appropriate for your dog.
- Arrange the sticks on the prepared baking sheet.
- Bake for approximately 20 to 25 minutes, or until firm and lightly golden.
- Remove from the oven and allow the chew sticks to cool completely before serving.
- Use natural peanut butter with no xylitol. Check the label carefully before using it.
- These homemade sticks are baked treats, not indestructible dental chews. Always supervise your dog while eating them and choose a size appropriate for your dog’s chewing ability.
- Store completely cooled treats in an airtight container in the refrigerator and use within a few days. Freeze extras for longer storage.
- These are treats and should be served in moderation alongside your dog’s regular complete and balanced food.
Final Thoughts
A good chew stick gives a dog something to genuinely work at, and baking your own means you know exactly what’s in it, peanut butter and a handful of simple ingredients, nothing else.
Take the time to bake these low and slow, check the center before assuming they’re done, and stay nearby while your dog works through one, and you’ll have a treat that actually holds up to real chewing rather than disappearing in a couple of bites.
4 Comments